

Chapter 9: Dangerous Curves Ahead 187
The following example draws a regulation-size donut, with a 1.5-inch hole and 3.5-inch outside diameter.
Command: DONUT
Specify inside diameter of donut <0.5000>: 1.5 Specify outside diameter of donut <1.0000>: 3.5
Specify center of donut or <exit>: pick or type the center point of one or more donuts
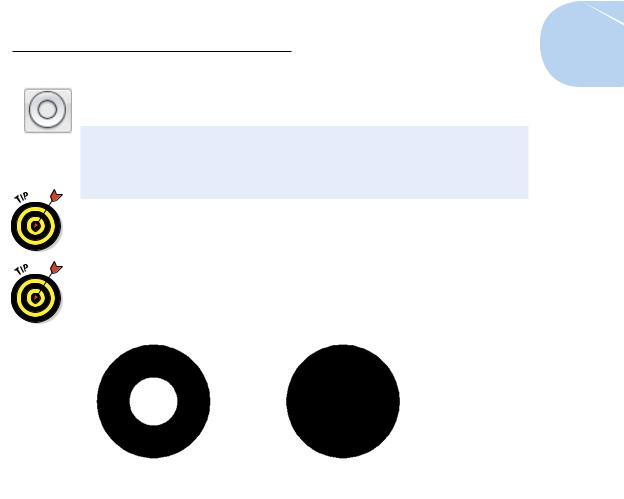
You can use the DONUT command to create a filled circle — also known as a jelly-filled donut. Just specify an inside diameter of 0. Figure 9-5 shows both kinds of donuts.
If you are Canadian, the DOUGHNUT command also works, but TimHorton’s doesn’t.
Inside Diameter = 1.5 |
Inside Diameter = 0 |
Outside Diameter = 3.5 |
Outside Diameter = 3.5 |
Figure 9-5: Donuts, plain and jelly-filled.
Revision clouds on the horizon
It’s customary in many industries to submit a set of drawings at different project milestones or stages of completion and then submit them again later with revisions — corrections, clarifications, and requested changes. Usually, the recipients like to locate changed stuff easily, and a common drafting convention is to call attention to revised items by drawing free-form clouds around them. The REVCLOUD command makes quick work of drawing such clouds.
Drawing revision clouds is easy, after you understand that you click only once in the drawing area. That one click defines the starting point for the cloud’s perimeter. After that, you simply move the crosshairs around, and the cloud takes shape. When you return to near the point that you clicked in the beginning, AutoCAD automatically closes the cloud.
www.it-ebooks.info
188 Part II: Let There Be Lines
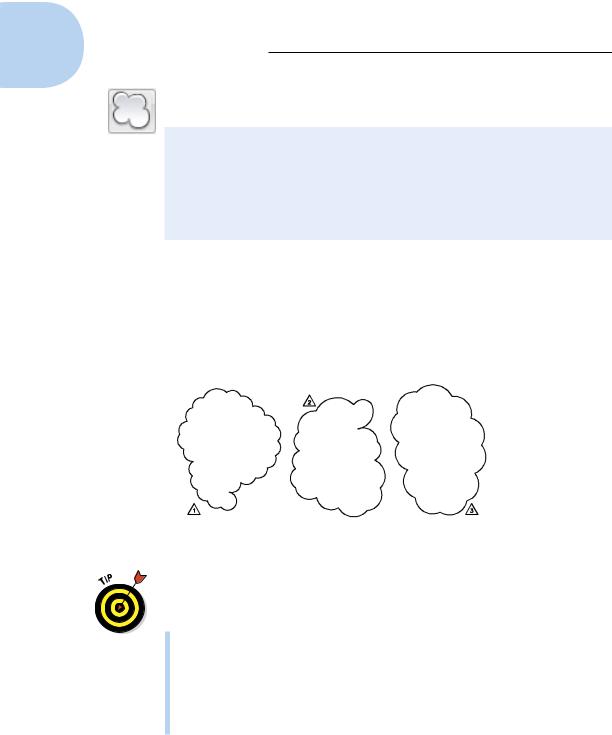
The following command line example shows you how to draw a revision cloud. Figure 9-6 shows what revision clouds look like.
Command: REVCLOUD
Minimum arc length: 0.5000 Maximum arc length: 0.5000 Style:
Normal
Specify start point or [Arc length/Object/Style] <Object>:
pick a point along the perimeter of your future cloud
Guide crosshairs along cloud path... sweep the crosshairs around to define the cloud’s perimeter
You don’t need to click again. Simply move the crosshairs around without clicking. AutoCAD draws the next arc segment of the cloud when your crosshairs reach the minimum arc length distance from the end of the previous arc segment.
Continue moving the crosshairs around until you return to the point where you clicked first.
Min. arc length = 0.5 |
Min. arc length = 0.5 |
Min. arc length = 1.0 |
Max. arc length = 0.5 |
Max. arc length = 1.0 |
Max. arc length = 1.0 |
Figure 9-6: Today’s forecast: revision cloudy.
Here are a few tips for using revision clouds:
Create a cloud layer. It’s a good idea to put revision clouds on their own layer so you can choose to plot with or without the clouds visible. In paper-and-pencil days, revision clouds were sketched on the back of the drafting vellum so they could easily be erased.
Turn off Ortho mode. You’ll probably find it easier to control the shape of revision clouds if you turn off Ortho mode before you start the command.
www.it-ebooks.info