


Chapter 1: Introducing AutoCAD and AutoCAD LT |
19 |
Although you may hear claims that AutoCAD LT is easier to master and use than AutoCAD, the truth is that they’re about equally difficult (or easy,
depending on your NQ [nerd quotient]). The LT learning curve doesn’t differ significantly from that of AutoCAD, which was originally designed for maximum power and then modified somewhat to improve ease of use. AutoCAD LT shares this same heritage.
Fortunately, the minimal differences between LT and AutoCAD mean that after you climb that learning curve, you have the same great view. You have almost the full range of the AutoCAD 2D drafting tools, and you can exchange DWG files with AutoCAD users without data loss.
This book covers AutoCAD 2013, but most of the information in it (except for the 3D chapters in Part V) applies to AutoCAD LT 2013 as well. The icon that you see to the left of this paragraph highlights significant differences.
Checking System Requirements
If you’re upgrading from AutoCAD 2012 or another recent release and you work mostly or entirely in 2D, you’re probably already current with system requirements. In fact, if your work is mostly or entirely 2D — and therefore, this applies especially for LT users — AutoCAD 2013 will run fine on pretty well any recent computer that will run Windows 7, Vista, or XP.
AutoCAD’s requirements for running in Windows 7 or Vista are substantially higher than for running in XP. This section covers the details.
You should know the following before you upgrade from any older AutoCAD release:
Wash those old Windows: AutoCAD 2013 does not support older versions of Windows, such as Windows 2000, NT, 98, or Me. For AutoCAD 2013, you have three choices of operating system:
•Windows XP (Home or Professional, SP3 or later)
•Windows Vista (Enterprise, Business, Ultimate, or Home Premium, SP2 or later)
•Windows 7 (Enterprise, Ultimate, Professional, or Home Premium)
There are 64-bit versions of AutoCAD 2013 and AutoCAD LT 2013 that run in the 64-bit versions of XP, Vista, and Windows 7. 64-bit versions can access much more system memory for faster operation, while 32-bit systems are limited to 2GB or 3GB of RAM.
www.it-ebooks.info
20 Part I: AutoCAD 101
Application compatibility: If you use third-party applications with a previous AutoCAD release, they may not work with AutoCAD 2013. AutoCAD applications developed with the .NET or the ObjectARX (AutoCAD Runtime eXtension) interfaces may or may not need to be recompiled. Many LSP (AutoLISP) programs written for the last several versions of AutoCAD should work without change.
Built-in support for VBA (Visual Basic for Applications, a Microsoft programming language) applications isn’t included in AutoCAD 2013. You can continue to run VBA applications, but you first have to download and install the VBA installer from the Autodesk website. At the time this book went to press, the URL wasn’t finalized; just go to www.autodesk. com and enter VBA installer in the Search box. There are 32and 64-bit versions, so make sure that you download the right one for your system.
Computer system requirements: For AutoCAD 2013, Autodesk recommends a 1.6 GHz or better Intel or AMD processor with at least 2GB of RAM if it’s running in Windows XP, and a 3.0 GHz or better chip and 2GB of RAM if it’s running in Windows Vista or Windows 7. The recommended operating system is Windows 7 (64-bit). Multiple and dual-core processors are supported. You also need a 1024 x 768 or higher display resolution with True Color graphics, 1GB to 2GB of available hard drive space, an Internet connection, and Microsoft Internet Explorer 7 or later.
Additional requirements for working in 3D: AutoCAD recommends a 3 GHz or better processor; 4GB or more of RAM; a workstation-class, Direct3D-capable graphics card with at least 128MB of memory; and an additional 2GB of hard drive space beyond the 1GB required for installation.
I find even the recommended system requirements to be on the minimal side. For example, between the two of us we run a desktop computer at screen resolutions of 1600 x 1200 and 1280 x 1024 (yes, dual monitors), a tablet computer at 1400 x 1050, a desktop at 1280 x 1024, and a laptop at 1920 x 1200. The figures in this book were shot at a resolution of 1024 x 768, and as you can see, things can get pretty crowded at that resolution. The problem is that things like icons and dialog boxes display at a fixed number of pixels, so at lower resolutions, they take up more of the screen.
When you’re running AutoCAD, there is no such thing as too much RAM.
You should also note that a gaming graphics card is different from an engineering graphics card. It’s well worth the few extra dollars to get an engineering card, especially when working in 3D. So how can you tell the difference? First, check the price. Engineering boards will usually be a little more expensive, but not outrageously so. Next, check the name. Engineering boards often have dull and boring names, while gaming boards have names that
www.it-ebooks.info
Chapter 1: Introducing AutoCAD and AutoCAD LT |
21 |
hint at violence and action. For example, the NVIDIA product line contains GeForce and Quadro series. Can you tell which one is the Engineering series? Finally, check the manufacturer’s specifications. They usually spell out quite clearly which is which.
Suddenly, It’s 2013!
There’s been a new release of AutoCAD every spring since AutoCAD 2004 was launched in 2003. That’s not much time for even an army of programmers to deliver a compelling new feature set that’s going to convince all users that they just have to upgrade. What seems to have been happening is a concentration on particular areas in recent releases. For example, AutoCAD 2007 was a 3D release; the 3D modeling engine was made much easier to use, but there was relatively little to please the 2D crowd. By contrast, AutoCAD 2008 was deemed to be “the drafter’s release” because of the number of enhancements to 2D drawing capabilities — above all, the introduction of annotative documentation objects.
In AutoCAD 2009, the new interface got the lion’s share of development (suddenly, it’s Office 2007!); major new features were limited to some 3D navigation tools, the very useful Quick Properties tool, and a palettized Layer Properties Manager. AutoCAD 2010 offered significant enhancements to both 2D and 3D users, in parametric drafting tools and free-form mesh modeling, and AutoCAD 2011 introduced some workflow changes and a welcome new object property, transparency.
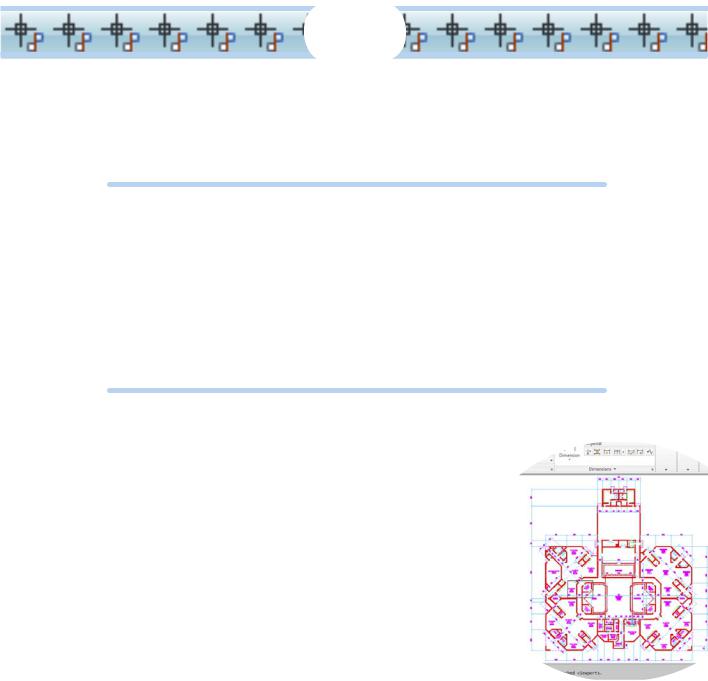
The big news in AutoCAD 2012 was associative arrays. Arrays allow you to very quickly create a repeated pattern of objects, such as building columns or bolt-hole patterns. Previously, they were just multiple copies, but with AutoCAD 2012, they became linked objects. For example, if you edit one item in the array, then all copies of it in the array also update. We cover arrays in more detail in Chapters 11 and 18.
Each new release of AutoCAD typically includes about 200 new or enhanced features. It would take a full chapter just to outline the What’s New guide issued by Autodesk. Rather than listing everything, we just hit the high spots here.
As noted earlier, what’s new in each new AutoCAD release tends to have a theme. This time, it’s mainly 3D enhancements for mechanical designers, including the ability to directly open Autodesk Inventor 3D model files, and to automatically create 2D working views from them. The files remain linked so that any changes made in Inventor reflect through to the AutoCAD drawing. A
www.it-ebooks.info

22 Part I: AutoCAD 101
full discussion of this is beyond the scope of this book, but we do introduce 3D in Part V.
Some of the additions, changes, and improvements of interest to us include the following:
Command line: Improvements to displaying and accessing the command history.
Visual previewing: Many editing operations display a preview. For example, you can see what a new color will look like before actually applying the color to the object.
Arrays: Enhancements to the creation and editing of arrays.
Crosshatching: Improved editing of hatch patterns.
Okay, let’s do it!
www.it-ebooks.info
2
Le Tour de AutoCAD 2013
In This Chapter
Touring the AutoCAD 2013 screens
Browsing AutoCAD’s menus
Going bar hopping: Title bars, the menu bar, toolbars, and the status bar
Unraveling the Ribbon
Navigating with Bar and Cube
Practicing with palettes
Discovering the drawing area
Using online help
AutoCAD 2013 is a full-fledged and thoroughly up-to-date member of the Windows world, but if your last kick at
the software was AutoCAD 2008, or you’re using Windows XP, or you’ve yet to kick the tires of the Microsoft Office 2007 suite, you may not recognize much in AutoCAD’s newest release. But the title bar says “AutoCAD
2013,” so you must be in the right place!
Like the rest of the book, this chapter is written for someone who has used other Windows programs but has little or no experience with AutoCAD. If you are experienced with recent releases of AutoCAD, some of this chapter may be old hat (even if it does look different). Here and throughout the rest of the book, we show you how to do things by using
AutoCAD’s implementation of Microsoft’s Fluent User Interface (or FUI for short; pronounced fooey). In the “Going for that classic look” sidebar later in this chapter, we show you how to make the new version look a lot like an old one.
www.it-ebooks.info