

C H A P T E R 5
Windows
Figure 5-9 Appropriate placement of a new window on a system with multiple monitors (the user moved the first window to span the screens))
When you open several windows on multiple screens, continue to place the windows on the screen where the user is working, each new one below and to the right of its predecessor. Don’t open a window so that it spans monitors; the initial position of a window should always be contained on a single screen.
Closing Windows
Users can close a window by
■choosing Close from the File menu
■pressing Command-W
■clicking the close button
Window Appearance and Behavior |
79 |
Apple Computer, Inc. June 2002

C H A P T E R 5
Windows
When a user closes a document window, your application should
■decide what to do with unsaved data (see “Saving, Closing, and Quitting Behavior” (page 105))
■store the window’s onscreen position and size (so they can be used when the window is reopened)
Moving Windows
The user moves a window by dragging its title bar. As a user drags, the full window and its contents move (unlike in Mac OS 9, which dragged the window’s outline).
Pressing the Command key while dragging an inactive window moves the window but does not make it active.
Your application should never allow users to move a window to a position from which they can’t reposition it.
Resizing and Zooming Windows
Your application determines the minimum and maximum window size. Base these sizes on the resolution of the display and on the constraints of your interface. For document windows, try to show as much of the content as possible, or a reasonable unit, such as a page.
Your application also sets the values for the initial size and position of a window, called the standard state. Don’t assume that the standard state should be as large as possible; some monitors are much larger than the useful size for a window. Choose a standard state that is best suited for working on the type of document your application creates and that shows as much of the document’s contents as possible.
The user can’t change the standard size and location of a window, but your application can change the standard state when appropriate. For example, a word processor might define the standard size and location as wide enough to display a document whose width is specified in the Page Setup dialog.
80Window Appearance and Behavior
Apple Computer, Inc. June 2002
C H A P T E R 5
Windows
The user changes a window’s size by dragging the size control in the lower-right corner. As a user drags, the visible content in the window changes. The upper-left corner of the window remains in the same place and the appearance of the visible contents stays the same. In Mac OS X, the actual window contents are displayed at all times, rather than only the window outline displayed in Mac OS 9.
If the user changes a window’s size or location by at least 7 pixels, the new size and location is the user state. The user can toggle between the standard state and the user state by clicking the zoom button. When the user clicks the zoom button of a window in the user state, first determine the appropriate size of the standard state. Move the window as little as possible to make it the standard size, and keep the entire window on the screen.
When a user with more than one monitor zooms a window, the standard state should be on the monitor containing the largest portion of the window, not necessarily the monitor with the menu bar. This means that if the user moves a window between monitors, the window’s position in the standard state could be on different monitors at different times. The standard state for any window must always be fully contained on a single monitor.
When zooming a window, make sure it doesn’t overlap with the Dock. For more information, see “The Dock’s Onscreen Position” (page 41).
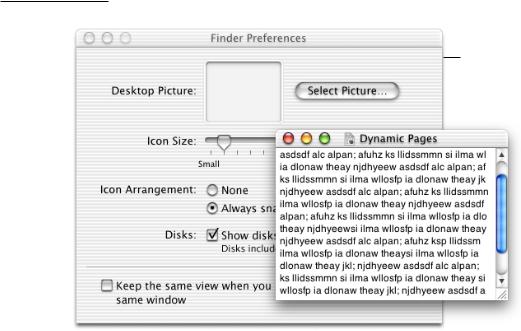
Active and Inactive Windows
Users should be able to open as many windows as they want, but they interact with only one at a time. The active window is frontmost and is visually distinct from the other windows onscreen. The controls in active windows have color; controls in inactive windows do not.
Figure 5-10 Window controls in active and inactive states
Window Appearance and Behavior |
81 |
Apple Computer, Inc. June 2002

C H A P T E R 5
Windows
Starting with Mac OS X version 10.2, users can cycle forward or backward through active document windows using Command-~ (tilde) and Shift-Command-~. Cocoa applications automatically inherit this behavior; Carbon developers must handle appropriate menu commands.
Click-Through
An item that provides click-through is one that a user can activate on an inactive window with one click, rather than clicking first to make the window active and then clicking the item. Click-through provides greater efficiency in performing such tasks as closing or resizing inactive windows, and copying or moving files. In many cases, however, click-through could confuse a user who clicks an item unintentionally.
Click-through is not a property of a class of controls; any control could support click-through in many contexts, but the same control could disable click-through when its use could be destructive in a particular context.
In an inactive window, an item that provides click-through should have its text or glyph (such as an arrow) in 100-percent black; if the item usually has color (such as a radio button), it should be colorless in its click-through state. Items that do not provide click-through should appear in their disabled state.
82Window Appearance and Behavior
Apple Computer, Inc. June 2002
C H A P T E R 5
Windows
Figure 5-11 An inactive window with controls that support click-through
All the controls on this window support click-through.
You can provide click-through for such items as
■pop-up menus
■text fields
■window controls in title bars (close, minimize, and zoom buttons)
■title bars, including proxy icons
■toolbar buttons (when the button’s action is not potentially harmful)
■scroll bars
Don’t provide click-through for items or actions that
■ are potentially harmful (for example, the Delete button in Mail)
Window Appearance and Behavior |
83 |
Apple Computer, Inc. June 2002
C H A P T E R 5
Windows
■are difficult to recover from, such as
■actions that are difficult or impossible to cancel (the Send button in Mail)
■dismissing a dialog without knowing what action was taken (for example, it’s not easy to “unsave” a document)
■removing the user from the current context (selecting a new item in a column, for example, can change the target of the Finder window)
Clicking in one of these situations should result in the window being brought forward but no action being taken.
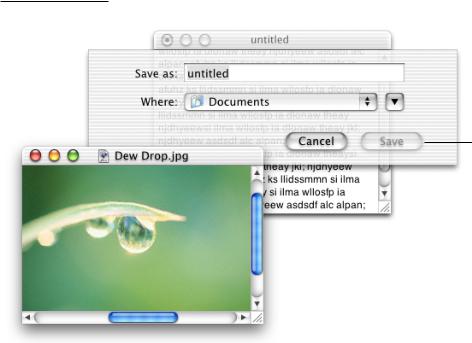
Figure 5-12 The Save button on the inactive window does not support click-through
This button does not support click-through.
In general, you can implement click-through for an item that provides confirmation feedback before taking place—in other words, the user can cancel the action—such as deleting a user in Accounts preferences. If you want to implement click-through on an item that doesn’t provide confirmation feedback, consider how difficult it will
84Window Appearance and Behavior
Apple Computer, Inc. June 2002