

Chapter 5 Blazor
As soon as _Host.cshtml is finished loading, we are in Blazor land. From here on out, everything works exactly the same as Blazor WASM, development-wise. Feel free to compare the code of the Razor components that are in the default templates for server and WASM projects; they are the same components. Since we’ve already discussed Razor components in the Blazor WASM section of this chapter, we won’t go over it again.
Blazor Desktop
Back in Chapter 4, I briefly mentioned that Blazor was also available for building desktop applications. Using Blazor in WinForms or WPF applications is possible, thanks to
a control called the BlazorWebView. The BlazorWebView is a component that hosts a WebView2 control, which in its turn is a component that can render HTML based on Microsoft’s Edge browser. The BlazorWebView also knows how to initialize and run Blazor.
Unfortunately at the time of writing, there are no project templates available for WPF or WinForms that include the Blazor setup, so for now we will have to do it manually. For this demo, we will start from a WinForms project. The procedure for WPF is very similar so it shouldn’t be a problem to follow along.
We will start with a new .NET 6-based WinForms application. Once that is created, we start by editing the project file and changing our target SDK from Microsoft.NET.Sdk to Microsoft.NET.Sdk.Razor. In the end, your project file should look like Listing 5-14.
Listing 5-14. The modified project file
<Project Sdk="Microsoft.NET.Sdk.Razor">
<PropertyGroup>
<OutputType>WinExe</OutputType> <TargetFramework>net6.0-windows</TargetFramework> <Nullable>enable</Nullable> <UseWindowsForms>true</UseWindowsForms> <ImplicitUsings>enable</ImplicitUsings>
</PropertyGroup>
</Project>
148
Chapter 5 Blazor
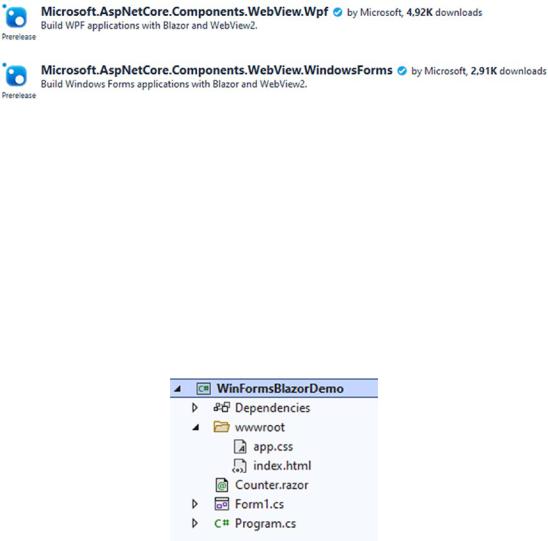
Once the SDK is changed, we need to add a NuGet reference to Microsoft. AspNetCore.Components.WebView.WindowsForms. There is a different package for when you are following along for a WPF project; make sure to select the correct one. Figure 5-11 shows both options.
Figure 5-11. WPF and WinForms versions of the WebView package
Note that at the time of writing both of these packages were still in Prerelease. That is because the Blazor Desktop efforts are part of MAUI, Microsoft’s cross-platform mobile framework which we will talk about in Chapter 6. MAUI was supposed to be released together with .NET 6 but they missed that mark. Instead it will launch somewhere
in 2022.
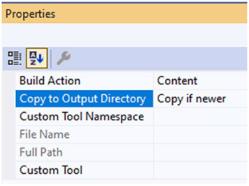
Once the NuGet package is installed, we can start adding Blazor files. We start by creating a wwwroot folder in the WinForms project and adding in an index.html and app.css. I have copied these files over from a Blazor WASM project. Next I have copied the Counter.razor component that we have seen before in this chapter. In the end, your project should look like Figure 5-12.
Figure 5-12. Project structure for WinForms with Blazor
149
Chapter 5 Blazor
An important step is changing the Copy to output property for every file in the wwwroot folder to Copy if newer as demonstrated in Figure 5-13.
Figure 5-13. Changing the copy to output properties
The final step in the process is creating the BlazorWebView and adding it to a form. This can be done through the editor; the BlazorWebView will show up in the toolbox, or it can be done by code. Listing 5-15 shows adding the BlazorWebView by code.
Listing 5-15. Adding the BlazorWebView to a form
public BlazorForm()
{
InitializeComponent();
var serviceCollection = new ServiceCollection(); serviceCollection.AddBlazorWebView();
var blazor = new BlazorWebView
{
Dock = DockStyle.Fill,
HostPage = "wwwroot/index.html",
Services = serviceCollection.BuildServiceProvider(),
};
blazor.RootComponents.Add<Counter>("#app");
Controls.Add(blazor);
}
150
Chapter 5 Blazor
We are adding the BlazorWebView from the constructor. First we create a new instance of ServiceCollection, which is needed for dependency injection inside the Blazor part. We call the AddBlazorWebView extension method on the ServiceCollection to wire up all of the Blazor framework-related services. Next we create an instance
of the BlazorWebView WinForms component; we let it dock to all sides so that the BlazorWebView will take up all available space on the form. The HostPage is the index. html file we have copied over from another Blazor project into the wwwroot folder. The Services property is the ServiceCollection where all Blazor services are registered.
Just like before, we add a rootcomponent to the div with ID app. In this case, we add the only component our application currently has, the counter component. We are free to add as many components as we want; we can copy an entire Blazor application in here with the MainLayout, the routing mechanism, and so on.
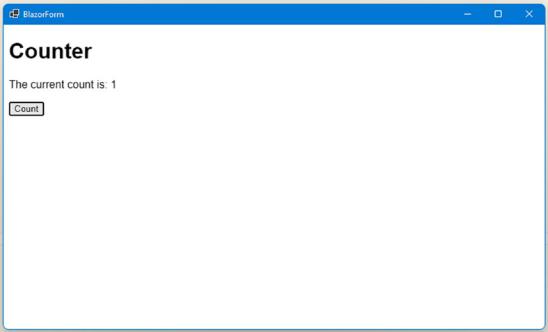
The final step is adding the BlazorWebView to our form’s list of controls. Once this is done, we can launch the application and we will see that the Blazor counter component is loaded and visible on a native Windows Forms application. Figure 5-14 shows the running application.
Figure 5-14. Blazor running inside a WinForms application
151