

Pinning
Although it is possible to stitch seams without pinning them, this requires a great deal of skill and control. Normally, seams are joined first with pins, then basted or permanently stitched. To pin plain seams correctly, place the two pieces to be joined together evenly on a flat surface. Insert pins at right angles to the seam line with the pin holding the two fabrics securely together along the seam line. This prevents the two fabrics from shifting on the seam line while you are basting or stitching. Place a pin at each end, matching edges, and then at the notches before pinning the remaining area (Fig.19).


Fig.19 Fig.20
If you are working with an eased seam, the pinning will be slightly different. Place the fabrics together with the section to be eased on top toward you. Place pins at right angles to the seam along the seam line. Put them very close together leaving slight fullness between pins in the eased section. This can be done easily and evenly if you roll the fabric over your finger as you join the two sections with the pins.
When you pin a crossed seam (where two or more seams cross each other), first be sure the stitched seams match. Place a pin through the middle of the stitched seams at the seam line and place pins on either side of seams on the seam line (Fig.20).
To pin a lapped seam, turn under the seam allowance on the section to be lapped and place it in position. Place pins at right angles to the fold edge close to the fold through all thicknesses.
Stitching
Usually a pinned seam is taken directly to the sewing machine and either machine-basted or permanently stitched. If it is a seam, which will not require additional fitting such as a center front seam, or the joining of a facing to a neckline, it is permanently stitched. Seams, which may need refitting should be machine-basted. In either case, you'll want to remove the pins as you stitch. Most machines are equipped with a traveling foot, which rocks backward and forward over the pins, so an entire seam can be stitched and the pins removed after stitching. However, this is not the best method, since many fabrics may require slight easing of the top layer because the two thicknesses do not travel through the machine at exactly the same rate. When a seam is pinned such fabric is likely to bunch at the pins, unless it is carefully eased. It is better to stitch slowly, removing each pin with your right hand just before it reaches the edge of the machine foot. Keep a pin cushion handy on your wrist or at the right side of the sewing machine, and place the pin in it as soon as you remove it from the fabric (Fig.21).

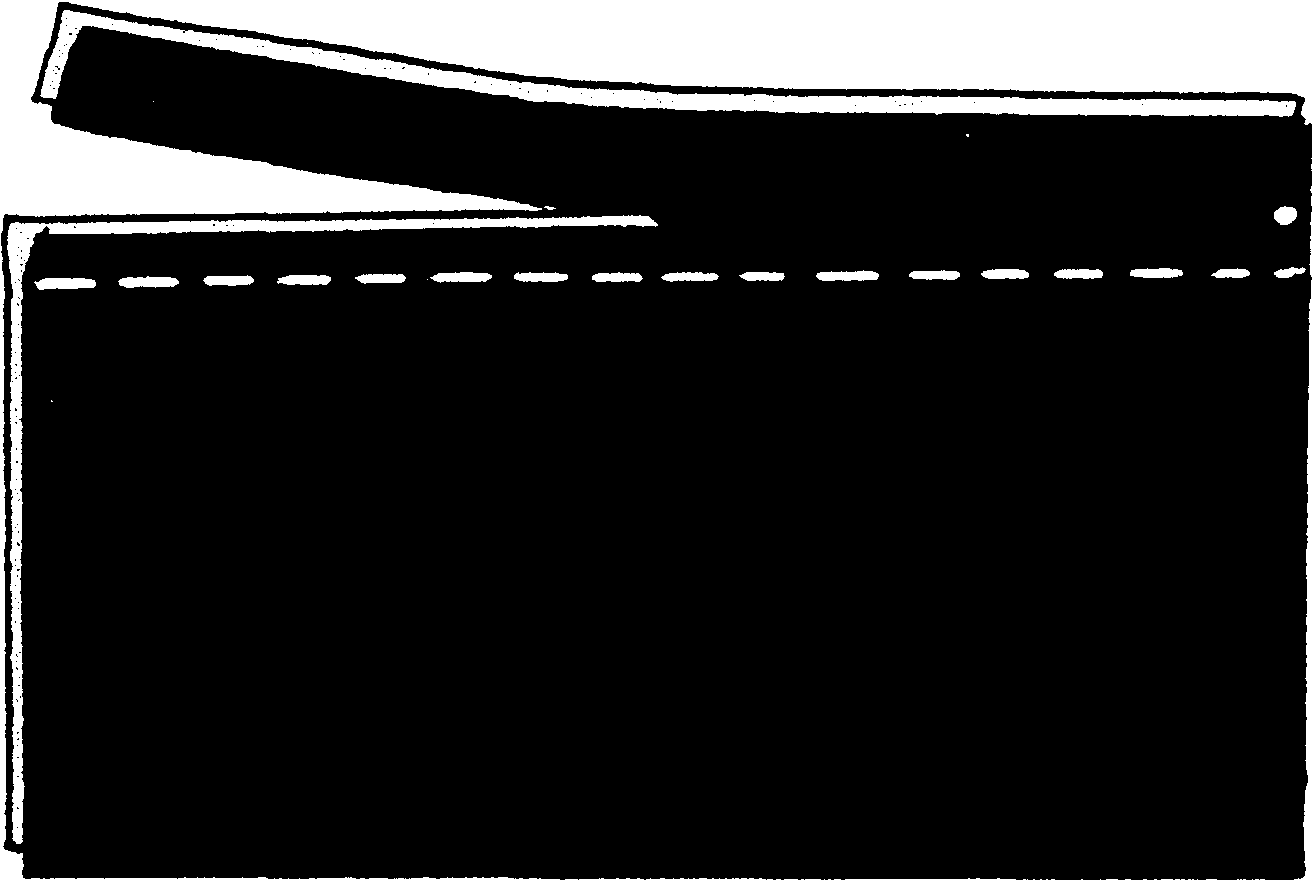
Fig.21 Fig.22
Trimming
In working with a pattern, you'll find that you will have to trim many seams. This simply means that you cut away both allowances to an even width. Seams are trimmed to reduce bulk, particularly at faced edges (Fig.22).
Grading
Grading a seam allowance means that the layers of fabric are cut to different widths, with the wider seam allowance next to the outside fabric. When there is an interfacing joined in a seam, trim this close to the line of stitching. Grading eliminates a ridge being formed by the bulk of several layers of fabric in a seam allowance (Fig.23).
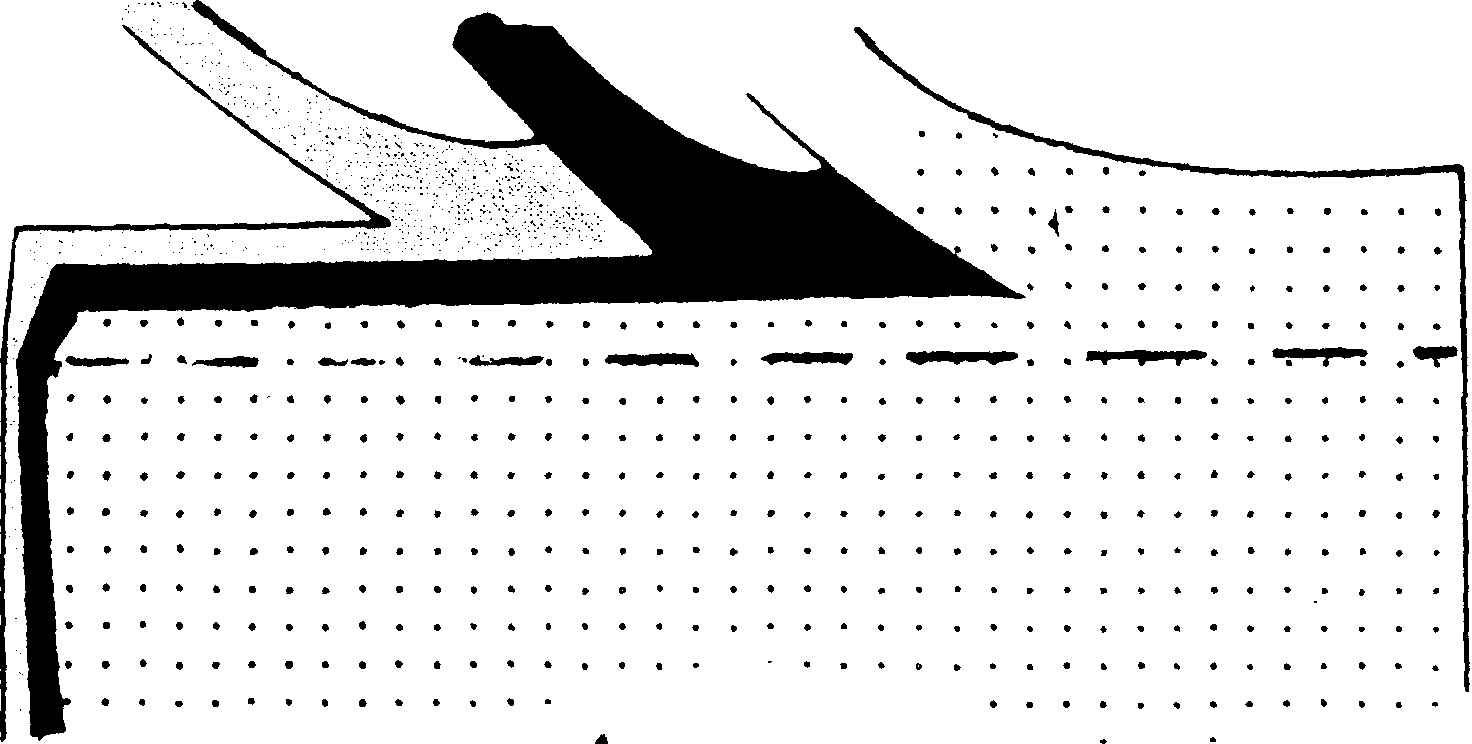

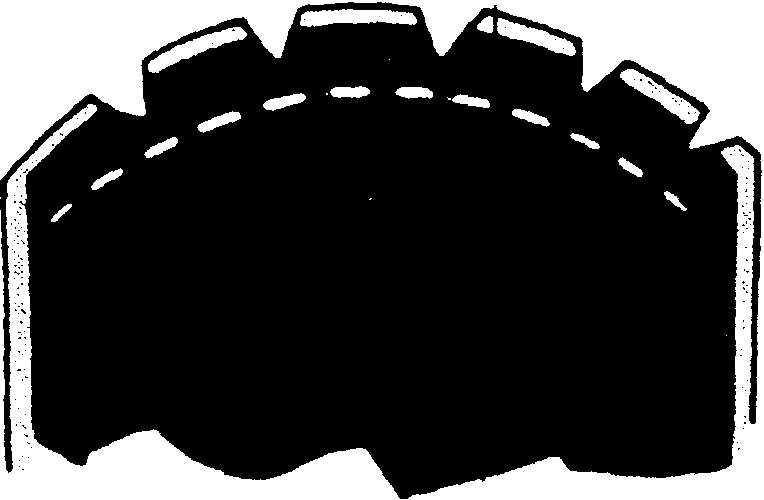
Fig.23 Fig.24 Fig.25