

Phantom 3 Professional User Manual
Connecting Your Mobile Device
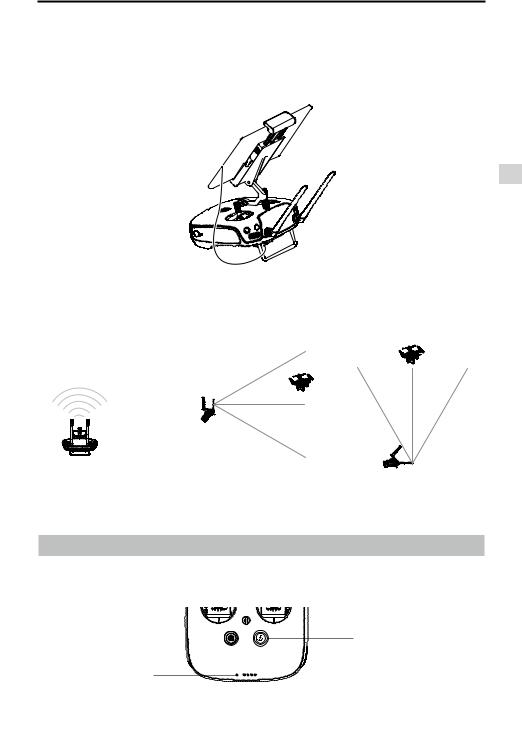
Tilt the mobile device holder to the desired position. Press the button on the side of the mobile device holder to release the clamp, and then place your mobile device into the cradle. Adjust the clamp down to secure the mobile device. To connect your mobile device to the remote controller using a USB cable, plug one end of the cable into your mobile device and the other end into the USB port on the back of the remote controller.
Controller Remote
Optimal Transmission Range
The transmission signal between the aircraft and the remote controller is most reliable within the area that is depicted in the image below:
Optimal Transmission Range
strong weak
Ensure that the aircraft is flying within the optimal transmission zone. To achieve the best transmission performance, maintain the appropriate relationship between the operator and the aircraft.
Remote Controller Status LED
The Status LED reflects the strength of the connection between the remote controller and the aircraft. The
RTH LED indicates the Return-to-Home status of the aircraft. The table below contains more information about these indicators.
RTH LED
Status LED
© 2015 DJI. All Rights Reserved. 27
Phantom 3 Professional User Manual
Controller Remote
Status LED |
Alarm |
— Solid Red |
Chime |
— Solid Green |
Chime |
Slow Blinking Red |
...... |
D-D-D |
|
/ |
None |
Red and Green/ Red and |
|
Yellow Alternate Blinks |
|
RTH LED |
Sound |
— Solid White |
Chime |
Blinking White |
D . . . |
Blinking White |
DD .. .. .. |
Remote Controller Status
The remote controller is disconnected from the aircraft. The remote controller is connected to the aircraft. Remote controller error.
HD downlink is disrupted.
Remote Controller Status Aircraft is returning home.
Sending Return-to-Home command to the aircraft. Return-to-Home procedure in progress.
The Remote Status Indicator will blink red and sound an alert, when the battery level is critically low.
Linking the Remote Controller
The remote controller is linked to your aircraft before delivery. Linking is only required when using a new remote controller for the first time. Follow these steps to link a new remote controller:
1.Turn on the remote controller and connect to the mobile device. Launch the DJI GO app.
2.Turn on the Intelligent Flight Battery.
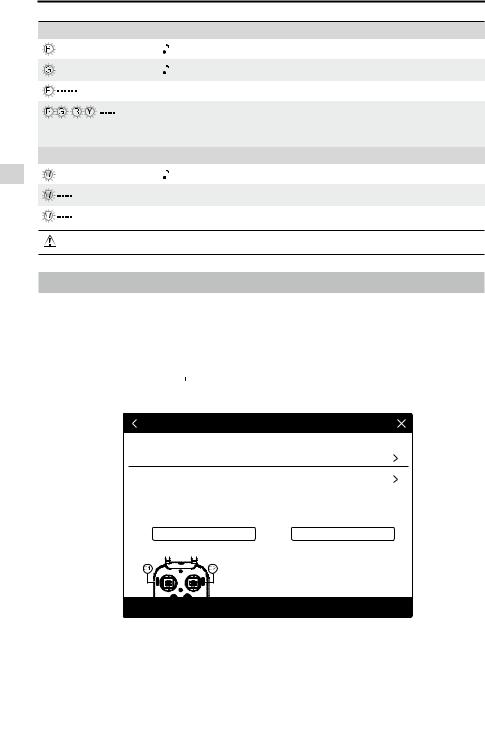
3. Enter “Camera” and tap on 


 and then tap “Linking RC” button as shown below.
RC Control Setting
RC Calibration
Stick Mode
Default stick mode is Mode 2, changing stick modes alters the way the aircraft is controlled. Do not change unless familiar with your new mode.
C1 |
Not Defined |
C2 |
Not Defined |
You can customize the C1 and C2 buttons on the back of the RC.
Linking RC
28 © 2015 DJI. All Rights Reserved.
Phantom 3 Professional User Manual
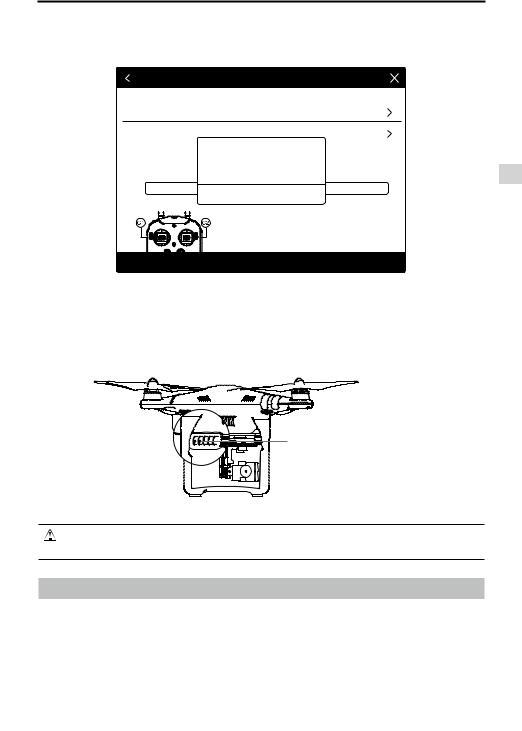
4.The remote controller is ready to link. The Remote Controller Status Indicator blinks blue and a beep is emitted.
RC Control Setting
RC Calibration
Stick Mode
Default stick mode is Do not change unless
C1 Not
Searching for aircraft frequency, |
|
timeout in 54 seconds |
the aircraft is controlled. |
Press the linking button on the aircraft to link this remote controller
Defined
Cancel
You can customize the C1 and C2 buttons on the back of the RC.
Linking RC
5.Locate the linking button on the side of the aircraft, as shown in the figure below. Press the link button to start linking. The Remote Controller Status Indicator LED will display a solid green once the remote controller is successfully linked to the aircraft.
Link Button
Controller Remote
 The remote controller will un-link itself from an aircraft if a new remote controller is linked to the same aircraft.
Remote Controller Compliance Version
The remote controller is compliant with both CE and FCC requirements.
© 2015 DJI. All Rights Reserved. 29
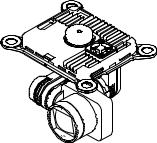
Camera and Gimbal
This section provides the technical specifications of the camera and explains the gimbal’s operation modes.
30 © 2015 DJI. All Rights Reserved.