

Chapter 5 - MPLAB
5.2 MPLAB
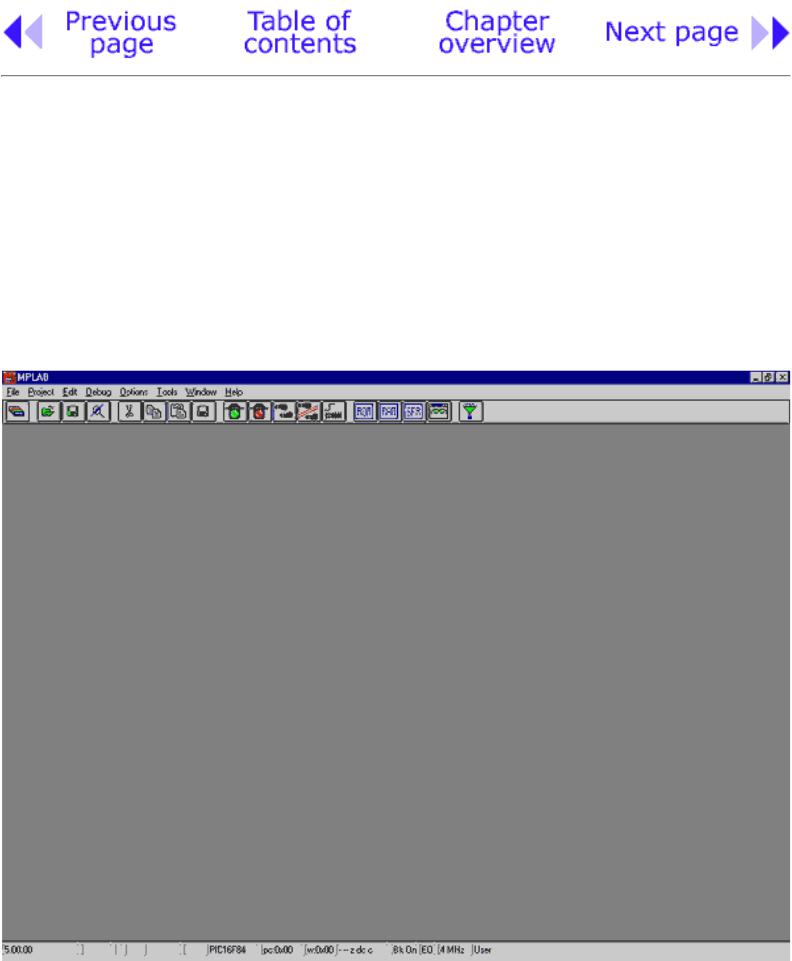
Following the installment procedure, you will get a screen of the program itself. As you can see, MPLAB looks like most of the Windows programs. Near working area there is a "menu" (upper blue colored area with options File, Edit..etc.), "toolbar" (an area with illustrations the size of small squares), and status line on the bottom of the window. There is a rule in Windows of taking some of the most frequently used program options and placing them below the menu, too. Thus we can access them easier and speed up the work. In other words, what you have in the toolbar you also have in the menu.
http://www.mikroelektronika.co.yu/english/books/5_02Poglavlje.htm (1 of 2) [30/12/2001 16:54:02]
Chapter 5 - MPLAB
The screen after starting the MPLAB
The purpose of this chapter is for you to become familiar with MPLAB developing environment and with basic elements of MPLAB such as:
Choosing a developing mode Designing a project
Designing a file for the original program
Writing an elementary program in assembler program language Translating a program into executive code
Starting the program
Opening a new window for a simulator
Opening a new window for variables whose values we watch (Watch Window) !saving a window with variables whose values we are watching
Setting the break points in a simulator (Break point)
Preparing a program to be read in a microcontroller can boil down to several basic steps:
© Copyright 1999. mikroElektronika. All Rights Reserved. For any comments contact webmaster.
http://www.mikroelektronika.co.yu/english/books/5_02Poglavlje.htm (2 of 2) [30/12/2001 16:54:02]
Chapter 5 - MPLAB
5.3 Choosing the development mode
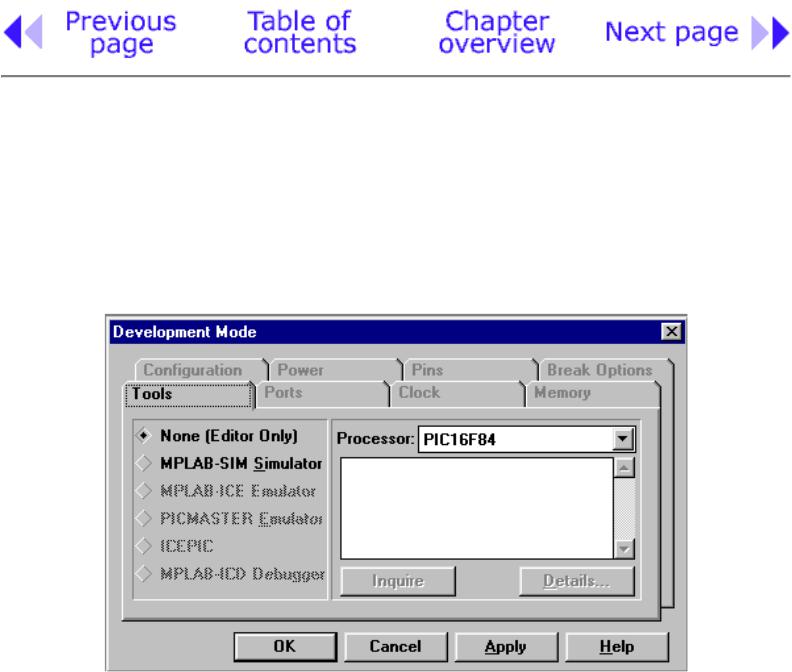
Setting a developing mode is necessary so that MPLAB can know what tools will be used to execute the written program. In our case, we need to set up the simulator as a tool that's being used. By clicking on OPTIONS---> DEVELOPMENT MODE, a new window will appear as in the picture below:
Setting a developing mode
We should select the 'MPLAB-SIM Simulator' option because that is where the program will be tried out. Beside this option, the 'Editor Only' option is also available. This option is used only if we want to write a program and using a programmer write' hex file' in a microcontroller. Selection of the microcontroller model is done on the right hand side. Since this book is based on the PIC16F84, this model should be selected.
Ordinarily when we start working with microcontrollers, we use a simulator. As the level of knowledge increases, program can be written in a microcontroller right after translation. Our advice is that you always use the simulator. Though program will seem to develop slower, it will pay off in the end.
http://www.mikroelektronika.co.yu/english/books/5_03Poglavlje.htm (1 of 2) [30/12/2001 16:54:04]

Chapter 5 - MPLAB
© Copyright 1999. mikroElektronika. All Rights Reserved. For any comments contact webmaster.
http://www.mikroelektronika.co.yu/english/books/5_03Poglavlje.htm (2 of 2) [30/12/2001 16:54:04]