

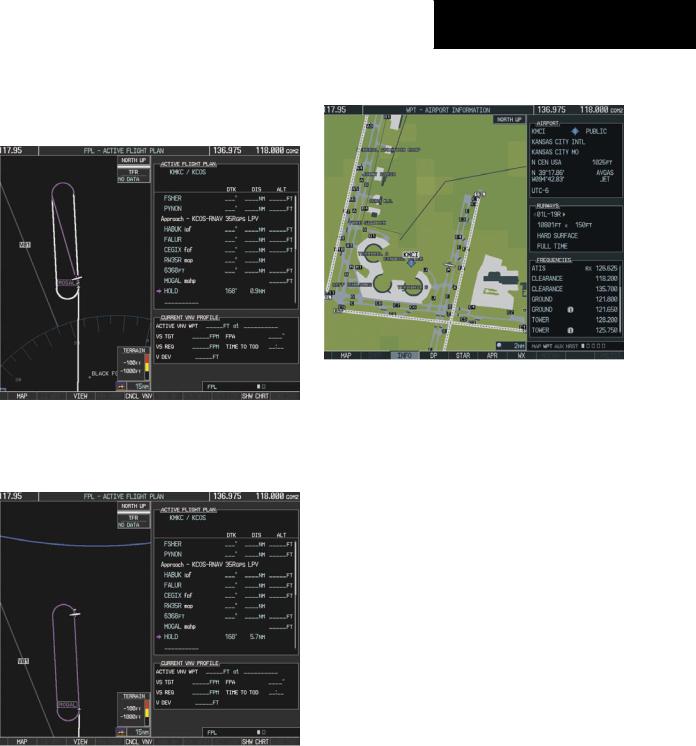
26)The aircraft continues climbing to “AT or ABOVE” 10,000 feet at MOGAL. A holding pattern is established at the MAHP (MOGAL) as shown in Figure 7-49.
Figure 7-49 Establishing the Holding Pattern
27)The aircraft maintains 10,000 feet while following the magenta line through the hold as in Figure 7-50.
SECTION 7 – NAVIGATION
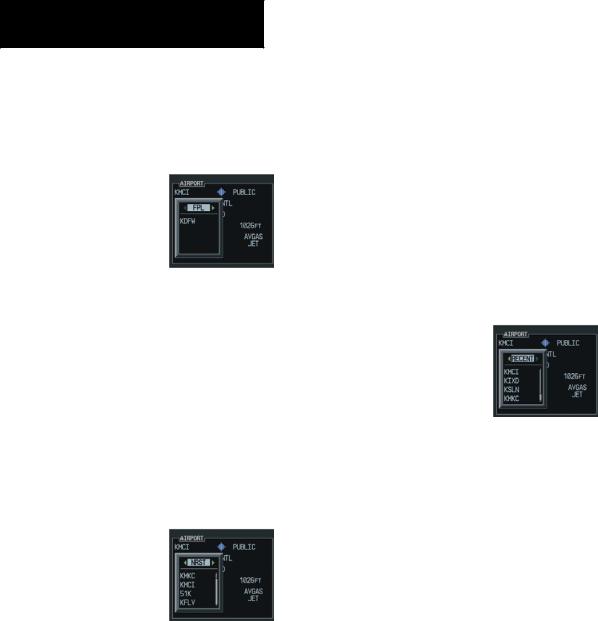
7.4AIRPORT INFORMATION
Figure 7-51 Airport Information Page
Select the Airport Information Page
1)Turn the large FMS Knob to select the ‘WPT’ page group.
2)Turn the small FMS Knob to select the first rectangular page icon. Initially,information for the airport closest to the aircraft’s present position is displayed.
Select an Airport from the Database
1)With theAirport Information Page displayed, press the FMS Knob to activate the cursor.
2)Enter the desired airport identifier.
Figure 7-50 Hold Established
190-00384-08 Rev.A |
Garmin G1000 Cockpit Reference Guide for the Cessna Nav III |
7-21 |
SECTION 7 – NAVIGATION
Select an Airport from the Active Flight Plan
1)With theAirport Information Page displayed, press the FMS Knob to activate the cursor.
2)Turn the small FMS Knob to the left to display a list of flight plan airports as shown in Figure 7-52.
Figure 7-52 Flight Plan Airport List
3)Turn the large FMS Knob to select the desired airport.
4)Press the ENT Key.
Select a Nearest Airport
1)With theAirport Information Page displayed, press the FMS Knob to activate the cursor.
2)Turn the small FMS Knob to the left. Initially, a flight plan airport list is displayed as in Figure 7-52. The list is populated only when navigating a flight plan.
Figure 7-53 Nearest Airport List
3)Turn the small FMS Knob to the right to display the ‘NRST’ airports to the aircraft’s current position as shown in Figure 7-53.
4)Turn the large FMS Knob to select the desired airport.
5)Press the ENT Key.
Select a Recently Entered Airport Identifier
1)With theAirport Information Page displayed, press the FMS Knob to activate the cursor.
2)Turn the small FMS Knob to the left. Initially,a flight plan waypoint list is displayed as in Figure 7-52. The list is populated only when navigating a flight plan.
3)Turn the small FMS Knob to the right to display the ‘RECENT’ airports as shown in Figure 7-54.
Figure 7-54 Recently Entered Airports List
4)Turn the large FMS Knob to select the desired airport.
5)Press the ENT Key.
Select an Airport by Facility Name or City Location
1)With theAirport Information Page displayed, press the FMS Knob to activate the cursor.
2)Turn the large FMS Knob to the right to select the facility name or location (city) field.
3)Enter the desired facility name or city.
5)Press the ENT Key. If there are duplicate names in the database, a list is displayed from which to choose the desired location.
6)To remove the flashing cursor, press the FMS
Knob.
7-22 |
Garmin G1000 Cockpit Reference Guide for the Cessna Nav III |
190-00384-08 Rev.A |
Access Runway Information
1)With theAirport Information Page displayed, press the FMS Knob to activate the cursor.
2)Turn the large FMS Knob to place the cursor on the ‘RUNWAYS’ identifier field.
3)Turn the small FMS Knob in the direction of the green arrow to display the next runway for the selected airport. Continue turning the small FMS Knob to select the desired runway.
4)To remove the flashing cursor, press the FMS
Knob.
Access Frequency Information
1)With theAirport Information Page displayed, press the FMS Knob to activate the cursor.
2)Turn the large FMS Knob to move the cursor to the Frequencies box.
3)Turn either FMS Knob to scroll through the list, placing the cursor on the desired frequency. If a listed frequency has sector or altitude restrictions, thefrequencyisprecededbyaninfo(‘i’)designation. Press the ENT Key to view the information. The following may be displayed with the frequency:
•‘TX’ – transmit only
•‘RX’ – receive only
•‘PT’ – part time frequency
4)Press the ENT Key to place the selected frequency in the standby field of the COM or NAV box.
5)To remove the cursor, press the FMS Knob.
SECTION 7 – NAVIGATION
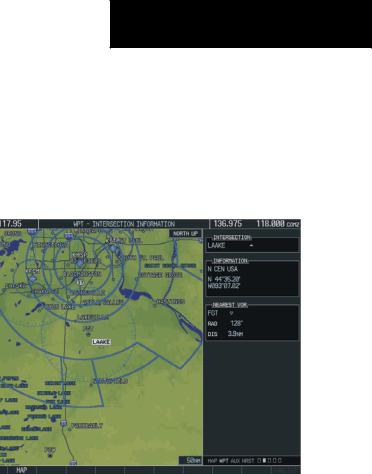
7.5INTERSECTION INFORMATION
Select the Intersection Information Page
1)Turn the large FMS Knob to select the ‘WPT’ page group.
2)Turn the small FMS Knob to select the second rectangular page icon.
Figure 7-55 Intersection Information Page
Access Information on an Intersection
1)With the Intersection Information Page displayed, press the FMS Knob to activate the cursor.
2)Enter an intersection identifier and press the ENT Key.
3)Press the FMS Knob to remove the flashing cursor.
190-00384-08 Rev.A |
Garmin G1000 Cockpit Reference Guide for the Cessna Nav III |
7-23 |
SECTION 7 – NAVIGATION
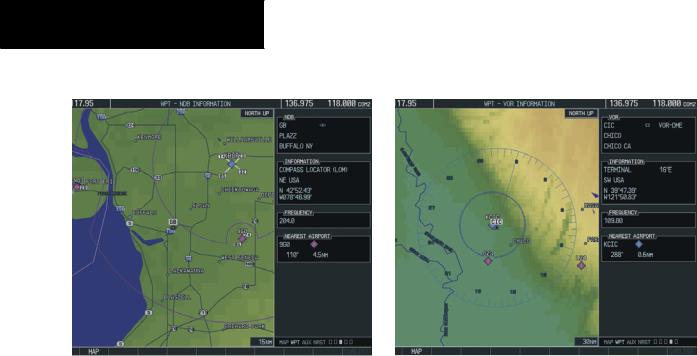
7.6NDB INFORMATION
Figure 7-56 NDB Information Page
Select the NDB Information Page
1)Turn the large FMS Knob to select the ‘WPT’ page group.
2)Turn the small FMS Knob to select the third rectangular page icon
View Information on a Specific NDB
1)With the NDB Information Page displayed, press the FMS Knob to activate the cursor.
2)Turn the large FMS Knob to highlight the desired selection field (identifier, name or closest city).
3)Enter an identifier, name or city and press the ENT Key.
4)Press the FMS Knob to remove the flashing cursor.
7.7VOR INFORMATION
Figure 7-57 VOR Information Page
Select the VOR Information Page
1)Turn the large FMS Knob to select the ‘WPT’ page group.
2)Turn the small FMS Knob to select the fourth rectangular page icon.
Access Information on a VOR
1)With the VOR Information Page displayed, press the FMS Knob to activate the cursor.
2)Turn the large FMS Knob to highlight the desired selection field (identifier, name or closest city).
3)Enter an identifier, name or city and press the ENT Key.
4)The ‘FREQUENCY’ field is now highlighted. If desired, press the ENT Key to place the frequency in the NAV receiver standby field.
5)Press the FMS Knob to remove the flashing cursor.
7-24 |
Garmin G1000 Cockpit Reference Guide for the Cessna Nav III |
190-00384-08 Rev.A |