


Chapter 5 — Protecting and Mounting Your GPS |
93 |
More Screen Armoring
Screen protectors offer you some protection against screen damage, but don’t expect miracles — all you’ve done is apply a thin film to the screen, which a rock or sharp edge can easily penetrate. Figure 5-8 shows the damage sustained by a screen protector when it was scratched against a rock — that would represent pretty severe damage to your unit.
FIGURE 5-8: Screen protectors really do offer good protection against scratches.
The best way to protect your screen is to take steps to prevent impacts from reaching the screen. The following sections describe some simple steps you can take to help achieve that.
Rubber Bumpers
One way to help protect a screen is to apply a few rubber bumpers to the screen. This won’t protect it against all forms of damage, but if you use your GPS for work or in extreme sports such as kayaking, then this can certainly give it a fighting change of survival.
A simple way to do this is to squeeze out a few blobs of silicone sealant onto the corners of the screen. This is what I’ve done to a Garmin 76 in Figure 5-9.
This is a simple technique that helps to prevent damage. If you want, you can take this a stage further and add ridges of silicone to the screen, running along the edges as shown in Figure 5-10.
94 Part I — Hardware Hacks
FIGURE 5-9: Apply a few blobs of silicone to the edges of the screen — waiting for it to dry before using.
The great thing about using silicone sealant is that you can remove it once it gets a bit rough and add some more. These bumpers won’t last forever and usually come loose after a few weeks or months, so you will need to replace them regularly.
Some people make more robust rubber bumpers by using hot glue from a hot glue gun instead of silicone. I don’t suggest this because the heat from the glue can crack the screen or damage the underlying LCD display. The risks outweigh the benefits, and the objective is to protect the screen, not subject it to possible destruction.
Wire Bumpers
Another option is to create wire bumpers for your GPS. This mimics the protectors used on some sports watches to protect the LED from damage.
These are quite easy to make. All you need are the following:
A few big paperclips (shown in Figure 5-11)
A pair of pliers with wire cutters
Silicone tubing (as used in a fish tank aquarium to pipe the air)

Chapter 5 — Protecting and Mounting Your GPS |
95 |
FIGURE 5-10: Ridges offer greater protection against scratches and bumps.
FIGURE 5-11: The bigger the paperclips the better.
96 Part I — Hardware Hacks
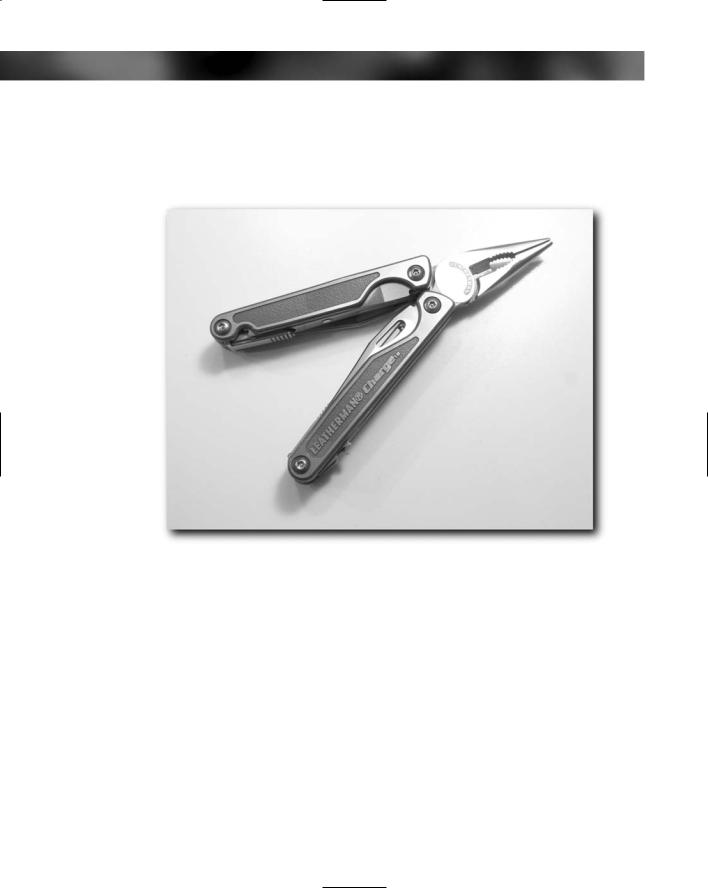
Creating the wire bumpers is easy, and there are no real hard and fast rules as to how to do it — it will vary for each GPS. To help you complete this small project, you will need a good pair of pliers that have wire cutters on them. I find that a multitool such as the Leatherman Charge Ti (shown in Figure 5-12) is ideal for this.
FIGURE 5-12: The Leatherman Charge Ti — the ideal hacking companion!
1.Straighten out a few of the paperclips to give you the tough but flexible wire that you’ll need. Don’t remove all the bumps in the paper-clip wire, just straighten them out as shown in Figure 5-13.
2.Take the tubing and thread it over the wire to give it a quick and easy rubber coating.
3.In Figure 5-14, I’ve cut the tubing so that it extends a little beyond the end of the wire for safety. This is especially important if you have to cut the paper clips and expose a sharp end.

Chapter 5 — Protecting and Mounting Your GPS |
97 |
FIGURE 5-13: Straighten out the major bends and curves in the paper clip.
FIGURE 5-14: Make sure that the tubing extends over any sharp edges.

98 Part I — Hardware Hacks
4.Take the silicone-coated wire and wrap it around the GPS. Try to avoid covering the battery compartment, so you can still change the battery without first removing the bumpers. Sometimes this is not possible, forcing you to choose between convenience and protection. Figure 5-15 shows a completed set of bumpers.
FIGURE 5-15: Completed set of bumpers
5.Figure 5-16 shows a close-up of one of the ends of the silicone-rubber-covered wire where I’ve overlapped the end to prevent the wire from poking through.
And that’s it — done! Depending on how you arrange the wire, you can offer more protection to some areas on the GPS than others.