

Cisco Secure VPN Exam Certification Guide - Cisco press
.pdf178 Chapter 4: Configuring Cisco VPN 3000 for Remote Access Using Preshared Keys
The Welcome screen appears, as shown in Figure 4-29. Click Next to continue.
Figure 4-29 VPN Client Install Setup Welcome
Figure 4-30 shows the next screen to be displayed, the license agreement screen. Scroll down through the agreement, and then click Yes to continue if you agree to the terms of the license agreement.
Figure 4-30 VPN Client License Agreement
Installing and Configuring the VPN Client 179
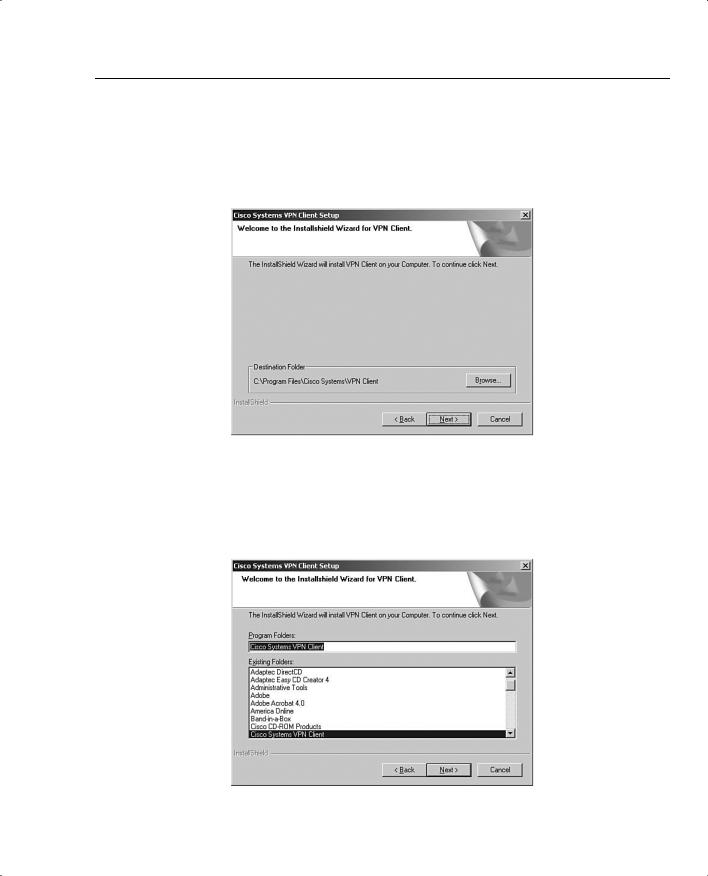
The file location screen is displayed, as shown in Figure 4-31. To accept the default location, click Next. If not, click Browse to select the folder where the installation wizard is to install the client application.
Figure 4-31 VPN Client Install File Location
The next screen to be displayed, shown in Figure 4-32, asks you to select the Windows folder for the application. Click Next to accept the default, or select another location for the application.
Figure 4-32 VPN Client Install Windows Folder Selection
180 Chapter 4: Configuring Cisco VPN 3000 for Remote Access Using Preshared Keys
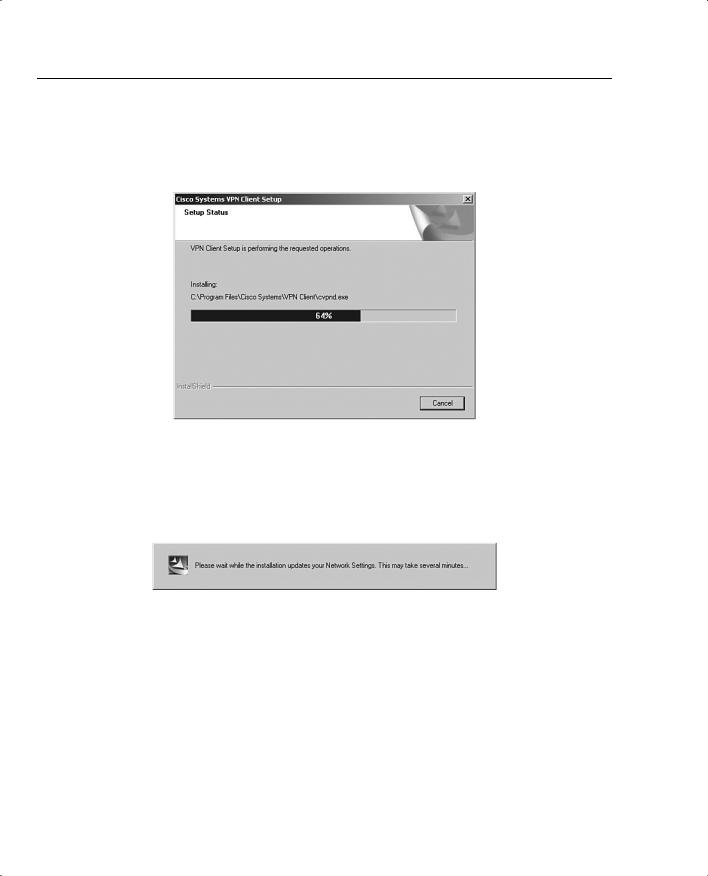
The installation wizard then copies the files from the CD to your system, as shown in Figure 4-33. This portion of the installation takes less than a minute.
Figure 4-33 Cisco VPN Client Installation
The installation wizard then updates the Windows Registry settings. While it does this, the wizard presents the message shown in Figure 4-34. While the message indicates that it can take several minutes, the wizard is, in fact, fast in accomplishing this task.
Figure 4-34 VPN Client Install Network Settings
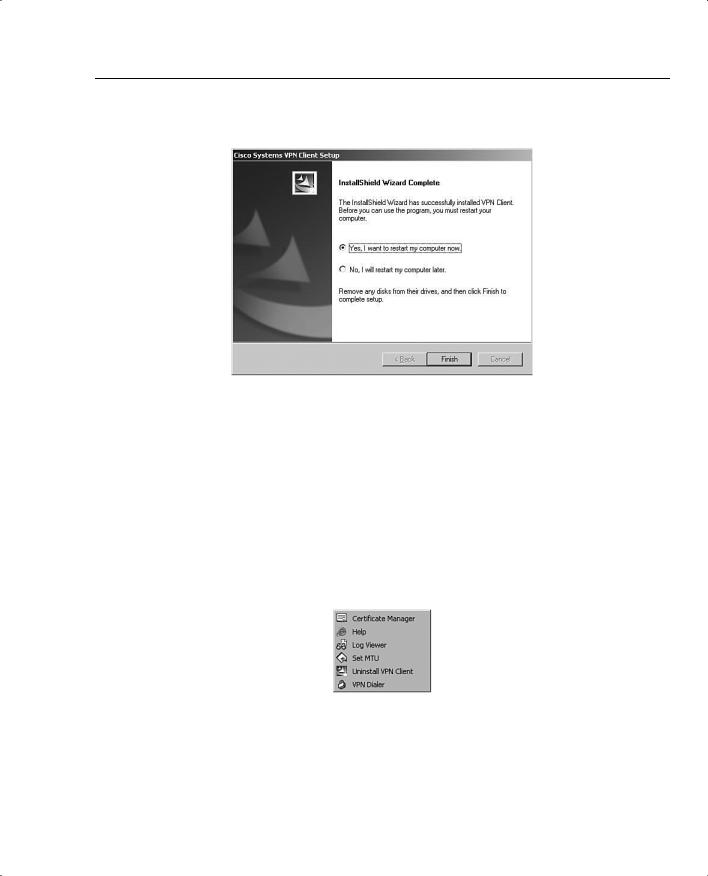
The final screen of the installation process is shown in Figure 4-35. After the installation has been completed, you must reboot the Windows system. The completion screen gives you the option of rebooting when you click the Finish button or waiting until a later time to restart the system. Make your selection and click Finish.
This is a simple installation process. As a systems administrator, you could provide the application to your users with simple instructions, especially if you want them to use the default settings.
Installing and Configuring the VPN Client 181
Figure 4-35 VPN Client Installation Complete
VPN Client Configuration
The configuration process is almost as easy as the installation process. The user must enter several pieces of information. Your installation instructions should provide all the entries that your users must make.
To start the configuration process, start the VPN Client application. From the Windows Desktop, choose Start, Programs, Cisco Systems VPN Client to display the Option menu shown in Figure 4-36. The next step is not self-evident. To start the client, click the VPN Dialer menu option.
Figure 4-36 Starting the Cisco VPN Client
Figure 4-37 shows the main interface screen for the VPN Client. Notice that the Connection Entry window is blank, indicating that you have not yet configured the connection information. The Connect button is also grayed out and stays that way until you have a valid connection defined. Create the first connection entry; click New to begin that process.

182 Chapter 4: Configuring Cisco VPN 3000 for Remote Access Using Preshared Keys
Figure 4-37 Connection Entry Screen
The first screen of the creation process is shown in Figure 4-38. On this screen, you identify the connection by supplying a name and a brief description. The screen is initially blank. The name
CorpConnect and the description Connection to the Corporate Network via VPN were added to describe the connection. Try to make the name fairly descriptive because it is used to make the connection. After you have entered a name and description, click Next.
Figure 4-38 Create New Connection
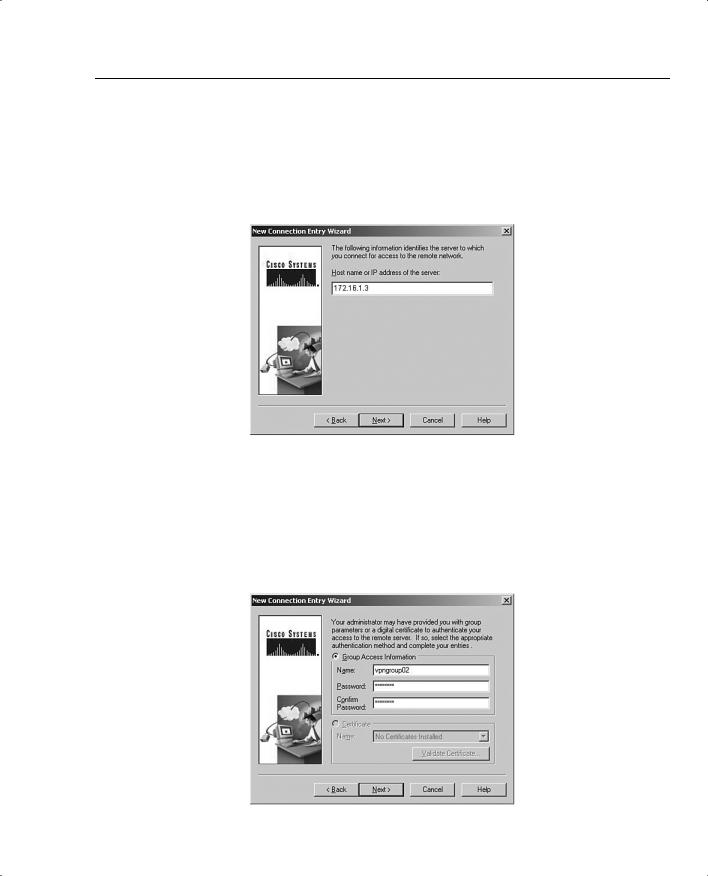
Figure 4-39 shows the next screen to be displayed. This screen asks you to identify the VPN server to which you will be connecting. In this case, you are connecting to the VPN 3000 Concentrator that you configured in the “Configuring IPSec with Preshared Keys Through the
Installing and Configuring the VPN Client 183
VPN 3000 Concentrator Series Manager” section of this chapter. Enter either the IP address of the device or the fully qualified domain name (FQDN), if you know it. The public IP address of the VPN concentrator is required, so enter 172.16.1.3 to reach the concentrator you configured earlier. Click Next after you have identified the host server.
Figure 4-39 New Connection Address
Because you have not yet installed any digital certificates onto your PC, the next screen presents only one option to use for authenticating the IPSec connection. In Figure 4-40 you can see that the Certificate option is grayed out. To configure the client to use a preshared key for the IPSec connection, simply enter the IPSec group name and password in the appropriate fields of the Group Access Information section.
Figure 4-40 Entering the Preshared Key
184 Chapter 4: Configuring Cisco VPN 3000 for Remote Access Using Preshared Keys
The group name that you established earlier was vpngroup02. Enter that in the Name field and the associated password into the Password and Confirm Password fields. The password for the IPSec group is the preshared key for the IPSec connection authentication. Click Next to continue.
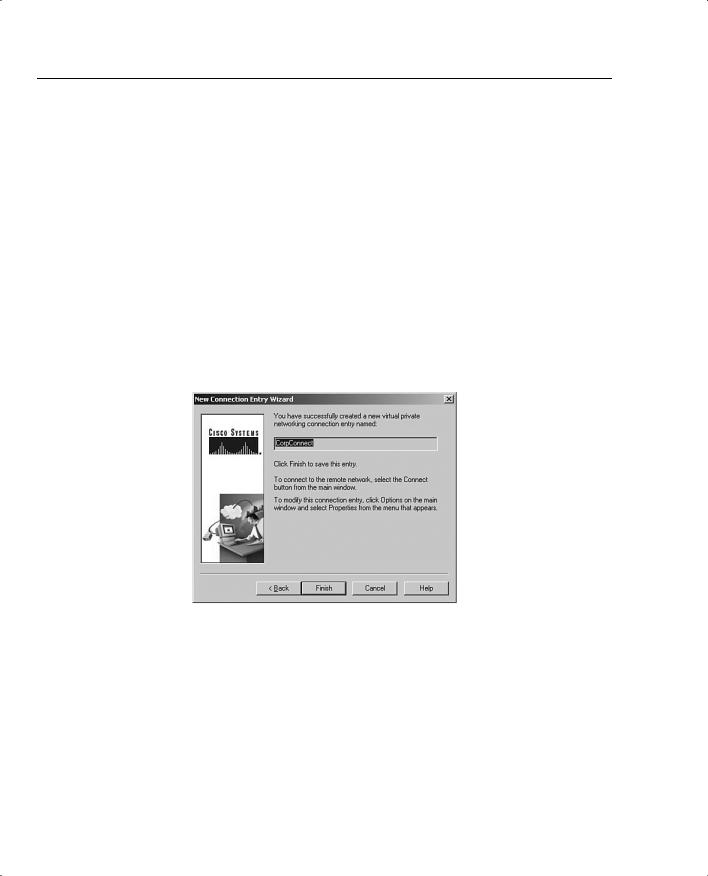
That’s all there is to it. Figure 4-41 shows that the new VPN connection, CorpConnect, has been successfully created. Notice that you did not enter any IKE or IPSec configuration information. Those values are pushed from the VPN concentrator during the initial connection.
Because anyone with the VPN Client and the correct group name and password can now create a secure connection to your VPN 3000 Concentrator, you can see how important the group password is to the security of the system. Be sure to use a strong password for this purpose, and exercise strict control over issuing the password. Also, consider changing the password frequently, even though your user community might object.
Click Finish to complete the creation process.
Figure 4-41 New Connection Complete
Clicking Finish returns you to the main VPN Client window, shown in Figure 4-42. Notice that CorpConnect now shows in the Connection Entry window and the IP address of the remote server shows in the lower window. Also notice that the Connect button is now active.
If you had additional connections defined to different servers or for different purposes (for example, stricter security), you could access those other connections by clicking the arrow to open the drop-down menu.

Installing and Configuring the VPN Client 185
Figure 4-42 Using the New VPN Connection
To connect to the VPN 3000 Concentrator, simply click the Connect button. The client attempts to negotiate IKE and IPSec SAs with the concentrator. If that is successful, the IPSec tunnel is created and the client prompts you for your username and password. Once that has been authenticated, you can begin using the VPN Client for secure remote access to the VPN concentrator.

186 Chapter 4: Configuring Cisco VPN 3000 for Remote Access Using Preshared Keys
Foundation Summary
The Foundation Summary is a collection of tables and figures that provides a convenient review of many key concepts in this chapter. For those of you already comfortable with the topics in this chapter, this summary could help you recall a few details. For those of you who just read this chapter, this review should help solidify some key facts. For anyone doing his or her final preparation before the exam, these tables and figures are hopefully a convenient way to review the material the day before the exam.
Types of Preshared Keys
The types of preshared keys are as follows:
•Unique—Tied to a specific IP address
•Group—Tied to a group
•Wildcard—Not tied to anything
VPN 3000 Concentrator CLI Quick Configuration Steps
The steps to VPN 3000 Concentrator CLI Quick Configuration are as follows:
Step 1 Boot the VPN concentrator with default configuration.
Step 2 Login as admin/admin.
Step 3 Set the system time.
Step 4 Set the system date.
Step 5 Set the time zone.
Step 6 Set the daylight-savings time support.
Step 7 Enter an IP address for the Private interface.
Step 8 Enter a subnet mask for the Private interface.
Step 9 Select the speed of the interface.
Step 10 Select the duplex mode of the interface.
Step 11 Save and exit the CLI.

VPN Client Installation Steps 187
VPN 3000 Concentrator Browser-Based Manager Quick
Configuration Steps
The steps to the VPN 3000 Concentrator browser-based Manager Quick Configuration are as follows:
Ping the VPN concentrator from the administrator PC to verify connectivity.
Start the web browser.
Enter the address of the VPN concentrator (be sure to use https:// if you need to enable the VPN concentrator’s SSL Certificate on your browser).
Step 4 Log in as admin/admin.
Step 5 Select Click here to start Quick Configuration.
Step 6 Select hotlink to Ethernet 2 (Public) interface.
Step 7 Enter the IP address, subnet mask, speed, and duplex mode.
Step 8 Verify the system name, date, time, time zone, and DST support.
Step 9 Enter the DNS server address.
Step 10 Enter the domain name.
Step 11 Enter the default gateway address.
Step 12 Select the tunneling protocols to use—IPSec.
Step 13 Select the methods of assigning IP address for the IPSec tunnel endpoints.
Step 14 Choose the method for user authentication (Internal Server).
Step 15 Add usernames and passwords.
Step 16 Supply the IPSec group name and password.
Step 17 Change the admin password.
Step 18 Click the Save Needed icon to save the configuration changes.
VPN Client Installation Steps
The steps for installing the VPN Client are as follows:
Step 1 Insert the Cisco VPN Client CD into your CD-ROM drive.
Step 2 View the CD’s menu after Autorun starts the CD.
Step 3 Select Install Cisco VPN Client.