C# ПІДРУЧНИКИ / c# / Premier Press - C# Professional Projects
.pdf
168 Project 1 CREATING A CUSTOMER MAINTENANCE PROJECT
Button2 control:
Name: btnEdit
Text: Edit
Button3 control:
Name: btnCancel
Text: Cancel
Button4 control:
Name: btnExit |
|
LY |
|
Text: Exit |
|
|
|
|
|
|
F |
|
|
M |
|
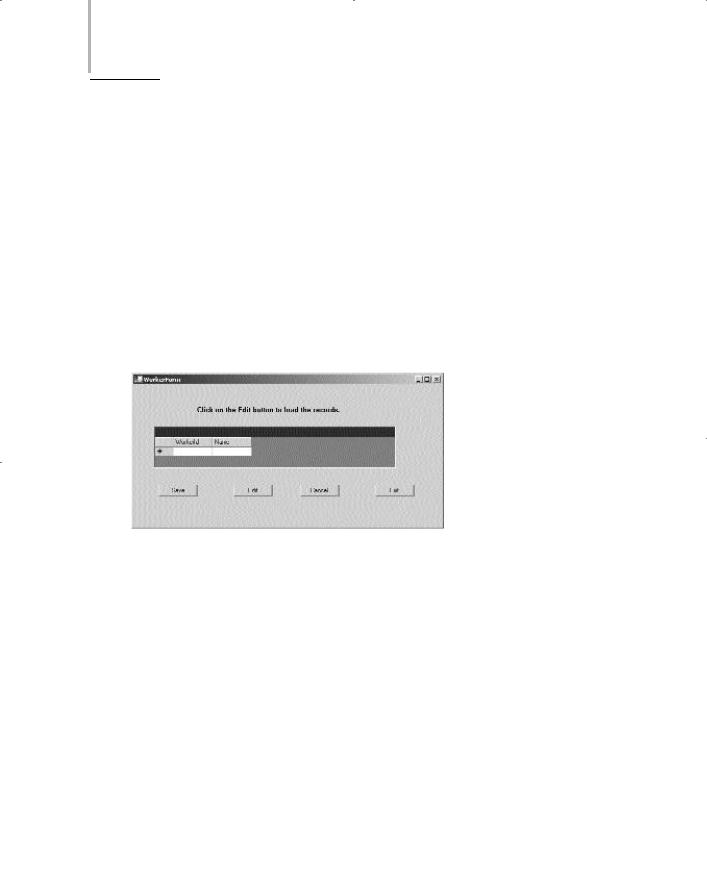
You will change the properties of a DataGrid control later in this project. Figure |
|||
|
A |
||
8-17 shows the WorkerForm with the controls added to the form. |
|||
|
E |
|
|
T |
|
|
|
FIGURE 8-17 WorkerForm with the controls
Creating an Interface for CustomerForm
CustomerForm is used to view, add, delete, or modify the records in the Customer table. To create the CustomerForm, perform the following steps:
1.Right-click on Customer Maintenance Project in the Solution Explorer window and select the Add option.
2.From the list that is displayed, select the Add New Item option. The Add New Item dialog box is displayed.
Team-Fly®

WINDOWS FORMS AND CONTROLS |
Chapter 8 |
169 |
|
|
|
3.In the Templates: pane of the Add New Item dialog box, select the Windows Form icon.
4.In the Name text box, type the name of the form as CustomerForm and click on the Open button.
Visual Studio .NET creates a blank form with the name CustomerForm. You can now add controls to the form. To do this, perform the following steps.
1.Add four Label controls to the form.
2.In the Properties window, change the following properties of the controls:
Label1 control:
Name: lblCarNo
Text: Car No.
Label2 control:
Name: lblName
Text: Name
Label3 control:
Name: lblAddress
Text: Address
Label4 control:
Name: lblMake
Text: Make
3.Add five text boxes to the form.
You will change the properties of the text boxes after creating DataSet for the form.
4.Add six button controls to the form and change the following properties of the controls:
Button1 control:
Name: btnSave
Text: Save
Button2 control:
Name: btnEdit
Text: Edit

170 Project 1 CREATING A CUSTOMER MAINTENANCE PROJECT
Button3 control:
Name: btnCancel
Text: Cancel
Button4 control:
Name: btnExit
Text: Exit
Button5 control:
Name: btnPrevious
Text: Previous
Button6 control:
Name: btnNext
Text: Next
5.On the File menu, click on the Save option to save the form.
Figure 8-18 shows the layout of CustomerForm.
FIGURE 8-18 CustomerForm with the controls
Creating an Interface for ReportsForm
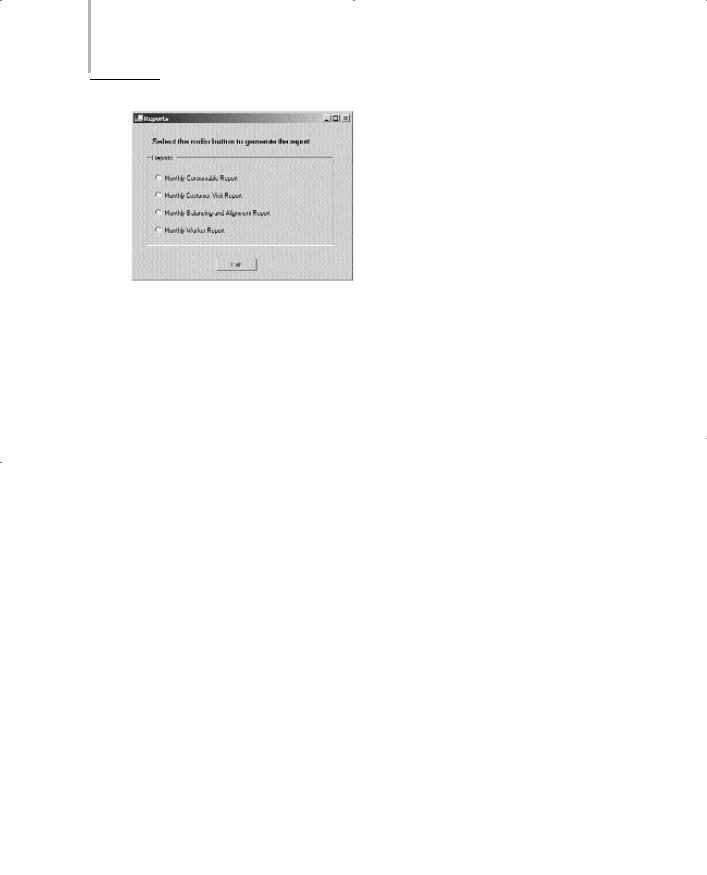
ReportsForm includes a GroupBox control that contains four radio buttons. You can select any radio button to generate a corresponding report. To create ReportsForm, add a new form to the project and name the form ReportsForm. You can now add controls to the form.

WINDOWS FORMS AND CONTROLS |
Chapter 8 |
|
171 |
|
|||
|
|
|
|
1.Add a Label control, a GroupBox, four radio buttons, and a button control to the form.
2.Change the following properties of the control in the Properties window. Label control:
Name: label1
Text: Select the radio button to generate the report.
Font:
Name: Microsoft Sans Serif
Size: 10
Bold: True
GroupBox control:
Name: groupBox1
Text: Reports:
RadioButton1 control:
Name: radioButton1
Text: Monthly Consumable Report
RadioButton2 control:
Name: radioButton2
Text: Monthly Consumer Visit Report
RadioButton3 control:
Name: radioButton3
Text: Monthly Balancing and Alignment Report
RadioButton4 control:
Name: radioButton4
Text: Monthly Worker Report
Button control:
Name: btnExit
Text: Exit
3.On the File menu, click on the Save option to save the form.
Figure 8-19 shows the interface of the ReportsForm.

172 Project 1 CREATING A CUSTOMER MAINTENANCE PROJECT
FIGURE 8-19 ReportsForm with the controls
Creating an Interface for JobDetailsForm
JobDetailsForm is used to view and modify the records in the JobDetails table. You can create JobDetailsForm by using Data Form Wizard. Data Form Wizard is used to create forms that interact with an underlying database. You will look at creating JobDetailsForm in the subsequent chapter, which deals with database interactivity in a Windows form.
Summary
In this chapter, you learned that Visual Studio .NET projects are the containers used to hold the development material for an application. A Visual Studio .NET project contains files, folders, and references to the databases that you may require while developing your project. To develop any application in Visual Studio .NET, you need to create a new project by using the New Project dialog box. You can select the template from the available templates to create a variety of applications, such as Windows applications, ASP.NET Web applications, ASP.NET Web services, console applications, and so on.
Using Visual Studio .NET templates, you can create applications that display the output in a console window. Such applications are called console applications. A console application does not have a user interface and is run from the command prompt. Another type of application that you can create using Visual Studio
.NET templates is a Windows application. Visual Studio .NET provides a graph-

WINDOWS FORMS AND CONTROLS |
Chapter 8 |
173 |
|
|
|
ical interface and the classes in the .NET class library for creating Windows applications. Next, you learned to create a sample Windows application and to add controls to the forms in the application. When you create a Windows application by using the templates provided by Visual Studio .NET, a default form, Form1, is created for you in the design view. Form1 is an instance of the Form class of the .NET class library and is an interface for your application.
The chapter introduced you to several controls provided in the Windows Forms toolbox.These controls include a Label control, a TextBox control, a Button control, a MainMenu control, a RadioButton control, and so on.
Finally, you used the general concepts explained in the chapter to create the layouts of the forms used in the Customer Maintenance project.These forms include Form1, WorkerForm, CustomerForm, ReportsForm and JobDetailsForm.

This page intentionally left blank

Chapter 9
Validations
and Exception
Handling

176 Project 1 CREATING A CUSTOMER MAINTENANCE PROJECT
Validation and exception handling form an integral part of any business application. Your application needs to be robust to withstand any anomalies of
application execution.
Anomalies in an application can occur because of unexpected conditions. For example, you may design your application to open a file in the write mode. Although the code will not generate any error if the file is closed, if a user opens the file in another application and then executes your application, your application can generate an unrecoverable error. To avoid such run-time errors, you should implement an exception-handling mechanism in your application.
Exception handling provides many uses in an application. For example, if a user specifies the date in an incorrect format, the user can be allowed to rectify the error and proceed with the registration. Similarly, if the databases pertaining to the application are not responding, the application can display a message to that effect and allow the user to select an alternate location for the database.
This chapter provides an in-depth coverage of the exception-handling capabilities of Visual C#. You will apply exception-handling logic to the Customer Maintenance project. In addition, Visual Studio .NET provides a number of debugging tools that you can use to debug your application.This chapter will also introduce you to the debugging tools and help you use the important ones to debug your application.
Performing Validations
You should always validate data in a Windows form before updating the data in a database. This method has several benefits, some of which include:
Improved response time. The response time of an application is shorter because the application does not need to attempt to update the data in the database and then retrieve an error message because of incorrect data.
Accuracy of data. The application is less prone to sending incorrect data to the database.

VALIDATIONS AND EXCEPTION HANDLING |
Chapter 9 |
|
177 |
|
|||
|
|
|
|
Improved database performance. The load on the database is reduced because it processes optimal transactions only.
In this section, you can learn to validate data for the JobDetails form of the Customer Maintenance project.
Identifying the Validation Mechanism
There are several mechanisms to ensure that only valid values are specified in a user form. Some of these ways are given in the following list:
Selecting the appropriate Windows control for accepting data
Trapping incomplete data when users navigate from one control to another
Validating the form before submitting records to the database
I will now explain each method described here one by one.
Selecting Windows Controls
Often, you can eliminate common errors by using the correct type of controls. For example, instead of using a text box for accepting date values from users, you can use the DateTimePicker control. Similarly, you can use the ListBox control to make the user select an option from a range of options or use the RadioButton control to accept one value from a range of values. In this way, the choices available to the user are limited and the user is less likely to make a mistake.
In the JobDetails form, the value for the JobDate field should be in the date format. Therefore, instead of using a TextBox control, you should use the DateTimePicker control. The steps to add the DateTimePicker control to the form are given in the following list:
1.Open the Customer Maintenance project.
2.Double-click on the JobDetails.cs form to open the code-behind file.
3.Delete the TextBox control from the JobDate field.
4.Drag a DateTimePicker control from the Toolbox to the form.
The changed form, which is obtained after completing the preceding steps, is shown in Figure 9-1.
