from start to finish
Now let's build a figure using vanishing trace lines as guides
along various planes of the body.
The vanishing trace lines (and
Using rectangles
you can use
and cylinders,
more) are along
construct a body
the collarbone, pelvis, knees, and feet.
in perspective.
Once you flesh out the form, the rectangles and cylinders can be erased, but the foundation of perspective will remain solidly in place. Many beginning artists leave out the first three steps and start at step 4. The body may have all these great-looking details on it but the perspective will be wrong, and its impact will be undermined. Look how much stuff we've already covered by the time we've gotten to this step. Costuming this guy should now be as easy as falling off a log. But to the person who doesn't know about drawing in perspective, this step will be a struggle, as he or she "guesses" how to make the figure look right.
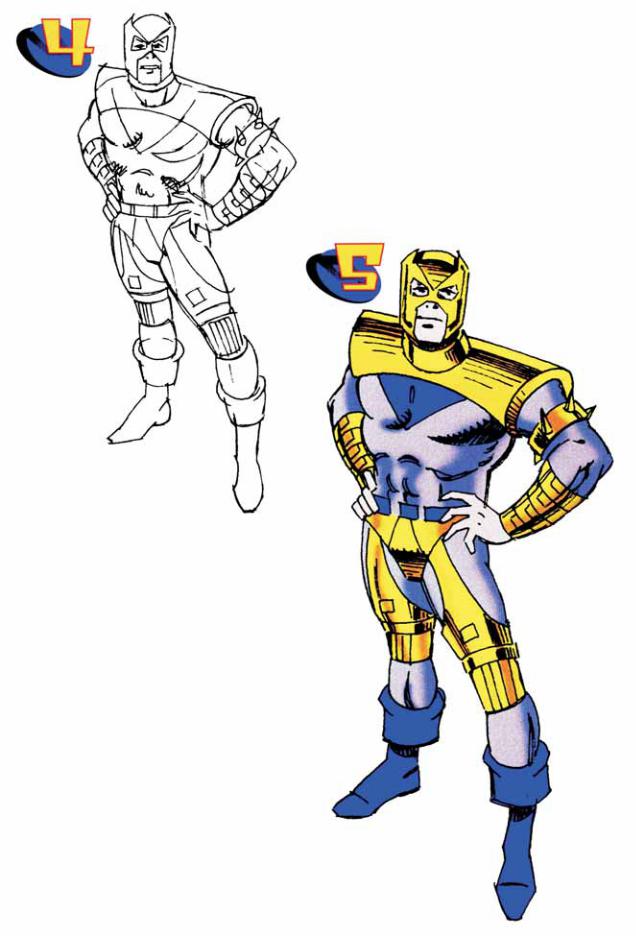
Now that we've got the igure in perspective, we can concentrate on the fun stuff-creating the costume.
This costume is average in complexity. You can beef it up with more armor, or you can streamline it by eliminating the shoulder shield and some of the hardware on the arms
and knees.

extreme foreshortening
Comic book illustrations are famous for their use of extreme foreshortening. Foreshortening is
the way an artist makes an object look like it's coming straight at you, but without making it look like it's flattened out. It's a powerful tool at the artist's command.
Gray Morrow points out that foreshortening makes the figure "seem to jump right out of the page. It is difficult to make this effective and, at the same time, believable, because you're attempting to give the impression of three dimensions in a two-dimensional medium."
To create the illusion of depth, layer one form on top of another, showing the overlap, and thus tricking the eye into seeing the overlapped shapes as being further away. Always draw general shapes first when building the foreshortened figure. If you go to a finished drawing right away, you'll get stuck in the details, and lose the layering concept.

foreshortening is a subject thoroughly covered in a great selection of books on anatomy widely available. how to use it in comics will be our main concern
herein. there are many instances in a story where the action can be pointed up to a greater advantage. perhaps the foremost is...the punch...
tells the story, reasonably accurate |
...now we can see the miscreant is |
but frankly static... |
really being knocked into the |
|
middle of next week! |
...the
kick...
...your full-length mirror
and the cooperation of friends and relatives willing to model will aid you in achieving almost any pose you can imagine...
...this is |
...this is better for the jump... |
acceptable, but... |

A SUB-TITLE FoR THiS chAPTEr MighT BE-"cOMin-Atcha”, OR MORE PROPERLY, P.O.V.,(pOint OF VIEW), WITH YOUr CAMERA EYE YOU CAN PLACE THE REader/ViEWER JUST AS A FILM DirEcTOR DOE5, IN ALMost ANY P0siTION THAT WILL ACCENTUATE The AcTION TAKtNG PLACE.
...upshot... ...downshot...
...from
behind...
a difficult ANGLE oN ONe OF ThE M0st dIFFICULt ANIMALS to DRAW
...head-on... well. take the time and trouble
to learn-it will pay off.
THE SHAPE5 0F THE PANeLS thEM5ELVES, The WAY You brEAK UP ThE PAGe, CAN HELP YOU detERMINE tHE P.O.V. ANd AMPLIFY YOuR DESIGN OR cOMPOSITIOn
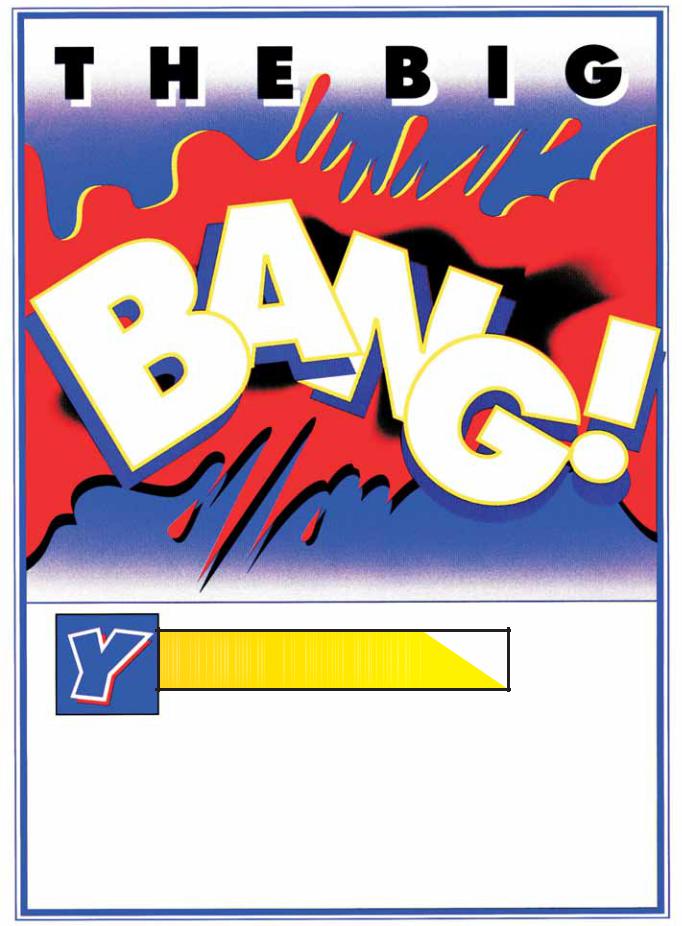
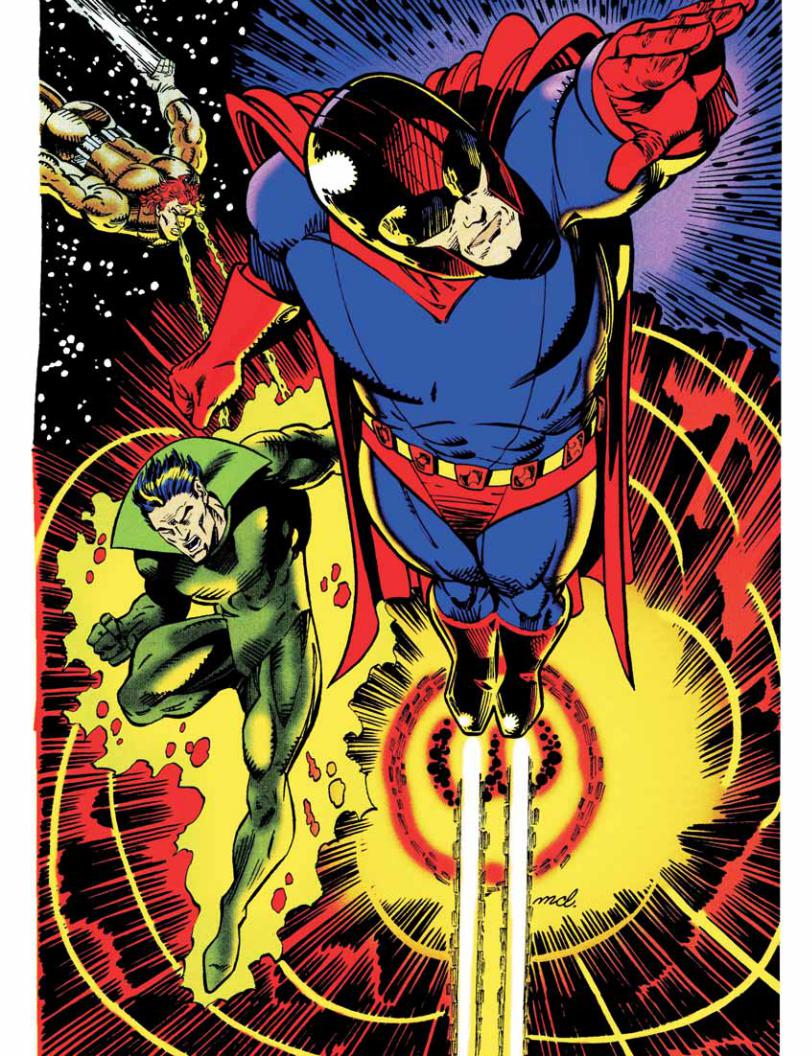
OU NEED THEM TO DRAW EXPLOSI0NS. You need them to
draw fight scenes. You need them to draw weapons that are firing. And you need them to draw those fantastic spreads that depict colossal action or emotion. What are they? Patterns of energy, visually elegant yet powerful abstract designs that convey mood and impact. These are important tools in your growing arsenal of professional comic book techniques.