

Visual Web Developer™ 2005 Express Edition For Dummies - Alan Simpson
.pdf20 Part I: Planning a Web Site

Chapter 2
Creating a Web Site
In This Chapter
Creating a new Web site
Defining and using folders
Creating and editing Web pages
Viewing pages in a Web browser
The first step to using Visual Web Developer is to create a new, empty Web site. The phrase Web site in this context does not mean a Web site that people can browse to on the Web — that would be a live Web site or a production Web site. The Web site you create is initially just a bunch of files and fold-
ers on your computer that nobody except yourself can get to.
After you’ve created your new Web site, you can then start designing and creating the site. Doing so involves creating folders and pages, putting things on pages, seeing how pages look when viewed in a Web browser, and so forth.
Such things fall under the heading of “everyday basic skills” because you’ll do them every time you use Visual Web Developer. They are also the topic of this chapter.
Creating a Web Site
From the standpoint of Visual Web Developer, a Web site is basically a folder that contains still more folders and all the files that make up a single, complete Web site. Unlike a live Web site, the empty one you create will be in your file system, or, in less technical terms, your own computer’s hard disk, where nobody except you can get to it.
Even in Visual Web Developer, there will be times when you may have to write some code, in a programming language, to get a job done. Visual Web Developer supports several programming languages — including Visual Basic, C#, and J#. In this book, we use C# (pronounced see sharp). If you’re already familiar with one of the other languages, you’re welcome to use it

22 Part I: Planning a Web Site
instead. But given that you probably won’t be writing much code, and given that these languages are so similar, you shouldn’t have any problems using C# even if you’re not familiar with the language.
To create a new Web site that uses C# as its default programming language, follow these steps:
1.From VWD’s menu bar, choose File New Web Site.
The New Web Site dialog box (shown in Figure 2-1) appears.
Figure 2-1:
The New Web Site dialog box.
2.Click ASP.NET Web Site.
3.From the Location drop-down list, choose File System.
4.From the Language drop-down list, choose a preferred programming language.
As mentioned, I use Visual C# throughout this book.
5.Optionally, change the location and name of the Web site.
The site name is at the end of the lengthy path to the right of the Location drop-down list. In the example shown in Figure 2-1, I’ve opted to create a site named MyVWDsite in the My Documents folder.
6.Click OK.
It takes a few seconds for VWD to create the site. When the site is ready, you end up with an empty page named Default.aspx, which is the Web site’s home page. You also get a folder named App_Data, which is where your site’s database will be stored (eventually). These are both listed under the site’s root folder in Solution Explorer at the right side of the program window.

Chapter 2: Creating a Web Site 23
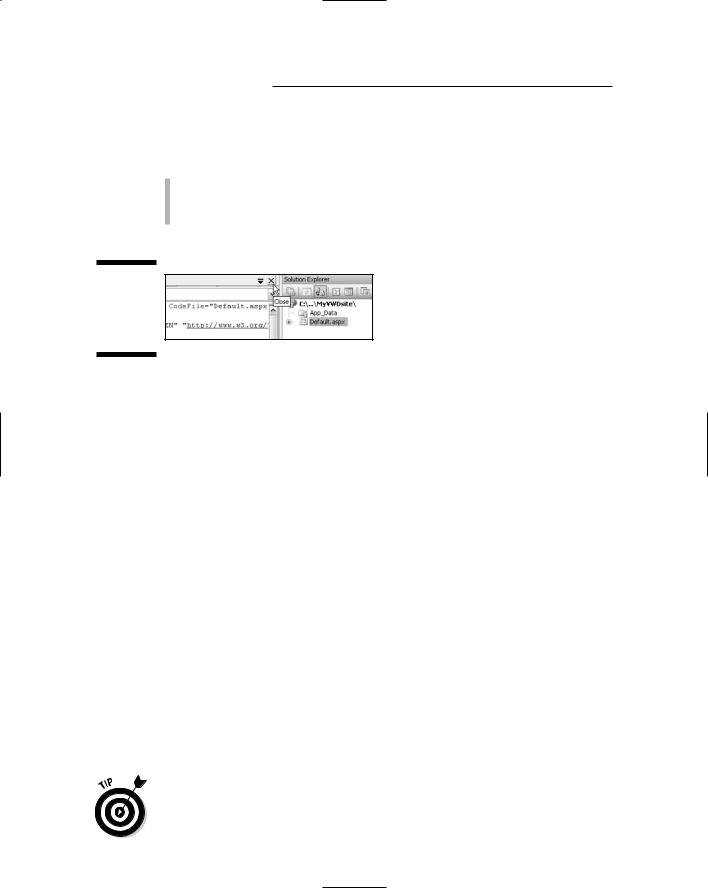
The Default.aspx page also opens automatically in the Design surface. You’ll see its name in a tab at the top of the Design surface. In Design view, the page just looks like a big white sheet of paper. In Source view, you’ll see some HTML and other stuff that isn’t visible to people who visit the site, as in Figure 2-2.
Figure 2-2:
A new Web site as shown in Solution Explorer, and an open page in Source view.
Speaking of Design view and Source view, notice the two little buttons titled Source and Design near the bottom of the window (Figure 2-3). Use those buttons to switch from one view to the other. Note that these are just two different ways of looking at the page, as follows:
Design: In this view, the page looks much as it will in a Web browser. Use this view for normal WYSIWYG (what you see is what you get) editing.
Source: This view shows the HTML and other tags for the page — “instructions” that tell the page how to behave and how to look in a Web browser.
Figure 2-3:
The Design
and Source
buttons.
Closing and Opening Pages
As mentioned, when you create a new Web site, VWD automatically creates one blank page, named Default.aspx, for the site. Your site will likely contain many pages. Typically you only want to work on one page at a time
24 Part I: Planning a Web Site
(or perhaps a few pages) — and that means opening and closing pages for editing. Right now there’s only one page in the site, and it’s open. To close a page:
Click the Close (X) button in the upper-right corner of the Design surface (near the mouse pointer in Figure 2-4).
Or choose File Close from the menu bar.
Figure 2-4:
Close button for
Default.
aspx.
If you made any changes to the page since you last opened it, a dialog box asks if you want to save those changes. Choose Yes (unless you made a mess of things and don’t want to save your changes). The page disappears from the Design surface, but its name remains visible in Solution Explorer.
To open a page, just double-click its name in Solution Explorer. When the page is open, use the Design and Source buttons to choose how you want to view the page.
Creating and Using Folders
You can use folders to organize pages and other components in your Web site in much the same way you use folders in Windows to organize files. For example, you might want to create a folder for storing all the site’s pictures. To create a folder, follow these steps:
1.Make sure your site is open and go to the Solution Explorer pane.
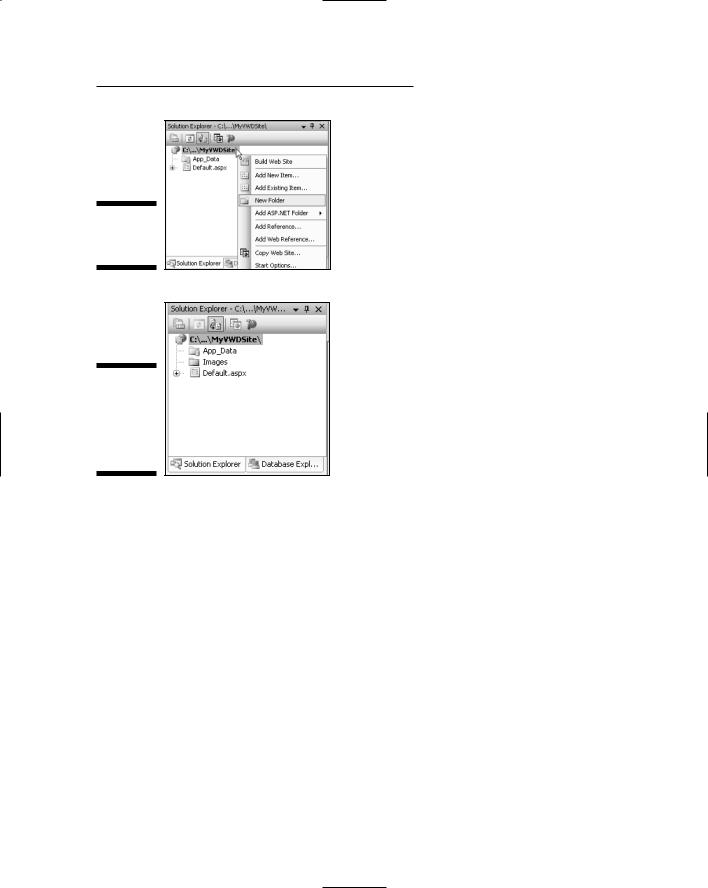
2.Right-click the site name at the top of the Solution Explorer tree and choose New Folder, as shown in Figure 2-5.
3.Type in a new name for the folder, and then press Enter.
Figure 2-6 shows an example I created — a new folder named Images. I’ll use that folder to store some of the pictures for my Web site.
To rename a folder, right-click its icon in Solution Explorer, choose Rename, type in the new name, and press Enter.
Chapter 2: Creating a Web Site 25
Figure 2-5:
Creating a
folder.
Figure 2-6:
A new regular folder named Images.
Copying files to folders
You can create pages in any folder you wish within your site. But what about files you may have already created, such as pictures you intend to use on your site? Well, you can move or copy those from their current location into folders in Solution Explorer, using the drag-and-drop method.
For example, to copy a picture from your My Pictures folder into a folder, leave VWD open with your site folder open in Solution Explorer. Then just drag-and-drop any icon, or selected group of icons, from your My Pictures folder to the site folder in Solution Explorer.
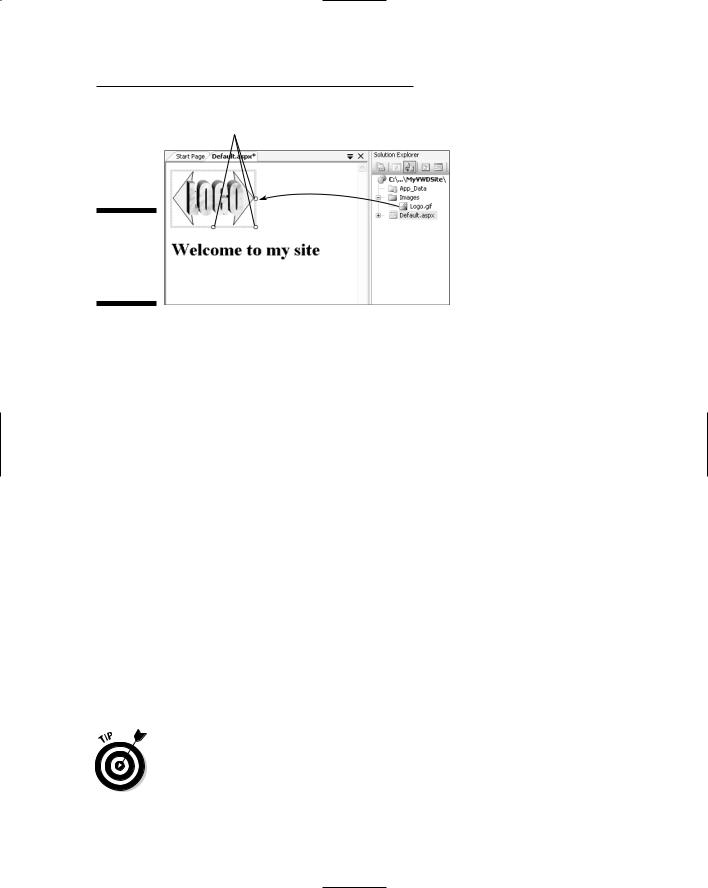
Figure 2-7 shows an example where I dragged a file named logo.gif from the My Pictures folder to the Images folder in Solution Explorer. When the Images folder is expanded (showing a – mark instead of a + mark), the logo.gif file within that folder is visible.

26 Part I: Planning a Web Site
Use the + and – keys next to the folder name to show or hide the contents of the folder.
Figure 2-7:
Here’s the Logo.gif file in the Images folder.
If drag-and-drop isn’t your thing, you can copy and paste instead. For example, if you have some pictures in a folder that you need to use in a Web site, open that folder in Windows. To copy multiple pictures, select their icons using standard Windows techniques. Then right-click the picture’s icon (or any selected icon) and choose Copy. Then, in Solution Explorer, right-click the name of the folder into which you want to place the picture(s) and choose Paste.
Renaming and deleting folders
You can rename or delete any regular folder by using techniques similar to those in Windows:
To rename a folder, right-click the folder, choose Rename, enter the new name, and press Enter.
To delete a folder, right-click the folder name and choose Delete.
Editing Pages
To edit an existing page in VWD, you first need to open the page so it’s visible on the Design surface. To open a page, double-click its icon in Solution Explorer. When you open an .aspx page (such as Default.aspx), you see the Design and Source buttons at the bottom of the Design surface, so you can switch between the two views.

Chapter 2: Creating a Web Site 27
Adding text to a page
As mentioned briefly in the preceding section, VWD allows you to edit an
.aspx page in either Design view (which shows what the page looks like in a browser) or Source view (raw HTML and ASP.NET). Typing and editing text in Design view is like typing and editing in Microsoft Word, FrontPage, or just about any other text editor or word processor: You click the page to get the cursor into position, and then type your text. Figure 2-8 shows an example where I typed the text Welcome to my site on the (otherwise empty)
Default.aspx page.
Figure 2-8:
Here’s some text added to
Default.
aspx.
All the standard text-editing tools and techniques work on the Design surface. For example, you can delete with the Backspace and Delete keys. You can select text by dragging the mouse pointer through the text, or by holding down the Shift key while positioning the cursor with the navigation keys.
You can copy and paste text to or from the Design surface.
Selecting and formatting text
Selecting and formatting text works the same in VWD as it does in word processing programs. To format a chunk of text, first select (highlight) the text you want to format by dragging the mouse pointer through that text. Then choose a format option from the Formatting toolbar.
In Figure 2-9, for example, I selected the text Welcome to my site so it’s highlighted. Then I clicked the Block Format button at the left side of the Formatting toolbar; the figure shows how the screen looks just before I click the Heading1 <H1> option.

28 Part I: Planning a Web Site
Block Format |
Formatting toolbar |
Figure 2-9:
Getting ready to format some selected text.
Selected text
Undoing changes
As in most modern applications, you can undo the most recent changes you made to a page by using either of these methods:
Choose Edit Undo from the menu bar.
Press Ctrl+Z.
Click the Undo button in the Standard toolbar.
VWD has multiple levels of undo and redo, so you’re not limited to undoing only your most recent change. However, when you save a page, you “commit” all changes up to that point. Undo actually only reaches back as far as your last save.
Adding pictures
To add a picture to a page, first make sure you move or copy the original picture into a folder in Solution Explorer. Make sure all the files that make up your Web site — including pictures — are in folders within Solution Explorer. Otherwise, when you upload your finished site to a Web server, the pictures won’t be included in the upload, which means that anyone trying to view a page that contains a picture will just see a red X where the picture should be.
To add a picture to a page, just drag its icon from its folder in Solution Explorer onto the page. Figure 2-10 shows an example where I dragged a picture named Logo.gif onto the page, from a folder named Images in Solution Explorer.
Chapter 2: Creating a Web Site 29
Handles
Drag
Figure 2-10:
Dragging a picture’s icon onto the page.
On the Design surface, the picture shows dragging handles (small squares along the border). If you don’t see the handles, click the picture to select it; they’ll show up. Then you can size the image by dragging any handle.
Changing properties
If you look around the room you’re in right now, you’ll probably see many physical objects — PC, keyboard, mouse, desk, and whatever else is in the room. No two objects are exactly alike. Instead each object has certain properties such as size, shape, weight, purpose, and so forth that makes it unique.
Just about anything you add to a Web page is also an object. And (like objects in the real world) objects on Web pages have properties. An object’s properties are settings that define its characteristics — such as size, shape, location on the page, and so forth.
To see, and perhaps change, an object’s properties, just select (click) the object of interest and look at the Properties pane. Or, right-click the object and choose Properties. The item’s properties appear in its properties sheet, which always shows in Visual Web Developer’s Properties pane.
Figure 2-11 shows an example where I’m viewing the properties for a picture. The <IMG> tag near the top of the Properties sheet is a reflection of the fact that, like all pictures in all Web sites, this particular picture is displayed by an HTML <IMG> tag.
To make the Properties sheet free-floating (as in Figure 2-11), choose Floating from its Window Position button. (See Chapter 1 for more details.)