

Ubuntu Desktop Training
39 / 335
If your internet provider uses DHCP (Dynamic Host Connection Protocol) you simply need to select Automatic Configuration (DHCP) from the Configuration drop down menu.
3.1.3Using a Wireless Card
Ubuntu automatically detects support for various wireless cards.
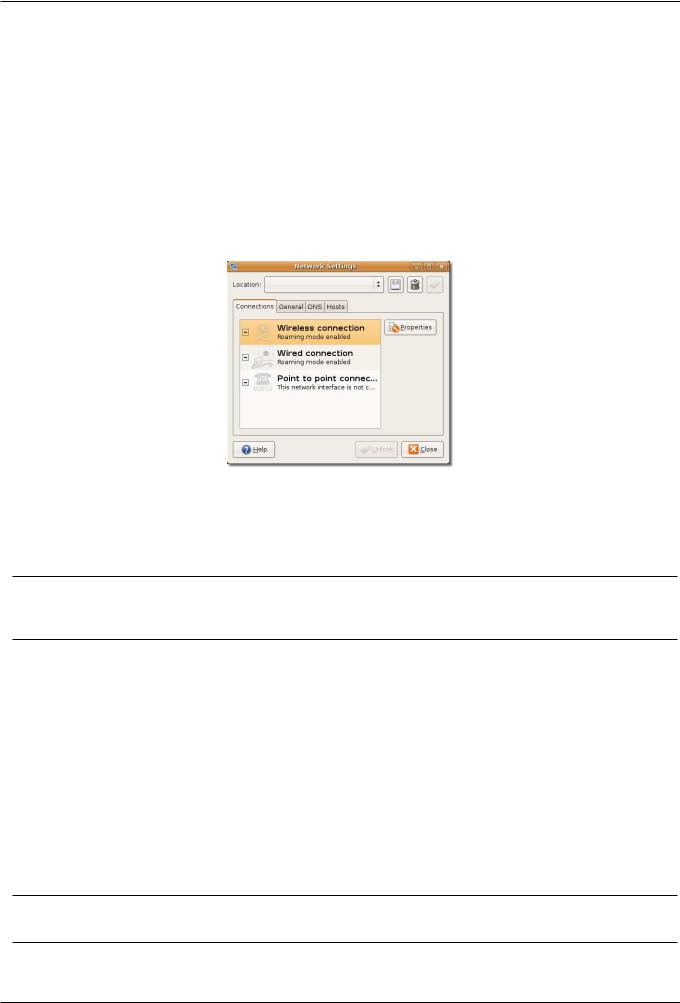
1.On the System menu, point to Administration and then click Network. The Network Settings dialogue box will be displayed.
2.If the wireless card on your computer is listed, you can use the same procedure as listed in the Using Cable Connection section to connect to the Internet.
Figure 3.7: Choosing a Wireless Connection
Alternatively, left-click on Network Manager and discover any detected wireless networks in range.
Nice to Know:
To view the complete list of wireless cards that work with Ubuntu, refer to: https://help.ubuntu.com/community/WifiDocs/- WirelessCardsSupported.
Some wireless cards are not listed on the Ubuntu Web site because open source drivers for these are not available. Therefore, these cards do not work automatically with Ubuntu. If your wireless network card does not have an open source driver, you can make it work by using ndiswrapper.
Using Ndiswrapper with a Wireless Card Ndiswrapper is a Linux module that allows Ubuntu to use Microsoft Windows drivers for wireless cards. The utility to configure ndiswrapper can be installed comfortably via Add/Remove Applications. The
Windows Wireless Drivers setup programme can be found in System Administration.
3.1.4Using a Dial-up Connection
A dial-up connection uses a modem to connect to the Internet. You can use the ScanModem tool to identify the type of modem. This tool recognises the type of modem-whether it is a Peripheral Component Interconnect (PCI) or a Universal Serial Bus (USB) modem.
Nice to Know:
To download the ScanModem tool, refer to: https://help.ubuntu.com/community/DialupModemHowto/ScanModem.

Ubuntu Desktop Training
40 / 335
1.Download, configure and install your modem’s driver. If an open source driver is not available, contact your vendor for other options. NOTE:
To download the open source driver, refer to www.modemdriver.com.
2.CONFIGURE THE DIAL-UP CONNECTION TO YOUR ISP:
(a)On the System menu, point to Administration and click Network. The Network Settings dialogue box will be displayed.
(b)In the Network Settings dialogue box, select Modem connection and click Properties. The ppp0 Properties dialogue box will be displayed.
Figure 3.8: Network Settings
(c)In the ppp0 Properties dialogue box, select the Enable this connection check box to activate the connection.
(d)Specify your ISP’s information and your account information, which you can obtain form your ISP.
Type the phone number in the Phone number and the dial prefix in the Dial prefix box, which the modem uses to connect to the server. Type your dial-up account name in the Username box and the password in the Password box. The user name is the one that is registered with your ISP.
(e)Specify the modem setting on the Modem tabbed page. Click the Modem tab. Type or select the modem port in the Modem port box. Select the dial type from the Dial type box. You can select the types of phone dial used in the Dial type box. Dial type depends on your phone company and may be Tones or Pulses. If you do not know which dial type to choose, contact your phone company. Irrespective of the dial type, the modem will make some noise while connecting to the ISP server. You can set the volume of this noise by selecting the appropriate volume options from the Volume box-it is recommended that you select Off or Low.
(f)Specify the connection settings. Click the Options tab and select the Set modem as default route to Internet check box to specify the dial-up modem as the default Internet connection. If you use a laptop on a local area network (LAN), clear the Set modem as default route to Internet check box. Select this option only if you use a dial-up connection.
As part of modem connection settings, you need to assign a host name to an IP node to identify it as a TCP/IP host. You can select your ISP server for this name resolution of hosts, which maps a host name to an IP address successfully. For this, select the Use the Internet service provider nameservers check box.
If the Internet connection breaks, your modem will automatically try reconnecting to the Internet if the Retry if the connection breaks or fails to start check box is selected.
(g)Click OK to complete the dial-up configuration.