

Ubuntu Desktop Training
25 / 335
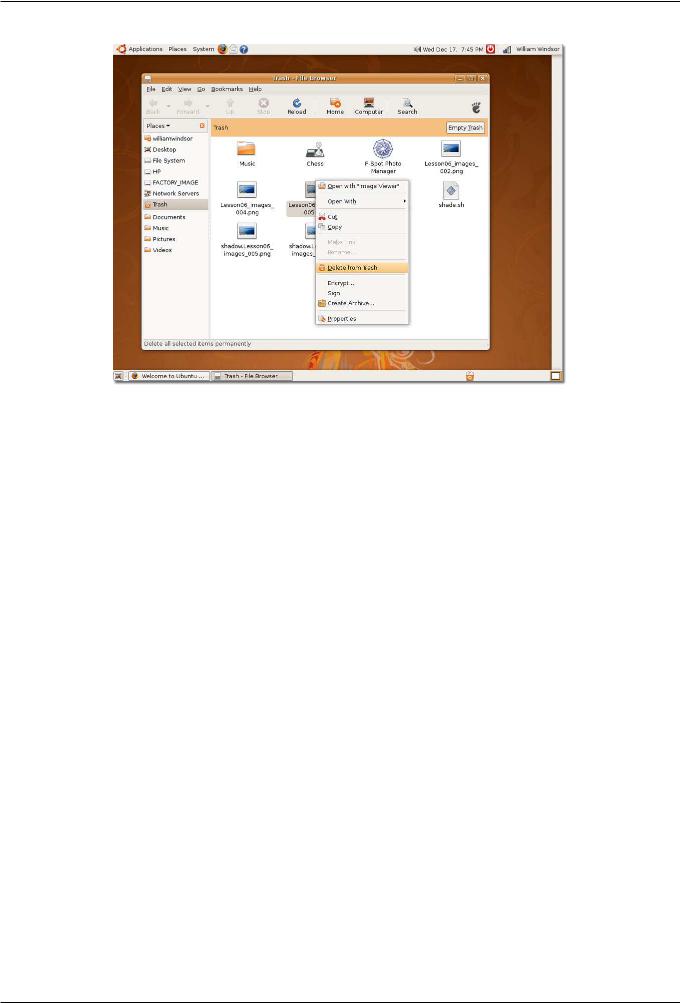
Figure 2.23: Deleting Items from Trash
2.2 Changing the Default Language
Nice to Know:
Ubuntu supports more than 100 languages. You can set the default language of your computer either during the installation of Ubuntu or at a later stage.
To change the default language during the installation, select the required language when prompted.
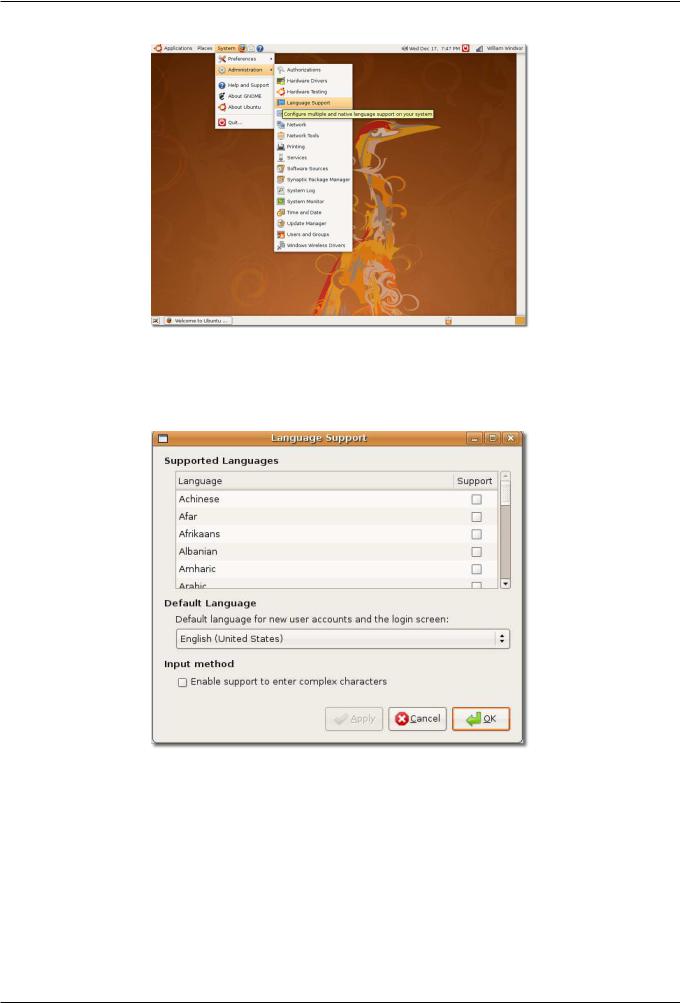
1.On the System menu, point to Administration and click Language Support. The system prompts you to install language support if updates are available for your selected language.
Ubuntu Desktop Training
26 / 335
Figure 2.24: Configuring Language Support
2. Click Install to continue. On completing the updates, the Language Support dialogue box opens.
Figure 2.25: Installing Language Support Updates
3.In the Language Support dialogue box, from the Supported Languages section, select the check box for the language you want to use for support functions in Ubuntu.
Ubuntu Desktop Training
27 / 335
Figure 2.26: Installing Default Language Support
4.Click Apply and then click OK. Ubuntu downloads and installs the necessary packages on your computer. The language you selected will now appear in the Default Language box.
5.Select the language that you want set as default, and click OK.
6.For the changes to take effect, log off and then log on again.
You can change the language as many times as you would like and this can depend on your location. For example, changing the language to Russian may be a nice touch when presenting in Russia during a business trip.
2.3 Creating a User Account and Fast User Switching
You may have multiple users who want to access your system. In this case, there is a risk of data being manipulated or corrupted by other users. To prevent this from happening, you can create user accounts for each individual who wants to use your computer, giving each user an individual account with personalised user settings. For example, it is useful to give children their own accounts on the computer to prevent then from changing your settings or accessing unsuitable files and applications..
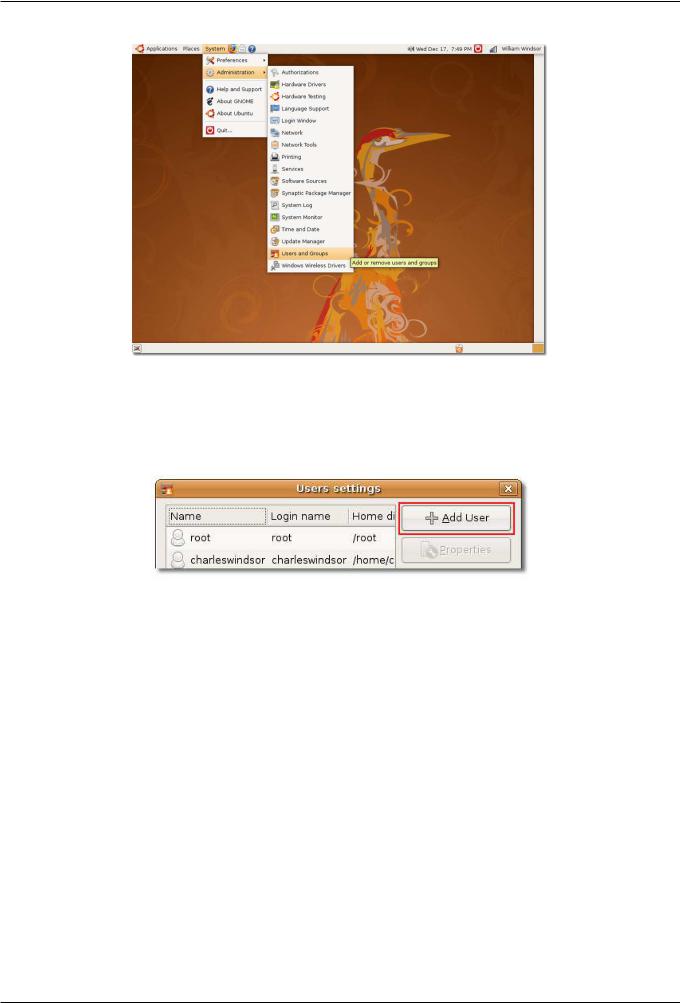
1. On the System menu, point to Administration and click Users and Groups. The User settings dialogue box appears.
Ubuntu Desktop Training
28 / 335
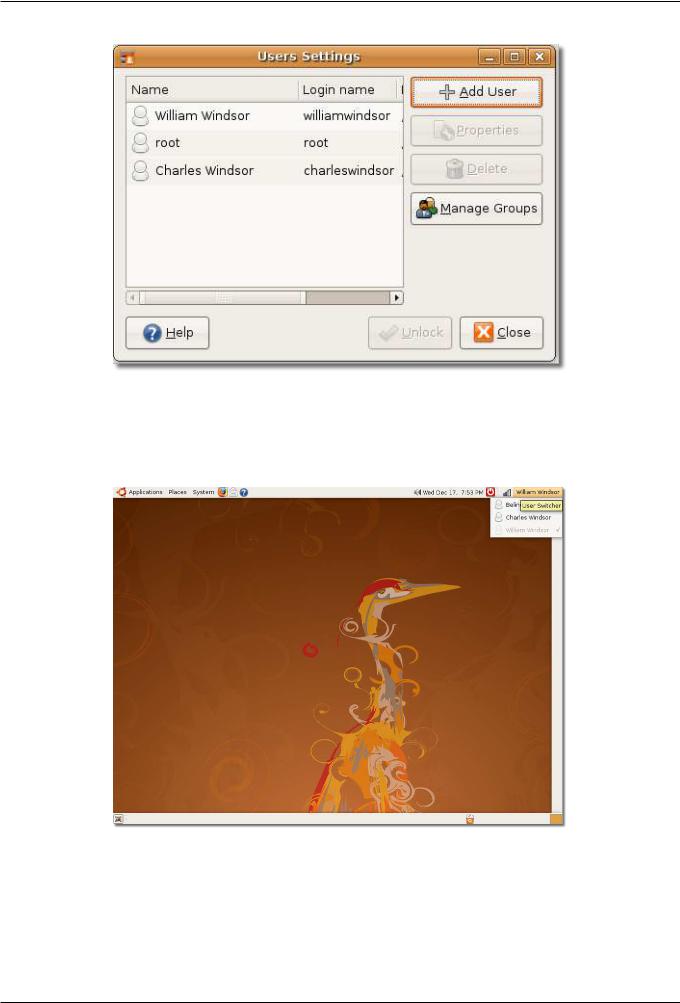
Figure 2.27: Adding/Removing Users
2.In the User settings dialogue box, click Add User to add a new user account on your computer. The New user account dialogue box opens.
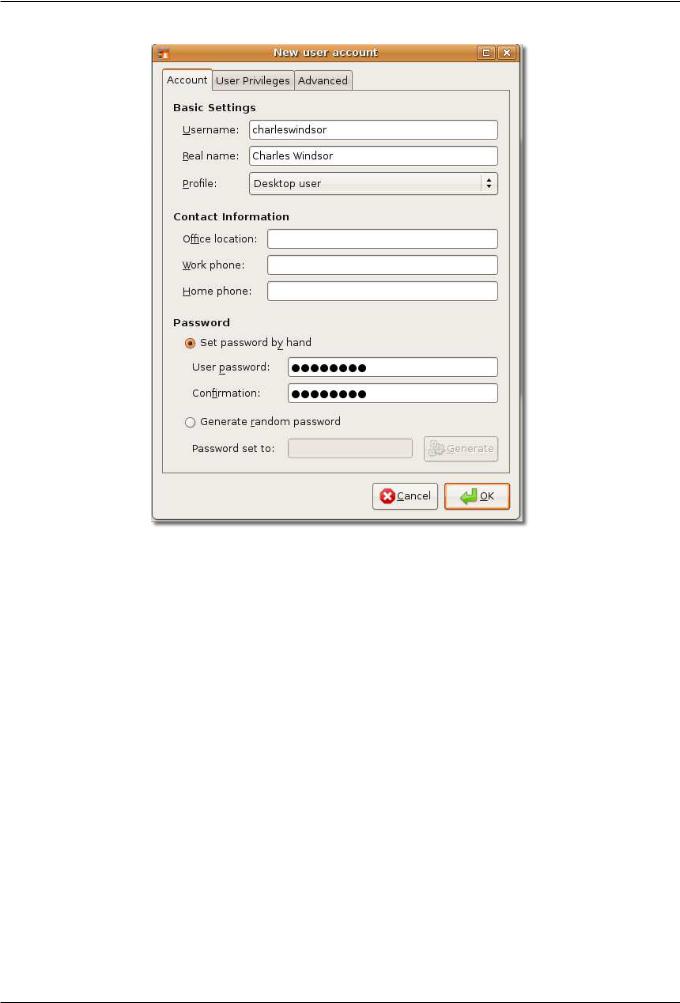
Figure 2.28: Adding a User
3.Specify the user accounts’ basic settings, contact information and password information in the New user account dialogue box.
(a)Type the name with which you want to log on to your computer in the Username box.
(b)Type your full name in the Real name box.
(c)Select your user type from the Profile box.
(d)Type your office location in the Office location box.
(e)Type your work phone number in the Work phone box.
(f)Type your home phone number in the Home phone box.
(g)Type the password for your user account in the User password box.
NOTE:
This information is for record keeping only, and other users cannot view it.
Click Close to save the settings.
Ubuntu Desktop Training
29 / 335
Figure 2.29: Configuring New User Account
4.A new user account will be displayed in the User settings dialogue box. This dialogue box displays the new user’s full name and login name. It also tells you the location of the new user account created.
Ubuntu Desktop Training
30 / 335
Figure 2.30: The New User Account
Now, if you click the fast user switch icon, there will be two users displayed and the current user logged on to the computer will be marked.
Figure 2.31: Switching Users
This feature prevents you from logging off and logging on all the time to switch users. It allows multiple users to switch quickly while staying logged on. By simply clicking the fast user switching icon, a list of the user names appears. Select the user name and you will be directed to the logon screen. Type the user name and password, and you will be on a desktop of the new user.