Professional Java.JDK.5.Edition (Wrox)
.pdf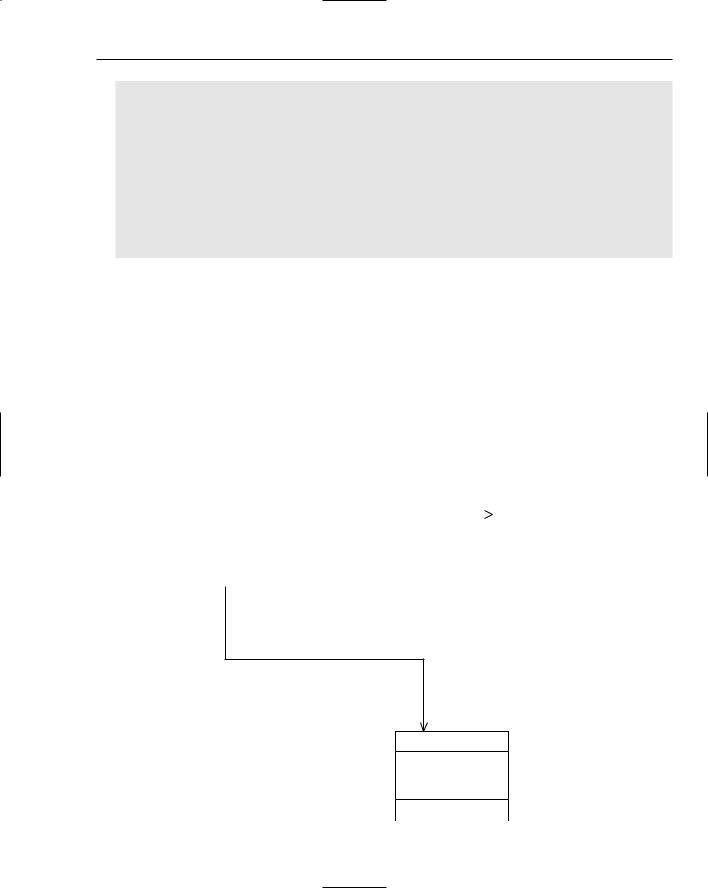


Interacting with C/C++ Using Java Native Interface
This chapter discusses connecting Java programs to programs written in C/C++. Java Native Interface (JNI) provides a sophisticated mechanism for invoking routines written in native code, and also provides a mechanism for native code to call routines that are written in Java.
A First Look at Java Native Interface
Creating a Java program that uses native code is fundamentally simple. First, you write the Java code and mark certain methods as native and leave the method un-implemented (as if you were writing an abstract method). Next, you run a utility that comes with the JDK to create a C/C++ header file. The native methods are then implemented in C/C++, with signatures matching the version in the generated header file. The Java code must then load this library in order to obtain access to the native routines. This process is illustrated in Figure 9-1.
To get a basic idea of how to write a program using JNI, create a small library of math routines implemented in C++ and invoke this from Java.