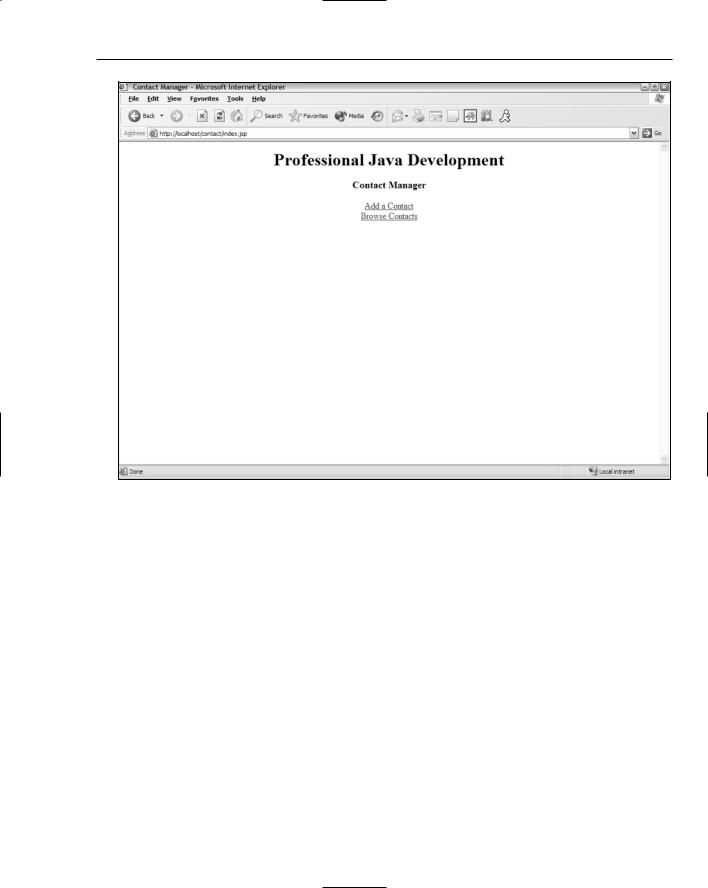
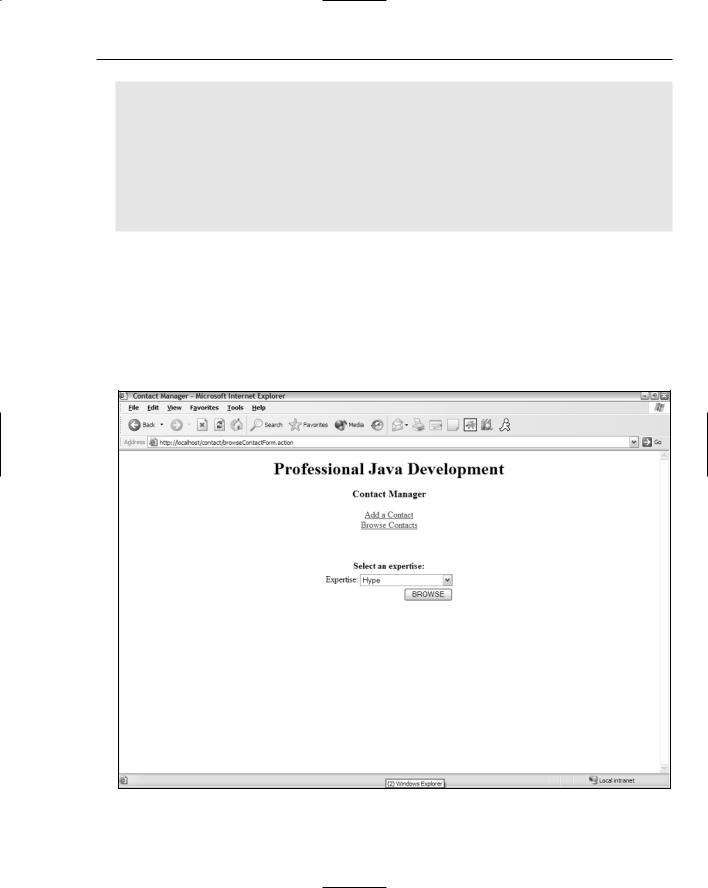
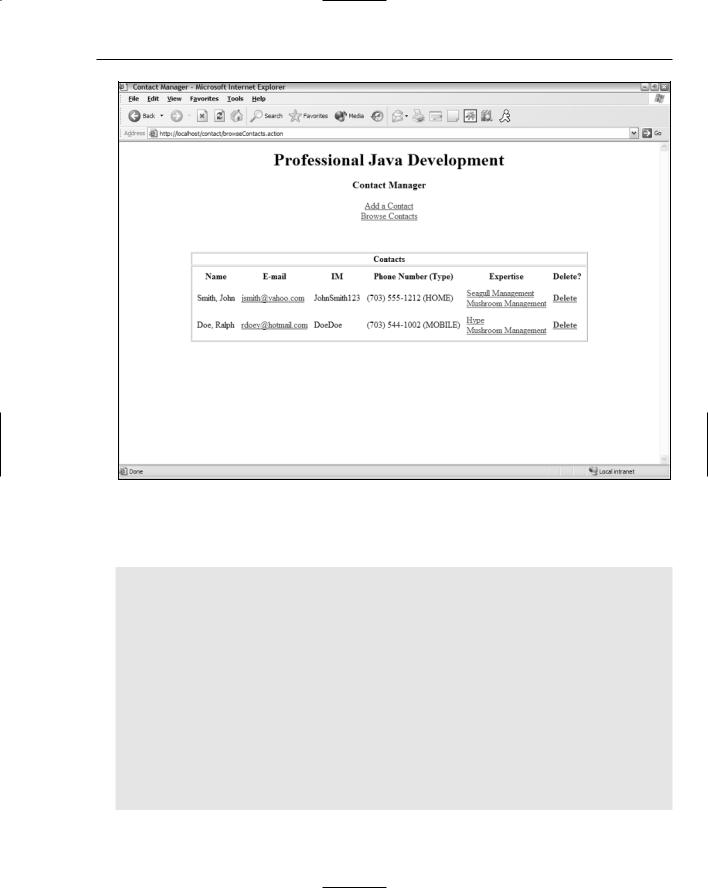
Developing Web Applications Using the Model 2 Architecture
<display-name>Contact manager</display-name> <description>Example of Model 2 using Hibernate</description> <filter>
<filter-name>container</filter-name> <filter-
class>com.opensymphony.webwork.lifecycle.RequestLifecycleFilter</filter-class> </filter>
<filter-mapping> <filter-name>container</filter-name> <url-pattern>/*</url-pattern>
</filter-mapping> <listener>
<listener- class>com.opensymphony.webwork.lifecycle.ApplicationLifecycleListener</listener-cla ss>
</listener>
<listener> <listener-
class>com.opensymphony.webwork.lifecycle.SessionLifecycleListener</listener-class> </listener>
<servlet> <servlet-name>velocity</servlet-name> <servlet-
class>com.opensymphony.webwork.views.velocity.WebWorkVelocityServlet</servlet-class
>
<load-on-startup>1</load-on-startup> </servlet>
<servlet> <servlet-name>webwork</servlet-name> <servlet-
class>com.opensymphony.webwork.dispatcher.ServletDispatcher</servlet-class> </servlet>
<servlet-mapping> <servlet-name>webwork</servlet-name> <url-pattern>*.action</url-pattern>
</servlet-mapping> <servlet-mapping>
<servlet-name>velocity</servlet-name> <url-pattern>*.vm</url-pattern>
</servlet-mapping> <welcome-file-list>
<welcome-file>index.jsp</welcome-file> </welcome-file-list>
<taglib> <taglib-uri>webwork</taglib-uri>
<taglib-location>/WEB-INF/webwork.tld</taglib-location> </taglib>
</web-app>
Note that the WebWork wrapper to XWork is composed of a servlet filter, a listener, two servlets, and a tag library. You could always modify the mappings as you see fit, for example, if you prefer to make your actions more like those of Struts and end in .do, rather than .action.