

N68C-S UCC
.pdfCHA DATA Drive
Use this to adjust values for CHA DATA Drive. Configuration options: [Auto], [0.75x], [1.00x], [1.25x] and [1.50x]. The default value is [Auto].
CHA DQS Drive
Use this to adjust values for CHA DQS Drive. Configuration options: [Auto], [0.75x], [1.00x], [1.25x] and [1.50x]. The default value is [Auto].
CHA Processor ODT
Use this to adjust values for CHA Processor ODT. Configuration options: [Auto], [300 ohms], [150 ohms] and [75 ohms]. The default value is [Auto].
CHB CKE Drive
Use this to adjust values for CHB CKE Drive. Configuration options: [Auto], [1.00x], [1.25x], [1.50x] and [2.00x]. The default value is [Auto].
CHB CS/ODT Drive
Use this to adjust values for CHB CS/ODT Drive. Configuration options: [Auto], [1.00x], [1.25x], [1.50x] and [2.00x]. The default value is [Auto].
CHB ADDR/CMD Drive
Use this to adjust values for CHB ADDR/CMD Drive. Configuration options: [Auto], [1.00x], [1.25x], [1.50x] and [2.00x]. The default value is [Auto].
CHB CLK Drive
Use this to adjust values for CHB CLK Drive. Configuration options: [Auto], [0.75x], [1.00x], [1.25x] and [1.50x]. The default value is [Auto].
CHB DATA Drive
Use this to adjust values for CHB DATA Drive. Configuration options: [Auto], [0.75x], [1.00x], [1.25x] and [1.50x]. The default value is [Auto].
CHB DQS Drive
Use this to adjust values for CHB DQS Drive. Configuration options: [Auto], [0.75x], [1.00x], [1.25x] and [1.50x]. The default value is [Auto].
CHB Processor ODT
Use this to adjust values for CHB Processor ODT. Configuration options: [Auto], [300 ohms], [150 ohms] and [75 ohms]. The default value is [Auto].
Chipset Settings
Chipset Voltage
Use this to select chipset voltage. Configuration options: [Auto], [1.262V] to [1.423V]. The default value is [Auto].
Would you like to save current setting user defaults?
In this option, you are allowed to load and save three user defaults according to your own requirements.
4 1
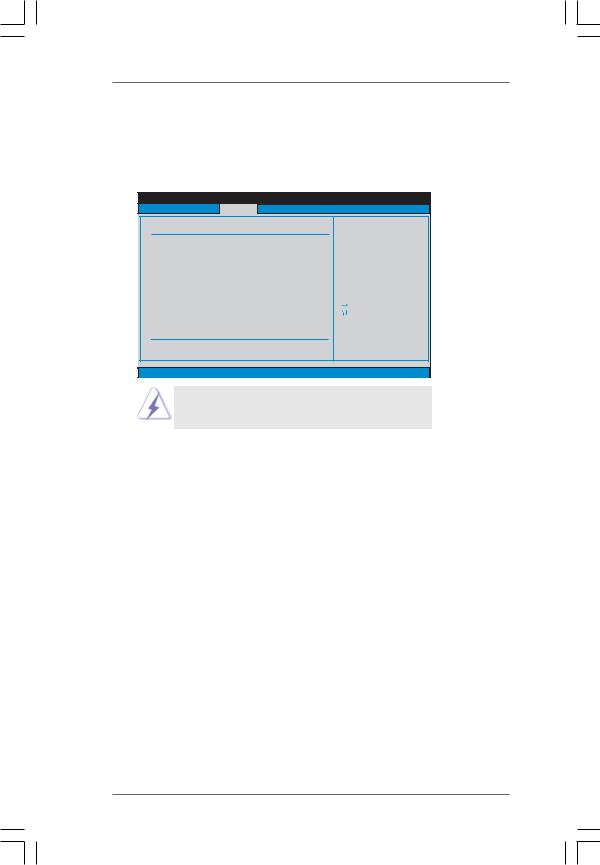
3.4 Advanced Screen
In this section, you may set the configurations for the following items: CPU Configuration, Chipset Configuration,ACPI Configuration, Storage Configuration, PCIPnP Configuration, Floppy Configuration, SuperIO Configuration, and USB Configuration.
BIOS SETUP UTILITY
Main OC Tweaker Advanced H/W Monitor Boot Security Exit
Advanced Settings
WARNING : Setting wrong values in below sections may cause system to malfunction.
 CPU Configuration
 Chipset Configuration
 ACPI Configuration
 Storage Configuration
 PCIPnP Configuration
 Floppy Configuration
 SuperIO Configuration
 USB Configuration
BIOS Update Utility
ASRock Instant Flash
Options for CPU
|
Select Screen |
|
Select Item |
Enter |
Go to Sub Screen |
F1 |
General Help |
F9 |
Load Defaults |
F10 |
Save and Exit |
ESC |
Exit |
v02.54 (C) Copyright 1985-2005, American Megatrends, Inc.
Setting wrong values in this section may cause the system to malfunction.
ASRock Instant Flash
ASRock Instant Flash is a BIOS flash utility embedded in Flash ROM. This convenient BIOS update tool allows you to update system BIOS without entering operating systems first like MS-DOS or Windows®. Just launch this tool and save the new BIOS file to your USB flash drive, floppy disk or hard drive, then you can update your BIOS only in a few clicks without preparing an additional floppy diskette or other complicated flash utility. Please be noted that the USB flash drive or hard drive must use FAT32/16/ 12 file system. If you execute ASRock Instant Flash utility, the utility will show the BIOS files and their respective information. Select the proper BIOS file to update your BIOS, and reboot your system after BIOS update process completes.
4 2
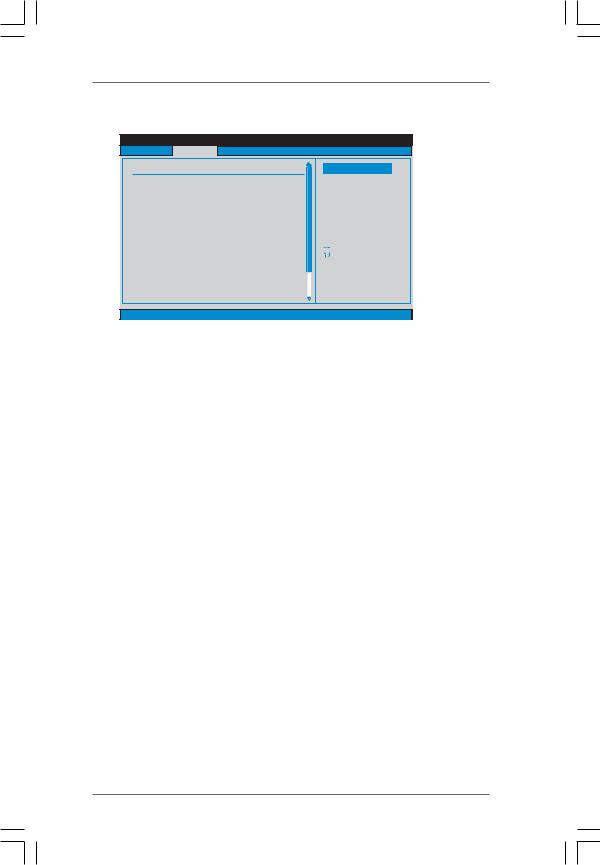
3.4.1 CPU Configuration
BIOS SETUP UTILITY
Advanced |
|
|
|
CPU Configuration |
|
|
Options |
AM2 Boost |
[Disabled] |
Enabled |
|
Cool' n' Quiet |
[Auto] |
Disabled |
|
Secure Virtual Machine |
[Enabled] |
|
|
|
|
|
Select Screen |
|
|
|
Select Item |
|
|
+- |
Change Option |
|
|
F1 |
General Help |
|
|
F9 |
Load Defaults |
|
|
F10 |
Save and Exit |
|
|
ESC |
Exit |
v02.54 (C) Copyright 1985-2003, American Megatrends, Inc. |
|||
AM2 Boost
This option appears only when you adopt AM2 CPU. If you set this option to [Enabled], you will enable ASRock AM2 Boost function, which will improve the memory performance. The default value is [Disabled]. Please refer to caution 17 on page 10 for details.
Cool ‘n’ Quiet
Use this item to enable or disable AMD’s Cool ‘n’ QuietTM technology. The default value is [Auto]. Configuration options: [Auto], [Enabled] and [Disabled]. If you install Windows® VistaTM and want to enable this function, please set this item to [Enabled]. Please note that enabling this function may reduce CPU voltage and memory frequency, and lead to system stability or compatibility issue with some memory modules or power supplies. Please set this item to [Disable] if above issue occurs.
Secure Virtual Machine
This option appears only when you adopt AM2 CPU. When this option is set to [Enabled], a VMM (Virtual Machine Architecture) can utilize the additional hardware capabilities provided by AMD-V. The default value is [Enabled]. Configuration options: [Enabled] and [Disabled].
Enhance Halt State
This option appears only when you adopt Phenom CPU. All processors support the Halt State (C1). The C1 state is supported through the native processor instructions HLT and MWAIT and requires no hardware support from the chipset. In the C1 power state, the processor maintains the context of the system caches.
L3 Cache Allocation
This option appears only when you adopt Phenom CPU. The default value is [BSP Only]. Configuration options: [BSP Only] and [All Cores].
4 3

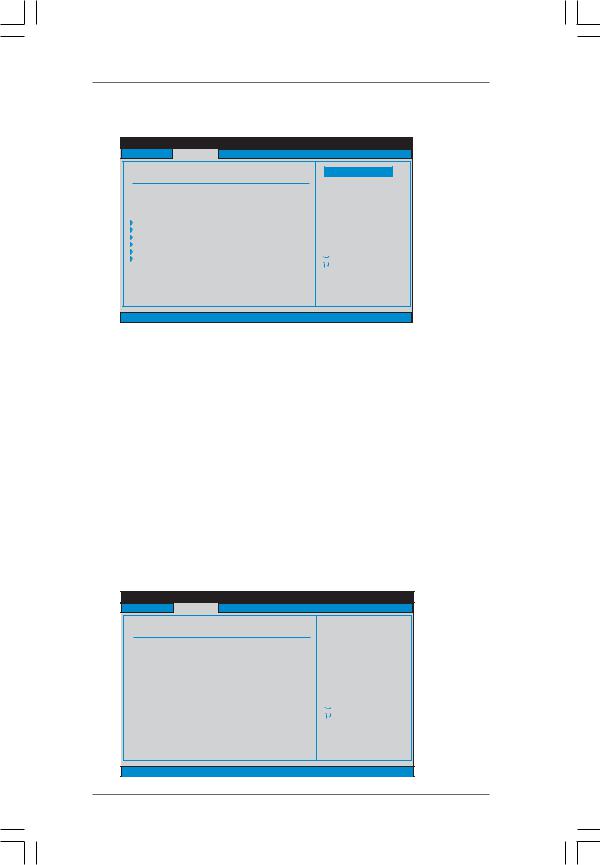
3.4.2 |
Chipset Configuration |
|
|
|
|
BIOS SETUP UTILITY |
|
|
Advanced |
|
|
Chipset Settings |
Auto/Enable/Disable |
||
|
|
Onboard HD Audio. |
|
Onboard LAN |
[Auto] |
|
|
Onboard HD Audio |
[Auto] |
|
|
Front Panel |
[Enabled] |
|
|
Share Memory |
[Auto] |
|
|
Primary Graphics Adapter |
[PCI] |
|
|
CPU Thermal Throttle |
[Enabled] |
|
|
|
|
|
Select Screen |
|
|
|
Select Item |
|
|
+ - |
Change Option |
|
|
F1 |
General Help |
|
|
F9 |
Load Defaults |
|
|
F10 |
Save and Exit |
|
|
ESC |
Exit |
|
v02.54 (C) Copyright 1985-2003, American Megatrends, Inc. |
||
Onboard LAN
This allows you to enable or disable the onboard LAN feature.
Onboard HD Audio
Select [Auto], [Enabled] or [Disabled] for the onboard HDAudio feature. If you select [Auto], the onboard HDAudio will be disabled when PCI Sound Card is plugged.
Front Panel
Select [Auto], [Enabled] or [Disabled] for the onboard HDAudio Front Panel.
Share Memory
This allows you to set share memory feature. The default value is [Auto]. Configuration options: [Auto], [32MB], [64MB], [128MB] and [256MB].
Primary Graphics Adapter
This item will switch the PCI Bus scanning order while searching for video card. It allows you to select the type of Primary VGA in case of multiple video controllers. The default value of this feature is [PCI]. Configuration options: [PCI], [Onboard] and [PCI Express].
CPU Thermal Throttle
Use this to enable CPU internal thermal control mechanism to keep the CPU from overheated. The default value is [Enabled].
4 4

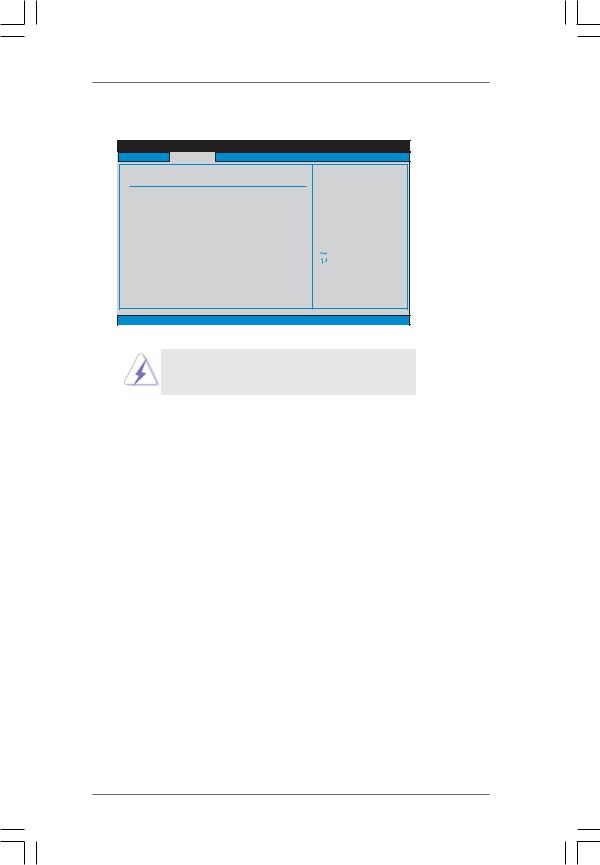
3.4.3ACPI Configuration
BIOS SETUP UTILITY
Advanced
ACPI Settings
Suspend To RAM |
[Auto] |
Check Ready Bit |
[Enabled] |
Away Mode Support |
[Disabled] |
Restore on AC / Power Loss |
[Power Off] |
Ring-In Power On |
[Disabled] |
PCI Devices Power On |
[Disabled] |
PS / 2 Keyboard Power On |
[Disabled] |
RTC Alarm Power On |
[Disabled] |
ACPI HPET Table |
[Disabled] |
OSC Control |
[Auto] |
Select auto-detect or disable the STR feature.
|
Select Screen |
|
Select Item |
+- |
Change Option |
F1 |
General Help |
F9 |
Load Defaults |
F10 |
Save and Exit |
ESC |
Exit |
v02.54 (C) Copyright 1985-2003, American Megatrends, Inc.
Suspend to RAM
Use this item to select whether to auto-detect or disable the Suspend-to-RAM feature. Select [Auto] will enable this feature if the OS supports it. If you set this item to [Disabled], the function “Repost Video on STR Resume” will be hidden.
Check Ready Bit
Use this item to enable or disable the feature Check Ready Bit.
Away Mode Support
Use this item to enable or disable Away Mode support under Windows® XP Media Center OS. The default value is [Disabled].
Restore on AC/Power Loss
This allows you to set the power state after an unexpected AC/power loss. If [Power Off] is selected, the AC/power remains off when the power recovers. If [Power On] is selected, the AC/power resumes and the system starts to boot up when the power recovers.
Ring-In Power On
Use this item to enable or disable Ring-In signals to turn on the system from the power-soft-off mode.
PCI Devices Power On
Use this item to enable or disable PCI devices to turn on the system from the power-soft-off mode.
PS/2 Keyboard Power On
Use this item to enable or disable PS/2 keyboard to turn on the system from the power-soft-off mode.
4 5

RTC Alarm Power On
Use this item to enable or disable RTC (Real Time Clock) to power on the system.
ACPI HPET Table
Use this item to enable or disable ACPI HPET Table. The default value is [Disabled]. Please set this option to [Enabled] if you plan to use this motherboard to submit Windows® VistaTM certification.
OSC Control
Use this item to enable or disable OSC control. Configuration options: [Auto], [Enabled] and [Disabled]. The default value is [Auto].
4 6
3.4.4 Storage Configuration
BIOS SETUP UTILITY
Advanced |
|
|
|
Storage Configuration |
|
|
Options |
|
|
|
|
|
|
Disabled |
|
Onboard IDE Controller |
[Enabled] |
Enabled |
|
|
|
||
Onboard SATA Controller |
[Enabled] |
|
|
SATA Operation Mode |
[IDE] |
|
|
IDE1 Master |
[Hard Disk] |
|
|
IDE1 Slave |
[Not Detected] |
|
|
SATAII_1 |
[Not Detected] |
|
|
SATAII_2 |
[Not Detected] |
|
|
SATAII_3 |
[Not Detected] |
|
Select Screen |
SATAII_4 |
[Not Detected] |
|
|
|
Select Item |
||
|
|
|
|
|
|
+- |
Change Option |
|
|
F1 |
General Help |
|
|
F9 |
Load Defaults |
|
|
F10 |
Save and Exit |
|
|
ESC |
Exit |
v02.54 (C) Copyright 1985-2003, American Megatrends, Inc. |
|||
OnBoard IDE Controller
Use this item to enable or disable the “OnBoard IDE Controller” feature.
Onboard SATA Controller
Use this item to enable or disable the “Onboard SATA Controller” feature.
SATA Operation Mode
Use this item to adjust SATA Operation Mode. The default value of this option is [IDE]. If you want to operate RAID function on SATA / SATAII HDDs, please select [RAID]. Configuration options: [IDE] and [RAID].
*If you select [RAID] mode, SATA / SATAII HDDs can not be accessed until you finish configuring RAID functions in NVIDIA BIOS / Windows RAID Utility.
*If you install OS on SATA / SATAII HDDs, please do not change the setting of this item after OS installation.
IDE Device Configuration
You may set the IDE configuration for the device that you specify. We will use the “IDE1 Master” as the example in the following instruction, which can be applied to the configurations of “IDE1 Slave” as well.
BIOS SETUP UTILITY
Advanced
IDE Master
Device |
:Hard Disk |
Vendor |
:MAXTOR 6L080J4 |
Size |
:80.0 GB |
LBA Mode |
:Supported |
Block Mode |
:16Sectors |
PIO Mode |
:4 |
Async DMA |
:MultiWord DMA-2 |
Ultra DMA |
:Ultra DMA-6 |
S.M.A.R.T. |
:Supported |
|
|
Type |
[Auto] |
LBA/Large Mode |
[Auto] |
Block (Multi-Sector Transfer) |
[Auto] |
PIO Mode |
[Auto] |
DMA Mode |
[Auto] |
S . M . A . R . T . |
[Disabled] |
32Bit Data Transfer |
[Disabled] |
Select the type
of device connected to the system.
|
Select Screen |
|
Select Item |
+- |
Change Option |
F1 |
General Help |
F9 |
Load Defaults |
F10 |
Save and Exit |
ESC |
Exit |
v02.54 (C) Copyright 1985-2003, American Megatrends, Inc.
4 7

TYPE
Use this item to configure the type of the IDE device that you specify. Configuration options: [Not Installed], [Auto], [CD/DVD], and [ARMD].
[Not Installed]: Select [Not Installed] to disable the use of IDE device. [Auto]: Select [Auto] to automatically detect the hard disk drive.
After selecting the hard disk information into BIOS, use a disk utility, such as FDISK, to partition and format the new IDE hard disk drives. This is necessary so that you can write or read data from the hard disk. Make sure to set the partition of the Primary IDE hard disk drives to active.
[CD/DVD]:This is used for IDE CD/DVD drives.
[ARMD]: This is used for IDE ARMD (ATAPI Removable Media Device), such as MO.
LBA/Large Mode
Use this item to select the LBA/Large mode for a hard disk > 512 MB under DOS and Windows; for Netware and UNIX user, select [Disabled] to disable the LBA/Large mode.
Block (Multi-Sector Transfer)
The default value of this item is [Auto]. If this feature is enabled, it will enhance hard disk performance by reading or writing more data during each transfer.
PIO Mode
Use this item to set the PIO mode to enhance hard disk performance by optimizing the hard disk timing.
DMA Mode
DMA capability allows the improved transfer-speed and data-integrity for compatible IDE devices.
S.M.A.R.T.
Use this item to enable or disable the S.M.A.R.T. (Self-Monitoring, Analysis, and Reporting Technology) feature. Configuration options: [Disabled], [Auto], [Enabled].
32Bit Data Transfer
Use this item to enable 32-bit access to maximize the IDE hard disk data transfer rate.
4 8
3.4.5 PCIPnP Configuration
BIOS SETUP UTILITY
Advanced
Advanced PCI / PnP Settings
PCI |
Latency Timer |
[32] |
PCI |
IDE BusMaster |
[Enabled] |
Value in units of PCI clocks for PCI device latency timer register.
|
Select Screen |
|
Select Item |
+- |
Change Option |
F1 |
General Help |
F9 |
Load Defaults |
F10 |
Save and Exit |
ESC |
Exit |
v02.54 (C) Copyright 1985-2003, American Megatrends, Inc.
Setting wrong values in this section may cause the system to malfunction.
PCI Latency Timer
The default value is 32. It is recommended to keep the default value unless the installed PCI expansion cards’ specifications require other settings.
PCI IDE BusMaster
Use this item to enable or disable the PCI IDE BusMaster feature.
4 9
3.4.6Floppy Configuration
In this section, you may configure the type of your floppy drive.
|
BIOS SETUP UTILITY |
|
|
Advanced |
|
|
|
Floppy Configuration |
|
Select the type of |
|
|
|
floppy drive |
|
Floppy A |
[1.44 MB 312"] |
connected to the |
|
|
|
system. |
|
|
|
|
Select Screen |
|
|
|
Select Item |
|
|
+- |
Change Option |
|
|
F1 |
General Help |
|
|
F9 |
Load Defaults |
|
|
F10 |
Save and Exit |
|
|
ESC |
Exit |
v02.54 (C) Copyright 1985-2003, American Megatrends, Inc. |
|||
3.4.7Super IO Configuration |
|
|
|
BIOS SETUP UTILITY |
|
|
|
Advanced |
|
|
|
Configure Super IO Chipset |
|
Allow BIOS to Enable |
|
|
|
or Disable Floppy |
|
OnBoard Floppy Controller |
[Enabled] |
Controller. |
|
|
|
||
Serial Port Address |
[3F8 / IRQ4] |
|
|
Parallel Port Address |
[378] |
|
|
Parallel Port Mode |
[ECP + EPP] |
|
|
EPP Version |
[1.9] |
|
|
ECP Mode DMA Channel |
[DMA3] |
|
|
Parallel Port IRQ |
[IRQ7] |
|
|
|
|
|
Select Screen |
|
|
|
Select Item |
|
|
+- |
Change Option |
|
|
F1 |
General Help |
|
|
F9 |
Load Defaults |
|
|
F10 |
Save and Exit |
|
|
ESC |
Exit |
v02.54 (C) Copyright 1985-2003, American Megatrends, Inc. |
|||
OnBoard Floppy Controller
Use this item to enable or disable floppy drive controller.
Serial Port Address
Use this item to set the address for the onboard serial port or disable it. Configuration options: [Disabled], [3F8 / IRQ4], [2F8 / IRQ3], [3E8 / IRQ4], [2E8 / IRQ3].
Parallel Port Address
Use this item to set the address for the onboard parallel port or disable it. Configuration options: [Disabled], [378], and [278].
5 0