
0470045272
.pdf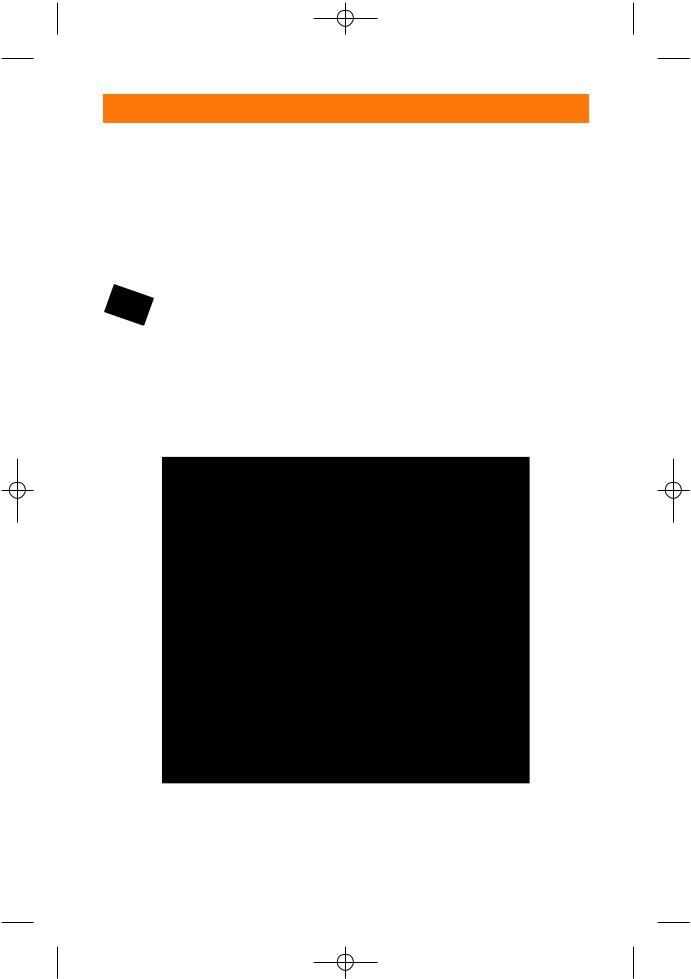
07_045275 ch02.qxp 11/28/06 8:24 PM Page 41
Chapter 2 Setting Up the SB-600 and SB-800 41
Locking controls
After you have the settings on your Speedlight where you want them, you can lock the settings in to prevent accidental changes from occurring while you handle the flash units. This function ensures that your Speedlights stay exactly as you set them.
Note |
Although |
the settings are |
|
locked, some buttons not affect- |
|
|
ing settings still function nor- |
|
|
mally. On the SB-600, the lock |
|
|
does not affect the On/Off but- |
|
|
ton and the Flash Test button. |
|
|
On the SB-800, the On/Off but- |
|
|
ton, the |
modeling illuminator, |
|
and the Flash Test button are |
|
|
not affected. |
|
SB-800
To lock the settings on the SB-800, simply press the On/Off and SEL buttons at the same time for two seconds. To unlock the settings repeat the procedure.
SB-600
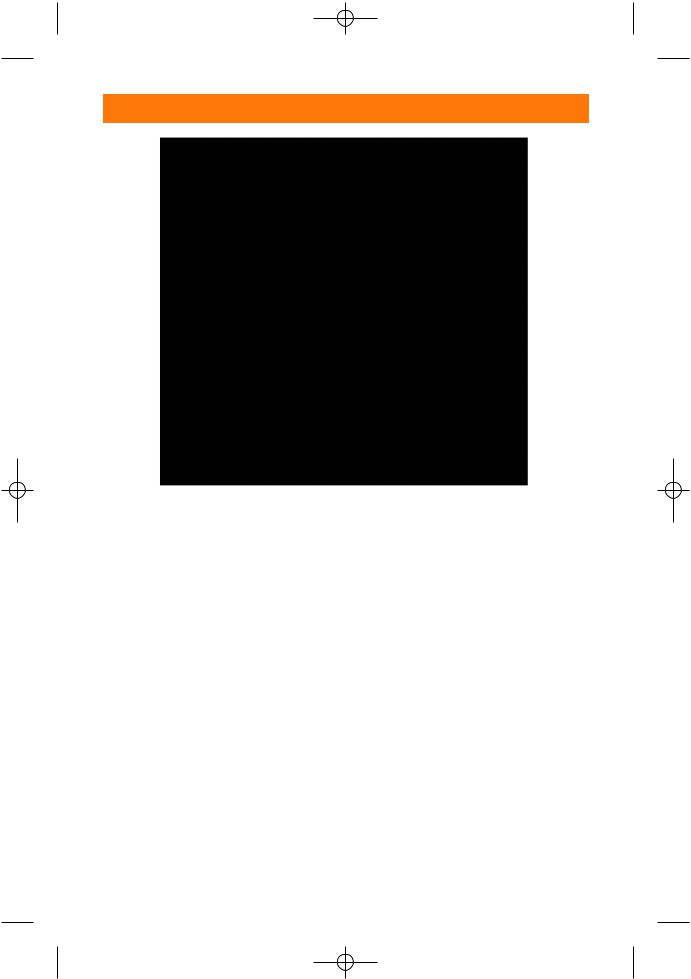
To lock the settings on the SB-600, press the Mode and – buttons simultaneously for two seconds. To unlock, repeat the procedure.
2.4 Press the two buttons highlighted in green for two seconds to lock the SB-800’s settings.
07_045275 ch02.qxp 11/28/06 8:24 PM Page 42
42 Part I Using the Creative Lighting System
2.5 Press the two buttons highlighted in green for two seconds to lock the SB-600’s settings.
Red-eye reduction
Red-eye. . . everybody’s seen it in a picture at one time or another. The devilish red glare makes your subjects look like they crawled out of the ninth ring of Dante’s Inferno. This anomaly is fortunately not caused by demonic possession, but is caused by the reflection of the light from
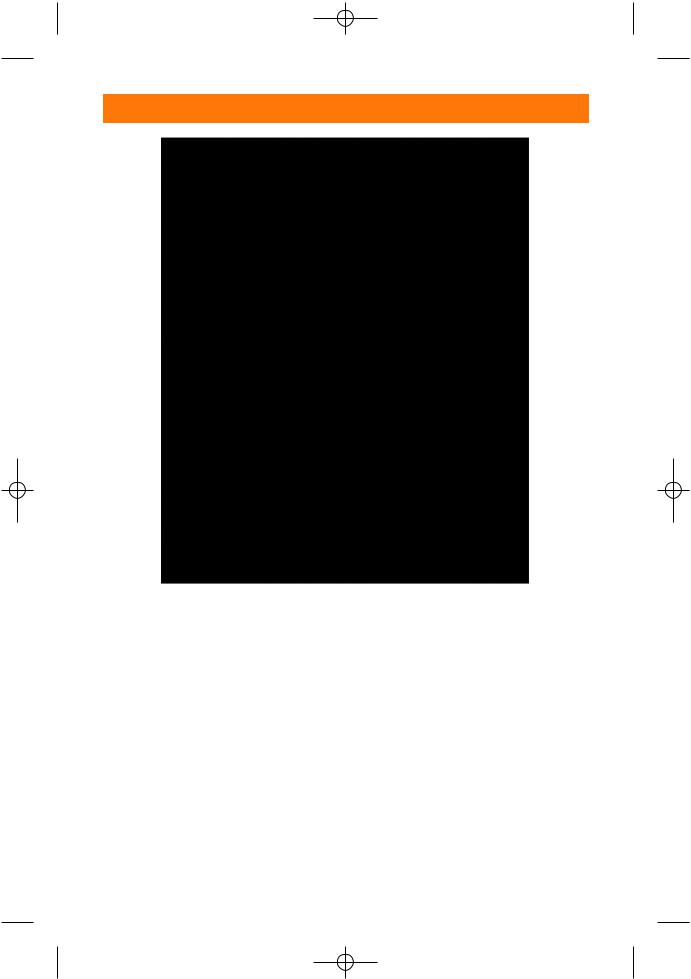
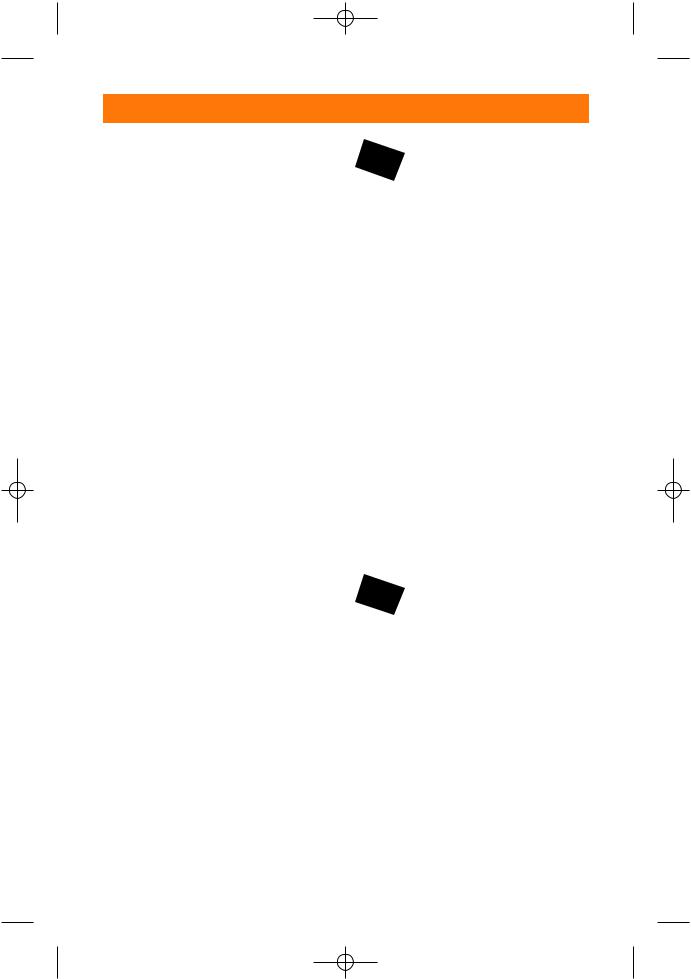
the flash off of the eye’s retina (back of the eye). Most cameras that have flash compatibility have a red-eye reduction function, which consists of a pre-flash or an LED that produces a light bright enough to constrict the pupils, therefore reducing the amount of light reflecting entering the eye and bouncing off of the retina.

07_045275 ch02.qxp 11/28/06 8:24 PM Page 43
Chapter 2 Setting Up the SB-600 and SB-800 43
Red-eye reduction cannot be set on the SB800 or SB-600. The camera body controls this function. Most, if not all Nikon dSLR camera bodies have some sort of red-eye
reduction function. Consult your specific camera’s owners manual for instructions on how to set it up.
2.6 Without red-eye reduction
07_045275 ch02.qxp 11/28/06 8:24 PM Page 44
44 Part I Using the Creative Lighting System
2.7 With red-eye reduction
AF Assist
When photographing in a dark environment, it is sometimes hard for your camera’s autofocus sensor to find something to lock on to. When using an SB-800 or SB-600 in a lowlight situation, the flash emits an LED pattern to give your camera sensor something to focus on. For this feature to work, you must be using an AF lens and the camera’s focus mode must be set to Single focus.
The AF Assist function can be turned on and off in the CSM. By default it is on and I recommend leaving it that way.
SB-600
Turning the AF-ILL on and off on the SB-600:
1.Press the Zoom and - buttons for two seconds to enter the CSM.
2.Use the + and – buttons to select the AF-ILL menu.
3.Use either the Zoom or Mode button to turn the AF-ILL on or off.
4.Press the On/Off button to return to the main menu.
07_045275 ch02.qxp 11/28/06 8:24 PM Page 45
Chapter 2 Setting Up the SB-600 and SB-800 45
SB-800
To turn the AF Assist illuminator on and off on the SB-800:
1.Enter the CSM by pressing the SEL button for two seconds.
2.Use the + or – buttons and the left and right Zoom buttons to choose the AF-ILL menu, and then press the Select button.
3.Use the + or – buttons to turn the AF-ILL on or off.
4.Press the On/Off button to return to the main menu.
LCD panel illumination
The LCD panels of both the SB-600 and SB800 have a light built-in to help viewing in low-light situations. By default this is set so that when you press any button on the SB600 or SB-800, the illuminator turns on and remains lit for sixteen seconds. You can turn this function off in the CSM.
I usually keep mine turned off, as LCD lights use up a lot of battery power.
Note |
Even when the LCD illuminator |
|
is set to off in the CSM, the LCD |
|
panel lights up when the flash is |
|
attached to a camera and the |
|
camera’s LCD panel illuminator |
|
is turned on. |
Standby mode
Both the SB-800 and SB-600 have a standby mode. The standby mode puts the flash to sleep when not in use. This function helps conserve battery power. When the Speedlight goes in to standby, all you need to do to wake it up is to press any button on the camera body or any button on the Speedlight itself. When the Speedlight is in standby mode the Speedlight’s LCD displays STBY.
The Speedlight defaults have the standby set to automatic. I leave my Speedlights at this setting because it saves battery power and when the flash goes to sleep it only takes a fraction of a second to wake it up again. Of course, you can turn the standby function off by selecting it in the CSM.
Note |
When the Speedlight is in wire- |
|
less remote mode it will not go |
|
into standby. |

07_045275 ch02.qxp 11/28/06 8:24 PM Page 46

08_045275 pt02.qxp 11/28/06 8:30 PM Page 47
Creating Great Photos with the Creative Lighting System
P A R T
II
In This Part
Chapter 3
Flash Photography
Basics
Chapter 4
Wireless Flash Photography with the CLS
Chapter 5
Setting Up a Wireless
Studio
Chapter 6
Real-World
Applications
Chapter 7
Simple Posing for Great Portraits

08_045275 pt02.qxp 11/28/06 8:30 PM Page 48

09_045275 ch03.qxp 11/28/06 8:24 PM Page 49
Flash
Photography
Basics
This chapter goes over some of the basic information you should know when starting out with flash photography. For those of you who aren’t new to using external flash or the CLS, much of this may be a review — but you might learn a thing or two about your Speedlights and how to best use them. If you are new to the CLS then this chapter is a great resource for you and a great reference tool as you experiment and practice with your new Speedlight or
Speedlights.
Speedlights versus Studio Strobes
There are many reasons why you’d want to use Speedlights instead of studio strobes. That being said, there are also many reasons to use studio strobes. Each type of light has its own strong points. When deciding what type of lighting to get you really need to look at what you’ll be using it for.
If you know you are traveling with your lighting setup, the portability of the Speedlights comes in handy. If you have a studio and you need a lot of light for big subjects, studio strobes may be the way to go.
This isn’t to say you need one or the other. Most professional photographers use both. I own both studio strobes and Speedlights. When I go out to shoot on location, you can bet that I don’t drag out those heavy old Speedotrons.
C 3H A P T E R
In This Chapter
Basics of lighting
Color temperature and white balance
Using bounce flash
Using close up and macro flash
Explaining flash exposure
09_045275 ch03.qxp 11/28/06 8:24 PM Page 50
50 Part II Creating Great Photos with the Creative Lighting System
This section discusses the pros and cons of the different lighting systems.
Portability. Let’s face it, you can pack three or four Speedlights in one bag, which only weighs a few pounds. You still need stands and umbrellas for many types of shooting, but Speedlights are small and very portable.
Power. Speedlights run on AA batteries. You don’t have to rely on household current and long extension cords to power these flashes. You can power studio strobes with accessory batteries, but they weigh more than the strobes themselves in some cases. That’s one more piece of equipment, per strobe, that you have to worry about.
Tip |
When first setting up for a stu- |
|
dio session, I always put a set of |
|
freshly charged set batteries in |
|
each Speedlight I use. I find that |
|
one set of batteries can last me |
|
for hundreds of photos, often |
|
lasting me the entire job. It’s a |
|
good idea to buy at least one |
|
set of extra batteries for each |
|
Speedlight you own. |
Ease of use. After you arrange and configure your Speedlights, you’re ready to shoot, controlling flash output centrally. With studio strobes, you have to add yet more equipment to achieve the same advantage.
3.1 I use an old camera bag to carry all my Speedlights and accessories.
