0470045272
.pdf
04_045275 qt.qxp 11/28/06 8:25 PM Page 1
Quick Tour
Many cameras come equipped with a built-in flash. Like any photographer who takes many photos with flash, you soon learn the limitations of these built-in
flashes. In order to obtain better flash lighting for portraits, still lifes, and other types of photography, the next step is to graduate to external Speedlights, such as the Nikon SB-600 or SB800. By adding Speedlights to your photographic arsenal, you get many further-reaching photographic capabilities your built-in flash just can’t provide.
Nikon Speedlights are very easy to use right out of the box. All you need to do is unpack what’s in the box, insert AA batteries, attach the Speedlight to your camera’s hot shoe, turn on your flash and camera, and you are ready to start taking photos! Though many would think that advanced flash units such as the SB-800 or SB-600 are complex beasts, the reality is, they are ready-to-go for quick snapshots, but also configurable for some complex wireless multi-flash photo shoots. So get ready, you are about to explore the world of the SB800 and SB-600 Speedlights and the Nikon Creative Lighting System.
This quick tour shows you how to get up and going with your SB-800 or SB-600 Speedlight to take great flash photos immediately.
QTC H A P T E R
In This Chapter
Getting up and running quickly
Taking your first photos with the Speedlight

04_045275 qt.qxp 11/28/06 8:25 PM Page 2
2 Quick Tour
Getting Up and
Running Quickly
If you want to get up and running quickly with your Nikon Speedlight SB-800 or SB600, all you really need to do is insert the batteries, attach the Speedlight to your camera, and then turn both the Speedlight and the camera on. You’ll be amazed at the quality of flash photos you can take with the Speedlight as soon as you take it out of the box.
Note |
The flash accepts Alkaline, |
|
Lithium, or rechargeable AA- |
|
sized batteries |
To attach the Speedlight:
1.Turn off the camera and Speedlight. Both the Speedlight and camera should be turned off before attaching. Turning off the equipment reduces any risk of short-circuits when attaching different electronic devices.
2.Unlock the mounting foot lock lever. Move the mounting foot lock lever of the SB-800 to the left — its unlocked position.
3.Attach the Speedlight to your camera. Slide the Speedlight hot shoe into the camera’s hot shoe. Turn the mounting foot lock lever to the right to lock the Speedlight in place.
4.Position the flash head to the horizontal position. When you first attach the Speedlight to your camera, make sure the flash head is positioned in its normal horizontal position. You can reposition the flash head by pressing the flash head tilting/rotating lock release, and then positioning the flash head.
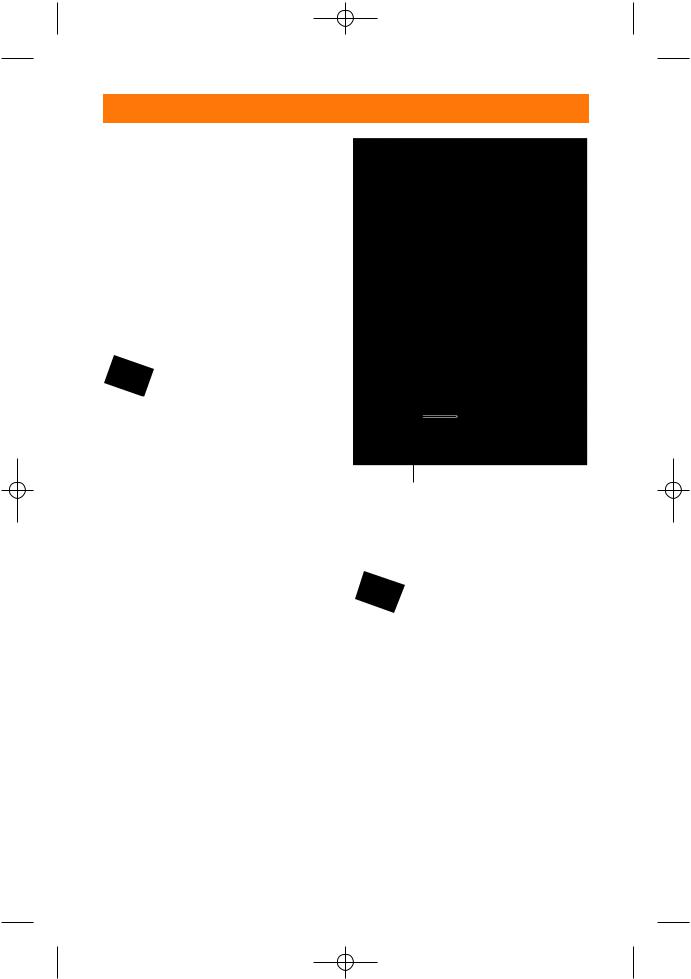
Mounting foot lock lever (unlock position)
QT.1 Turn the mounting foot lock lever to the left to unlock.
Note |
When using the SB-800, if the |
|
flash head is not in the normal, |
|
horizontal position, the LCD |
|
panel shows a warning. |
5.Turn on your camera.
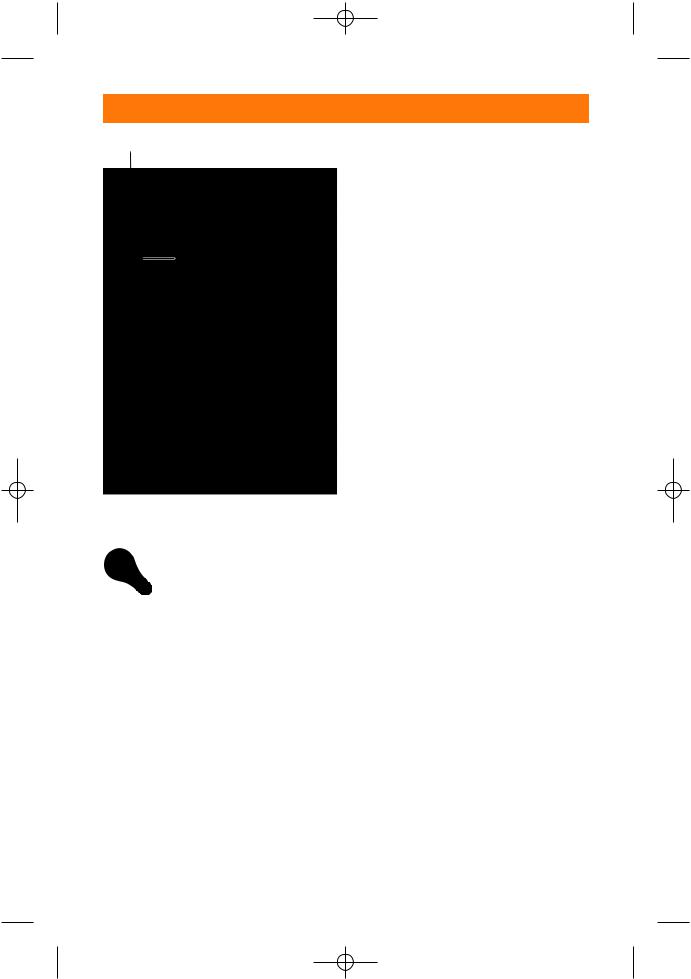
6.Turn on your Speedlight. The On/Off switch for the Speedlight is located on the back panel, shown in figure QT.4.
After you power up your Speedlight and camera with the flash head in the horizontal position, both the flash and camera sync. You can then reposition the flash head to your desired position.

04_045275 qt.qxp 11/28/06 8:25 PM Page 3
Quick Tour 3
QT.2 Position the flash head in the horizontal position by pressing the flash head tilting/rotating lock release.
QT.3 Repositioning the flash head.

04_045275 qt.qxp 11/28/06 8:25 PM Page 4
4 Quick Tour
Modeling Illuminator button
QT.4 The back of the SB-800 Speedlight
Tip |
The SB-800 comes |
equipped |
|
with the SW-10H diffusion |
|
|
dome. When you place the dif- |
|
|
fusion dome over the flash |
|
|
head, you get a more subdued, |
|
|
softer light on your subject. |
|
|
Consider using the |
diffusion |
|
dome when shooting |
portraits |
|
of people or even when you |
|
|
want to soften the light on other |
|
|
subjects such as a floral |
|
|
arrangement. |
|
Taking Your First Photos with the Speedlight
After you get your flash attached and turned on, the flash default sets itself to TTL mode. TTL stands for Through the Lens, which means that the light meter in the camera takes a reading through the lens and decides how much flash exposure you need depending on your camera settings.
If your camera meter is set to matrix metering, which means the light meter is taking a reading of the whole scene, you see BL after the TTL icon. The BL stands for balanced fill flash. The camera adjusts the flash exposure to match the ambient light, creating a more natural look.
If your camera is set to spot meter the scene, the flash sets to full TTL mode. The camera’s meter takes a reading of the subject and exposes just for that, not taking into account the background light.
I recommend setting your camera to matrix metering mode and using the TTL BL mode. This mode produces great results and you don’t have to do anything but press the shutter release. When set to TTL, the background tends to be too dark or the subject seems to be unnaturally bright. And remember, setting up your Speedlight for TTL BL flash is easy; after the Speedlight’s attached to the camera, turn it on!

04_045275 qt.qxp 11/28/06 8:25 PM Page 5
Quick Tour 5
QT.5 An outdoor portrait using TTL BL
Tip |
Don’t be afraid to use your flash |
|
outside in the sun. This is where |
|
balanced fill flash excels. The |
|
flash fills in some of the harsh |
|
shadows that are created by |
|
the sun. |
Taking photos with the Speedlight on TTL is just as easy as taking photos without a flash. Just press the shutter release. The camera makes all of the adjustments for exposure and adjusts the flash head zoom for you.
The flash head zoom is a feature of the Speedlight that adjusts the flash to match the focal length of the lens you’re using. Don’t be concerned if you don’t completely understand how TTL BL works or why the flash zoom is important — you will in good time. By the time you finish this book, you should be an expert. In the meantime, this Quick Tour is just to get you started with flash photography and comfortable with your new flash equipment.

04_045275 qt.qxp 11/28/06 8:25 PM Page 6
6 Quick Tour
Everything is attached and you have the basic settings, so get out there and shoot. Take some pictures of your friends or significant other. Get your dog or cat posed. Set
up a still life. Experiment with different apertures and shutter speeds. Above all, have fun!
QT.6 A quick snapshot of Clementine taken using the SB-600 with a wide aperture

05_045275 pt01.qxp 11/28/06 8:29 PM Page 7
Using the
Creative
Lighting
System
P A R T
I
In This Part
Chapter 1
Exploring the CLS
Chapter 2
Setting Up the SB-800
and SB-600

05_045275 pt01.qxp 11/28/06 8:29 PM Page 8

06_045275 ch01.qxp 11/28/06 8:28 PM Page 9
Exploring
the CLS
The components of the Nikon Creative Lighting System are any Nikon dSLR and the SB-800, SB-600, and SBR200 Speedlights. Additional components include the SU-800
commander unit, and the R1 and R1C1 macro lighting kits. And, as with any new camera equipment, it is important to know how everything works and where all the controls are.
In this chapter you take a look and the main features and functions of the major components in the Nikon CLS, including the SB-800 and the SB-600. Additionally, this chapter also touches on some features and functions of the SU-800 wireless commander and the SBR-200 macro Speedlight kit. By the end of the chapter, you ought to have an in-depth knowledge of what all the buttons do and how to use the features of the CLS for the best results with your photography.
Features of the Nikon
Creative Lighting System
In this section you take a look at all of the available features of the Nikon Creative Lighting System. It’s important to keep in mind that although at some level all of these features are available, not all of them are available with certain Speedlight and camera combinations.
Note |
While all Nikon dSLR’s can be used with the Nikon |
|
Creative Lighting System, not all features are avail- |
|
able with every camera. |
C 1H A P T E R
In This Chapter
SB-800
SB-600
Overview of the SU-
800 Commander
Overview of the SBR-
200 Speedlight
Components of the
Nikon Creative Lighting
System
For specific information on what features are available, see the tables in the following pages to determine which features can be utilized with your Speedlight and camera combination.

06_045275 ch01.qxp 11/28/06 8:28 PM Page 10
10 Part I Using the Creative Lighting System
iTTL. Nikon’s most advanced metering system, it uses preflashes fired from the Speedlight to determine the proper flash exposure. The pre-flashes are read by a 1005-pixel metering sensor. The information is then combined with the information from matrix metering, which is a reading of how much available light is falling on the subject. The Speedlight uses this information to decide how much flash exposure is needed to create a fill flash.
Flash Value lock. The FV lock allows you to meter the subject, getting a reading for the proper flash exposure. Pressing and holding the FV lock button allows you to meter the subject, and then recompose the shot while maintaining the proper flash exposure for the subject.
Advanced Wireless Lighting.
This allows you to use your Speedlights wirelessly. The commander unit fires pre-flashes, which transmits information back and forth between the camera and the flash.
High-Speed Sync. This allows you to use your flash at higher shutter speed than your camera body is rated for. You may want to use this feature when shooting outdoor portraits requiring a wide aperture and high shutter speed.
Wide-Area AF-assist Illuminator.
The SB-800 and SB-600 have a built-in LED that emits a light pattern to give the cameras AF something to lock onto. The LED pattern is wide enough to cover all eleven focus areas on the D200, D2X/s and the D2H/s.
Flash Color Information Communication. As the flash duration gets longer the color temperature changes a bit. The SB-800 and SB-600 transmit this change to the camera body, ensuring a more accurate white balance.
SB-800
The SB-800 has many great features and offers a great deal of versatility when shooting with flash. As you no doubt already have the flash and have read the manual (or at least skimmed through it), you should know the basics about your Speedlight already. But, before you go much further, you should familiarize yourself with the Speedlight.
SB-800 specs and features
This section provides a brief look at different features that are available on the SB-800 Speedlight. It is important to note, however, that some features may not be available to use depending on the camera body you are using. For example, when using the D50 or D70/D70s the FP High Speed Sync feature is unavailable.
The features the SB-800 is capable of include
Guide Number. 125 at ISO 100 on the 35mm setting. See your owner’s manual for more specifics on GNs for specific zoom ranges.
Automatic zooming flash-head.
Provides lens coverage from 24mm up to 105mm, 14mm with the included wide-angle adaptor.
