

Build The Ultimate Custom PC (2005)
.pdfChapter 10 — A Tour of Cables and Fittings 149
Generally, you can expect to be supplied with cabling when you purchase the motherboard (you should be supplied with at least one 80-wire, 40-pin hard drive ribbon, and a separate floppy drive connector). If you buy a hard drive retail kit, as opposed to a bare drive, then more than likely you’ll get another ribbon there.
Check in case you need additional hard drive data ribbons before you begin the build. It’s irritating holding up the build just for a cable!
Sometimes the marks on the drives can be hard to spot, so here’s a quick and easy tip to ensure that you’re fitting the cable correctly. Hold the drive upright and facing away from you (you are now looking at the back of the drive). Pin 1 will be on the left, so keep the red line on the cable on the left, and you’ll be sure of matching it up correctly!
Floppy Drive Data Cables
Okay, you might not be planning on installing a floppy drive, but you still need to know where it goes!
The one thing that catches people out about the floppy drive data cables is that they are similar in appearance to hard drive cables, but instead of being 40-pin they are 34-pin, 34-wire cables (see Figure 10-15). Floppy drive data cables are however instantly recognizable from hard drive data cables because seven of the wires in the ribbon have a twist in them (the twist is before the connector that connects to the drive that will become drive A:). You will never see this on hard drive cables.
FIGURE 10-15: Floppy drive cable.
150 Part I — Choosing Components for Your PC
Floppy drive data cables are keyed in a similar way to hard drive cables and also have the red line indicating pin 1, which comes in handy when fitting them.
The connector nearest the twist is the one fitted to the floppy drive, and the one farthest away from the twist is hooked up to the motherboard.
Fans and Coolers
Cooling is vital to a PC and without effective active (that is, assisted) cooling, modern PC components would overheat and die very quickly.
Generally motherboards provide support for two types of fans:
CPU cooling fan
Case fan
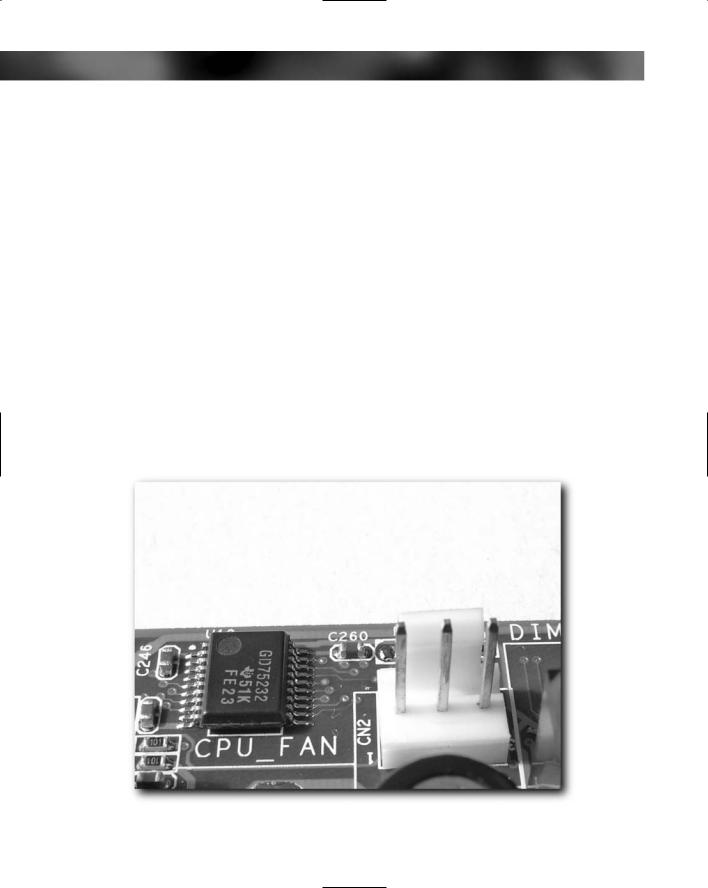
Both of these fans connect to the motherboard by a separate connector head that both provides the power for the fan and also monitors the speed of the fan (see Figures 10-16 and 10-17).
Both of the connectors are keyed to prevent incorrect fitting. Generally, however, given the distance between the connection points on the motherboard, it’s not usually possible to fit the CPU fan to anything other than the CPU fan connector (see Figures 10-18 and 10-19).
FIGURE 10-16: CPU fan connector head.

Chapter 10 — A Tour of Cables and Fittings 151
FIGURE 10-17: Case fan connector head.
FIGURE 10-18: Case fan keyed connector.
152 Part I — Choosing Components for Your PC
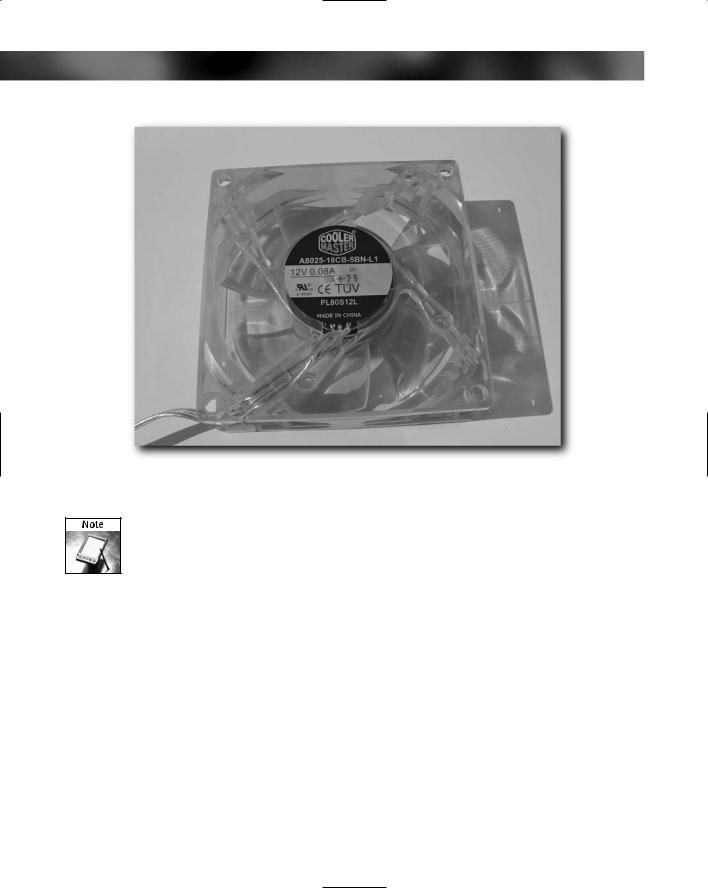
FIGURE 10-19: CoolerMaster case fan.
Sometimes, you might want to fit additional case fans. For example, you might want to ensure that the inside of the case is as cool as possible (perhaps because you have additional hard disks). Or maybe just because you like the idea of a fan in the case with a cool LED on it! When this becomes necessary, the fans draw power from the hard drive power cables via a bridging connector that both taps power from the connector and allows it to be fitted to a device if required.
Case Speakers
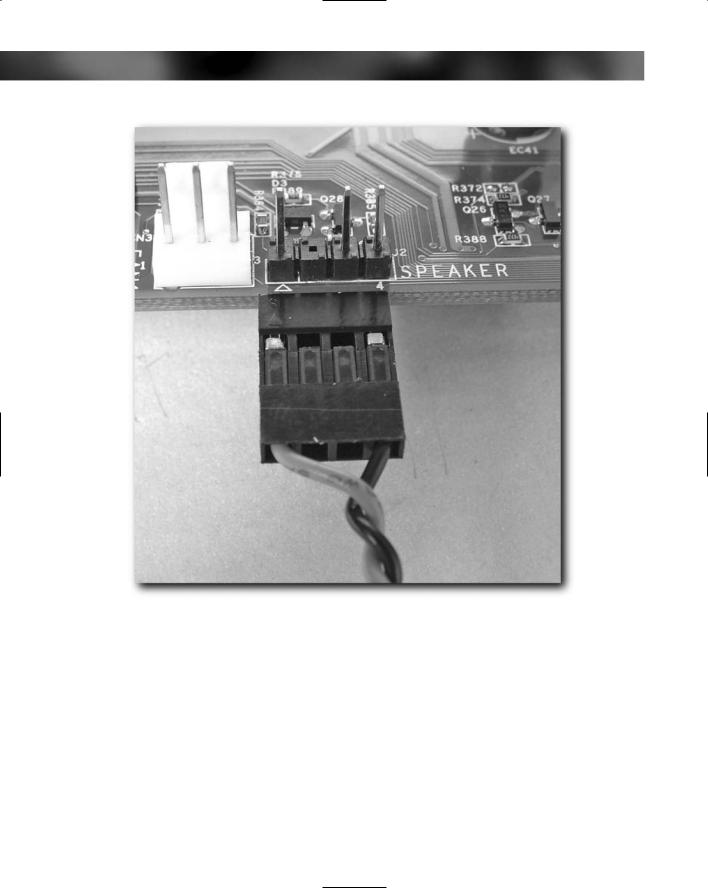
Even in a modern, high-tech PC that has stereo or surround sound, the basic system beeps (used to diagnose problems) are supplied by a primitive case speaker that is connected to the motherboard. You won’t hear any sound from this speaker other than a beep when it is switched on and for troubleshooting purposes. (Refer to your motherboard manual for an explanation of these diagnostic beeps.)

Chapter 10 — A Tour of Cables and Fittings 153
This case speaker is usually fitted to the front of the PC and is connected to the motherboard via a 2-pin connector (the connector, however, is a broad 4-pin connector where only two pins are actually made use of; see Figure 10-20).
FIGURE 10-20: Speaker connector lead.
This connector is not keyed, so make sure that you match pin 1 on the connector (sometimes marked “S”, “SPK”, or an arrow) on the cable with pin 1 on the motherboard (both of which should be clearly marked). See Figure 10-21.
Rest assured that an incorrect fitting won’t damage the PC, but the on-board speaker might not work until it is connected properly. This is something that you can only check out properly when you test the PC.
154 Part I — Choosing Components for Your PC
FIGURE 10-21: Speaker lead properly oriented with connector head. Notice how the arrows painted on the connector and motherboard match up.
USB Connector Head
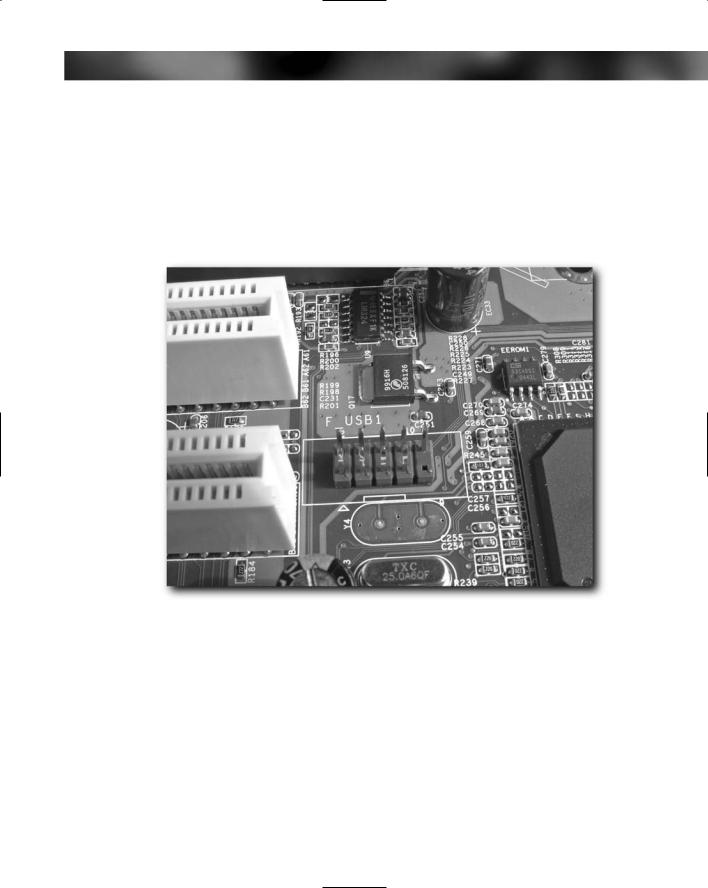
Most modern motherboards have USB support already built in, but some cases also provide additional USB ports, usually on the front of the case. To take advantage of these ports, you will need an additional USB connector head on the motherboard (see Figure 10-22 and 10-23). This is a 9-pin header (1 pin is not required) that provides support for two ports. The connectors from the USB port on the case can seem rather daunting because you will be faced by four 2-pin connectors that must be mated up to this header.
Chapter 10 — A Tour of Cables and Fittings 155
These connectors are normally marked:
VCC1 and VCC2. These are the voltage lines taking over to the USB device.
USB1+ and USB2+. Wires carrying data to the USB device.
USB1and USB2-. Wires carrying data from the USB device.
GND and GND. These are the grounds for the power.
FIGURE 10-22: USB connector head.

156 Part I — Choosing Components for Your PC
FIGURE 10-23: USB leads — thankfully all marked up well!
It is important that you make sure you connect up the connectors marked 1 (VCC1, USB1+, and USB1-) and 2 (VCC2, USB2+, and USB2-) to the appropriate header on the motherboard. (Don’t worry how you hook up the GND connectors. They can be attached to
either pin.)
Chapter 10 — A Tour of Cables and Fittings 157
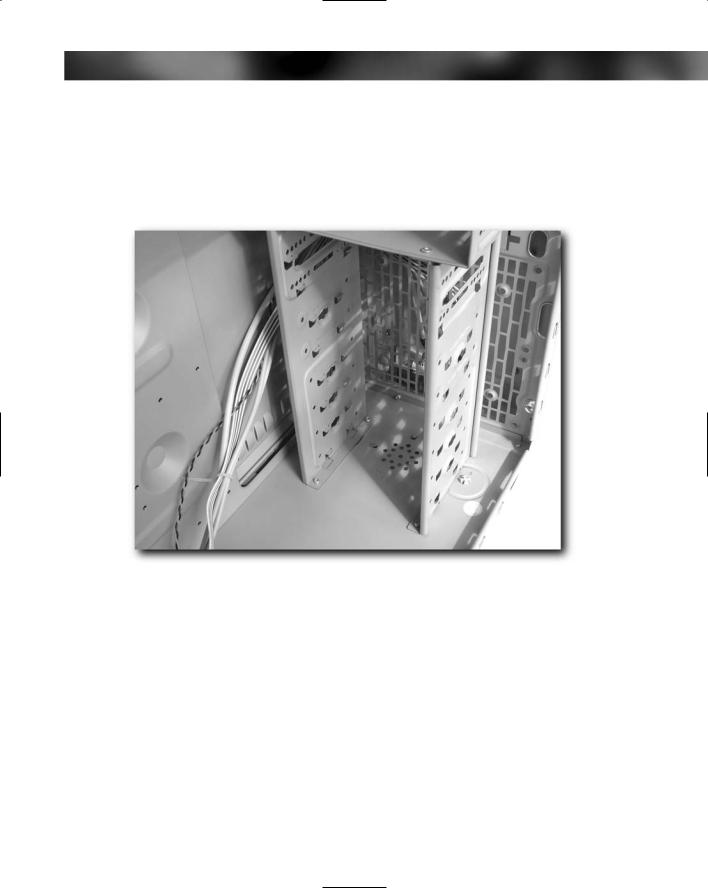
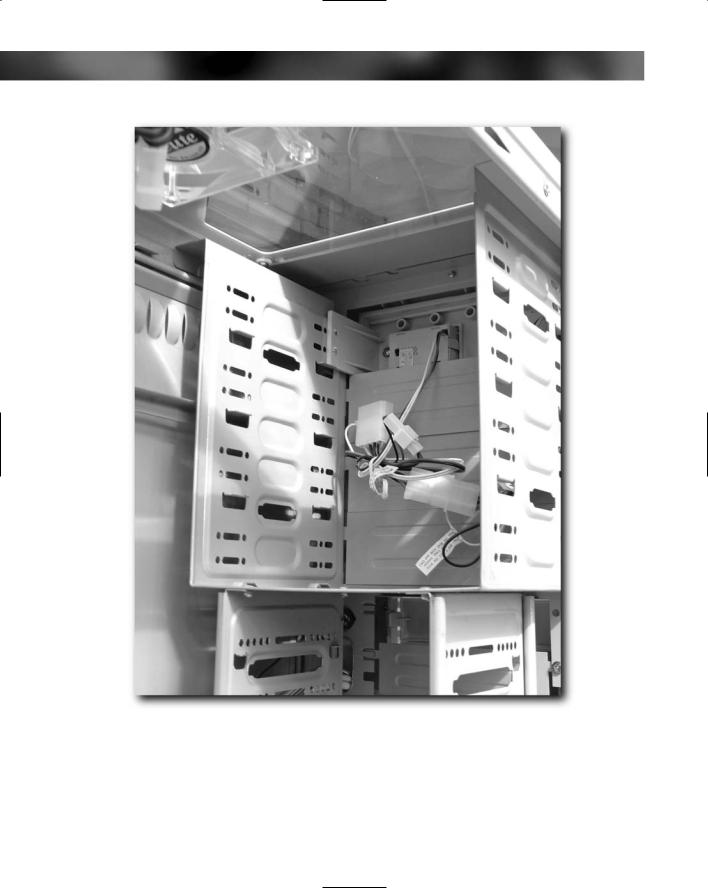
Drive Fittings
Drives are fitted into the PC case in drive bays. As a rule, hard drives are fitted into 3-1/2–inch bays and CD/DVD drives are fitted into 5-1/4–inch bays (hard drives can be fitted into a 5-1/4–inch bay by making use of a separate converter). See Figures 10-24 and 10-25.
FIGURE 10-24: 3-1/2–inch drive bay.
158 Part I — Choosing Components for Your PC
FIGURE 10-25: 5-1/4–inch drive bay.