


Visual Studio 2005
Using the ASP.NET 2.0 beta requires that you also work with the beta of Visual Studio 2005 — the latest IDE from Microsoft to facilitate building .NET components and applications. Visual Studio 2005, building on Visual Studio .NET 2003, provides one of the best development environments for coding your ASP.NET applications.
Visual Studio 2005 enables you to build any type of .NET component or application. When you use this tool, you can choose any of the Microsoft .NET-compliant languages for building your applications, plus it allows you to create Windows Forms, XML Web services, .NET components, mobile applications, ASP.NET applications, and more. Included in this round are a large number of new wizards and smart tags that simplify the development process for you.
When you pull up Visual Studio 2005 for the first time on your computer, you select the environment in which you wish the IDE to open. This chapter assumes that you have selected Web because that environment is the focus of this book.
The next sections provides a quick tour of this new IDE.
The Document Window
The Document Window is where you create your ASP.NET pages. This section of the IDE enables you to create ASP.NET pages either by dragging and dropping elements onto a design surface or by directly coding them yourself.
Views in the Document Window
Visual Studio .NET 2002 and 2003 both had a Design view and an HTML view of the ASP.NET page. Visual Studio 2005 offers two views of a page: Design and Source. Figure 2-1 shows the Document Window in Visual Studio 2005.

Chapter 2
Figure 2-1
The Document Window contains two tabs at the bottom that enable you to switch the view of your page: Design and Source. The Design tab enables you to view your ASP.NET page as it would appear in the browser. You use Design view to create your ASP.NET page visually in a WYSIWYG fashion. Dragging and dropping controls onto the design surface causes Visual Studio to generate code in the page. This is not very different from older versions of Visual Studio. The Source tab shows the complete source of the file and is the default view used by Visual Studio 2005.
You can change the default view that Visual Studio uses when a page is opened for the first time from the Options dialog. Choose Tools Options and then navigate to the General section of the HTML Designer section. Here, you see the option to open pages in either the Design or Source view. Select the view you want and click OK. If you really dislike the Design view, you can actually lock it out by checking the Lock Design View check box found in the same location.
Although the Document Window is basically the same as it has always been, this section of the IDE does have some new functionality, which I describe in the following sections.
24
Visual Studio 2005
The tag navigator
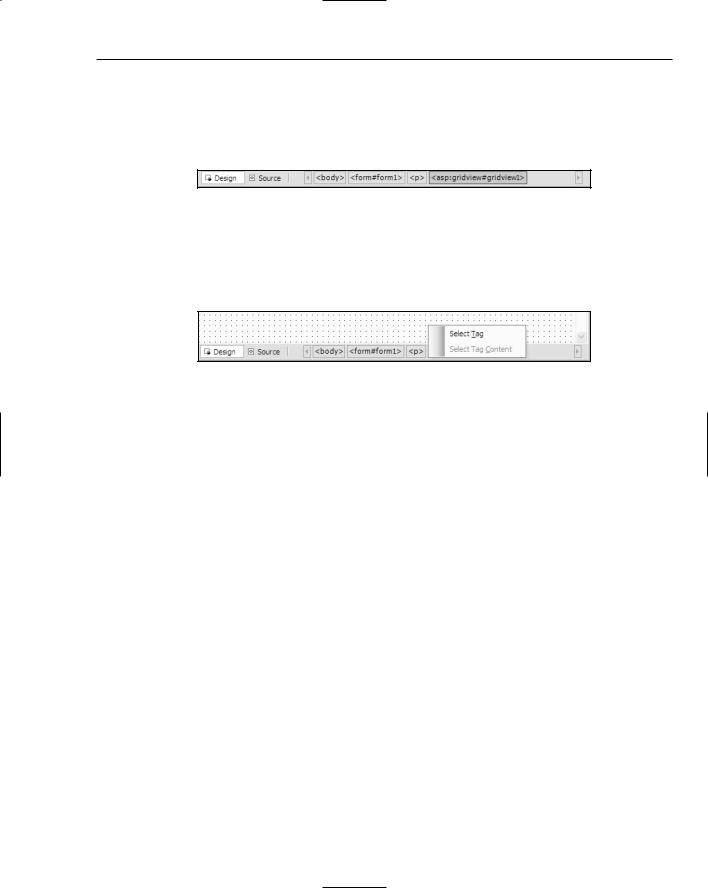
When working visually with an ASP.NET page, notice that a list of the elements appears on your page at the bottom of the Document Window. This list of elements is called the tag navigator and is illustrated in Figure 2-2.
Figure 2-2
Instead of requiring you to select the element from the design surface or from within Code view, the tag navigator enables you to right-click on an element to select it and display the properties for that control in the Properties Window (discussed shortly). You can also select the content of the element by using this approach (see Figure 2-3).
Figure 2-3
When you have many elements on your page, the addition of the tag navigator is quite helpful. To use its capabilities, simply place your cursor in the Document Window and use the arrow buttons associated with the display to quickly scroll through elements to find what you are looking for. The tag navigator will show all the controls from the one you selected as well as all the selected control’s child controls. When working in the Code view, you can, using the same mechanics, jump quickly to the content of the control. This new functionality is a quick and powerful way of navigating your page. You can also use this new functionality to highlight specific sections of code. For instance, to highlight everything inside a table, select the <asp:Table> element from the tag navigator, right-click the option, and select the content of the control. All the code between the opening <asp:Table> and the closing </asp:Table> elements is highlighted.
Page tabs
Another new and interesting feature of the Document Window is in how the page tabs work. Whenever you have a page open in the Document Window, a tab for that page appears at the top of the Document Window. When you have multiple documents open, this tabbed view of the pages enables you to switch quickly from one page to another simply by clicking the tab of the page you want to view. Although page tabs are not new to the IDE, the functionality that these tabs provide is certainly new. The following paragraphs explain this new functionality.
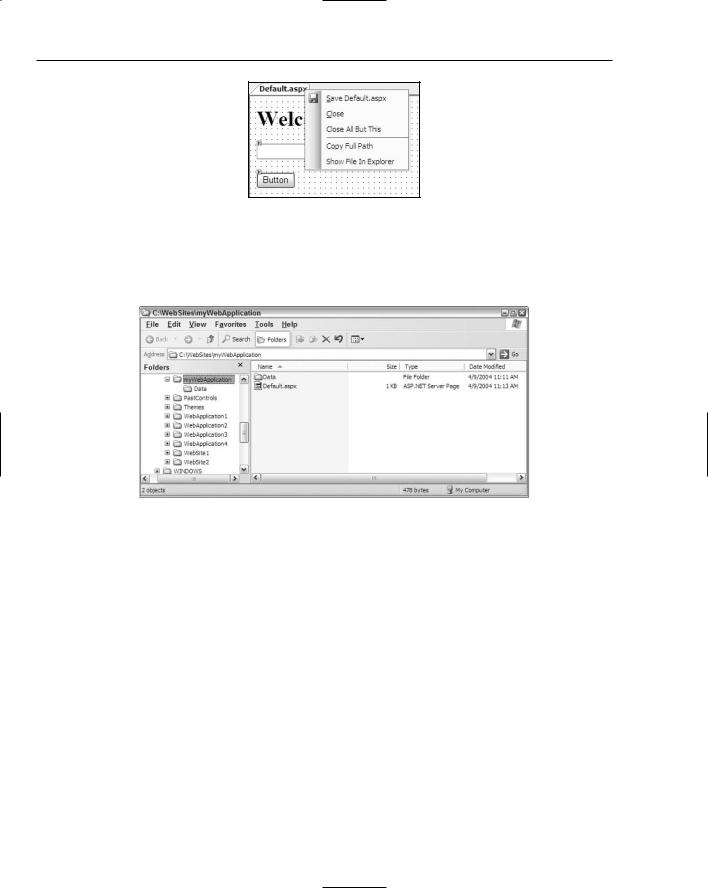
Right-clicking the page tab gives you the new options illustrated in Figure 2-4.
25
Chapter 2
Figure 2-4
By right-clicking the page tab, you can save the file, close the file, close every open document but the one selected, display the full path of the file (such as C:\WebSites\myWebApplication\Default.aspx), and open the file in Windows Explorer (shown in Figure 2-5).
Figure 2-5
Code change status notifications
Some other changes to the Document Window include a new code-change notification system. When you work with code on your pages, notice that line numbers are now included by default. Clicking any number highlights that line of code. Next to the line numbers is a changing color bar, illustrated in Figure 2-6.
This color bar notifies you of code changes that have occurred on your ASP.NET pages. If no color bar appears on a particular line of code, you have not yet made any changes to that particular line. After you make a change to a particular line of code, a yellow bar appears at the head of that line. After the file is saved, this line changes to green. Yellow code lines indicate that changes have been made but not yet saved to the file. Although you can’t see the yellow bar next to lines 12 and 13 in the black-and-white screen shot shown in Figure 2-6, you may be able to see the shading difference at that point. The color difference indicates that these lines have recently been changed, as opposed to the green bar next to the rest of the lines of code.
26