

Working with Master Pages
Figure 6-4
With the release of ASP.NET 2.0, master pages are possible because the .NET Framework 2.0 now supports partial classes. This is the capability to take two classes and merge them together as a single class at runtime. Using this new capability, the ASP.NET engine is taking two-page classes and bringing them together into a single page at runtime.
Companies and organizations will find using master pages ideal. Many companies have a common look and feel that they apply across their intranet. They can now provide the divisions of their company with a .master file to use when creating a department’s section of the intranet. This process makes it quite easy for the company to keep a consistent look and feel across its entire intranet.
Coding a Master Page
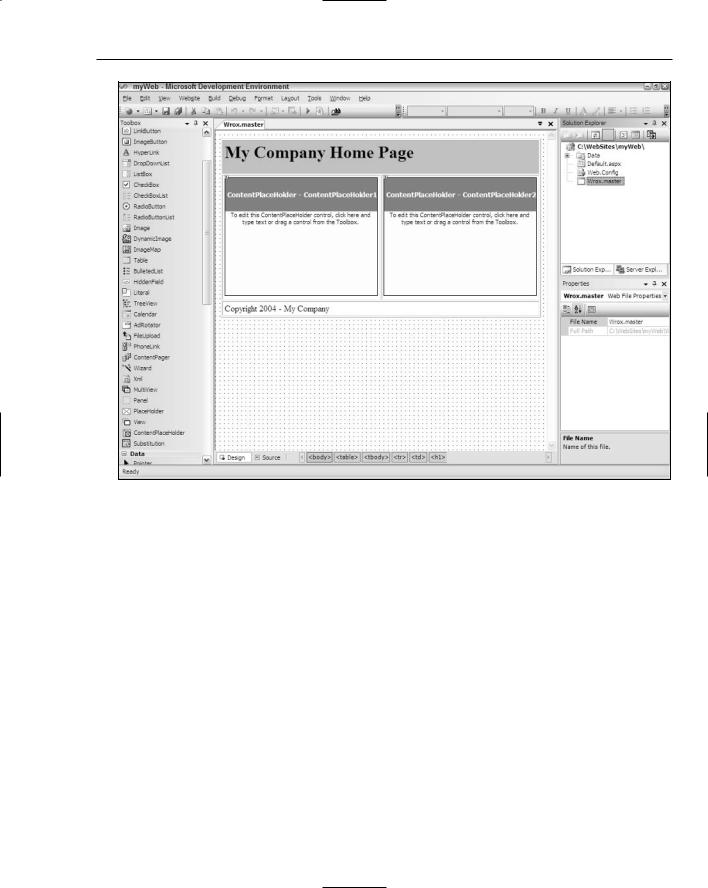
You can build the master page from Figure 6-4. You can create one in any text-based editor, such as Notepad, or use the new Visual Studio 2005. In this chapter, I show you how to use Visual Studio 2005.
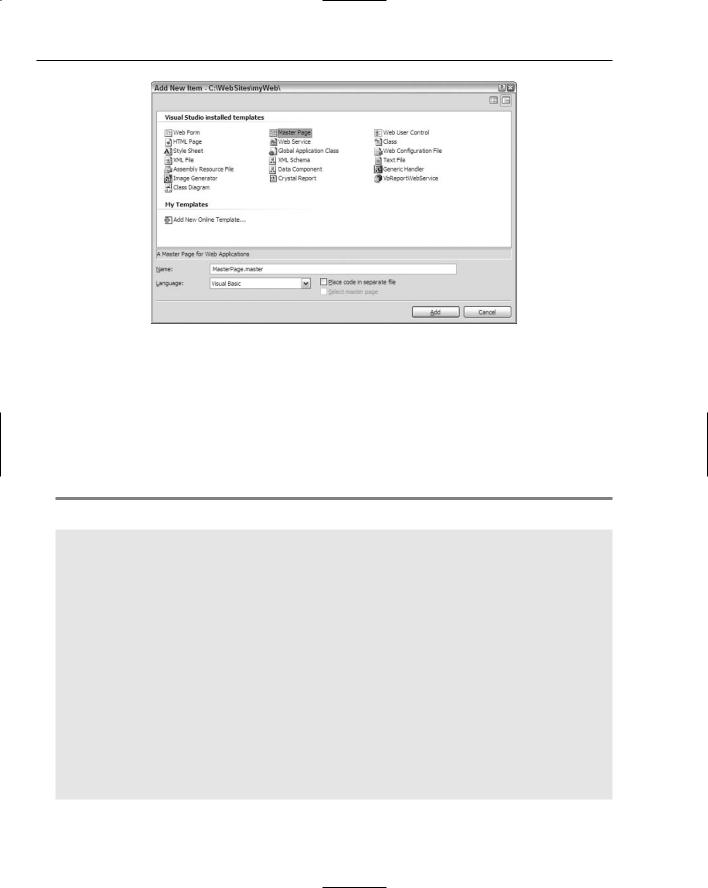
Master pages work much as regular .aspx pages do, so you can choose the master page option when you add a new file to your application. This is shown in Figure 6-5.
177
Chapter 6
Figure 6-5
Because it’s just like any other .aspx page, the Add New Item dialog enables you to choose from a master page using the inline coding model or a master page that places its code in a separate file. Not placing your server code in a separate file means that you use the inline code model for the page you are creating. This option creates a single .master page. Choosing the option of placing your code in a separate file means that you use the new code-behind model with the page you are creating. The Master Page with Code Separation option creates a single .master page along with a .master.vb or .master.cs file.
A sample master page that uses the inline-coding model is shown in Listing 6-1.
Listing 6-1: A sample master page
<%@ Master Language=”VB” %>
<script runat=”server”>
</script>
<html xmlns=”http://www.w3.org/1999/xhtml” > <head runat=”server”>
<title>My Company Master Page</title> </head>
<body>
<form id=”form1” runat=”server”> <table cellpadding=”3” border=”1”>
<tr bgcolor=”silver”> <td colspan=”2”>
<h1>My Company Home Page</h1> </td>
</tr>
<tr>
<td>
178

Working with Master Pages
<asp:ContentPlaceHolder ID=”ContentPlaceHolder1” Runat=”server”>
</asp:ContentPlaceHolder>
</td>
<td>
<asp:ContentPlaceHolder ID=”ContentPlaceHolder2” Runat=”server”>
</asp:ContentPlaceHolder>
</td>
</tr>
<tr>
<td colspan=”2”>
Copyright 2004 - My Company </td>
</tr>
</table>
</form>
</body>
</html>
This is a simple master page (it is also lacking any artistic qualities because of author limitations in this area). The great thing about creating master pages in Visual Studio 2005 is that not only can you work with the master page in Code view, you can also switch over to Design view to create your master pages.
Review the code for the master page. The first line is the directive:
<%@ Master Language=”VB” %>
Instead of using the Page directive, as you would with a typical .aspx page, you use the Master directive for a master page. This master page uses only a single attribute, language. The language attribute’s value here is VB, but you could also use C# (if you are building a C# master page).
You code the rest of the master page just as you would any other .aspx page. You can use server controls, raw HTML and text, images, events, or anything else you normally would use for any .aspx page. This means that your master page can have a Page_Load event as well or any other event that you deem appropriate.
In the code shown in Listing 6-1, notice the use of a new server control — the <asp:ContentPlaceHolder> control. This control is used to define the areas of the template where the content page can place its content:
<tr>
<td>
<asp:ContentPlaceHolder ID=”ContentPlaceHolder1” Runat=”server”>
</asp:ContentPlaceHolder>
</td>
<td>
<asp:ContentPlaceHolder ID=”ContentPlaceHolder2” Runat=”server”>
</asp:ContentPlaceHolder>
</td>
</tr>
179