


Chapter 5
Site Maps
Although a site map is not a required element (as you see later), one of the common first steps you take in working with the new ASP.NET 2.0 navigation system is building a site map for your application. A site map is an XML description of your site’s structure.
You use this site map to define the layout of all the pages in your application and how they relate to one another. If you do this according to the new site map standard, you can interact with this navigation information using either the new SiteMap class or the new SiteMapDataSource control. By using the SiteMapDataSource control, you can bind the information in the site map file to databinding controls, including the new navigation server controls provided by ASP.NET 2.0.
To create a new site map file for your application, add an XML file to your application. When asked, you name the XML file web.sitemap. The file is named app and has the new file extension of .sitemap. Take a look at an example .sitemap file in Listing 5-1.
Listing 5-1: An example of a web.sitemap file
<?xml version=”1.0” encoding=”utf-8” ?>
<siteMap>
<siteMapNode title=”Home” description=”Home Page” url=”default.aspx”> <siteMapNode title=”News” description=”The Latest News” url=”News.aspx”>
<siteMapNode title=”U.S.” description=”U.S. News” url=”News.aspx?cat=us” />
<siteMapNode title=”World” description=”World News” url=”News.aspx?cat=world” />
<siteMapNode title=”Technology” description=”Technology News” url=”News.aspx?cat=tech” />
<siteMapNode title=”Sports” description=”Sports News” url=”News.aspx?cat=sport” />
</siteMapNode>
<siteMapNode title=”Finance” description=”The Latest Financial Information” url=”Finance.aspx”>
<siteMapNode title=”Quotes” description=”Get the Latest Quotes” url=”Quotes.aspx” />
<siteMapNode title=”Markets” description=”The Latest Market Information” url=”Markets.aspx”>
<siteMapNode title=”U.S. Market Report”
description=”Looking at the U.S. Market” url=”MarketsUS.aspx” /> <siteMapNode title=”NYSE”
description=”The New York Stock Exchange” url=”NYSE.aspx” /> </siteMapNode>
<siteMapNode title=”Funds” description=”Mutual Funds” url=”Funds.aspx” />
</siteMapNode>
<siteMapNode title=”Weather” description=”The Latest Weather” url=”Weather.aspx” />
</siteMapNode>
</siteMap>
So what does this file give you? Well, it gives you a logical structure that ASP.NET 2.0 can now use in the rest of the navigation system it provides. Next, examine how this file is constructed.
128

Site Navigation
The root node of this XML file is a <siteMap> element. Only one <siteMap> element can exist in the file. Within the <siteMap> element, there is a <siteMapNode> element. This is generally the start page of the application. In the case of the file in Listing 5-1, the root <siteMapNode> points to the default.aspx page, the start page:
<siteMapNode title=”Home” description=”Home Page” url=”default.aspx”>
The following table describes each of the available attributes in the <siteMapNode> element.
Attribute |
Description |
|
|
Title |
The title attribute provides a textual description of the link. The |
|
string value used here is the text used for the link. |
Description |
The description attribute not only reminds you what the link is for |
|
but is also used for the ToolTip attribute on the link. The ToolTip |
|
attribute is the yellow box that shows up next to the link when the end |
|
user hovers the cursor over the link for a couple of seconds. |
url |
The url attribute describes where the file is located in the solution. If |
|
the file is in the root directory, simply use the filename, such as |
|
“default.aspx”. If the file is located in a subfolder, be sure to include |
|
the folders in the string value used in this attribute. For example, |
|
“MySubFolder/Markets.aspx”. |
|
|
After you have the first <siteMapNode> in place, you can place as many additional <siteMapNode> elements as you need. You can also create additional link-levels by creating child <siteMapNode> elements for any parent <siteMapNode> in the structure.
The example in Listing 5-1 gives the application the following navigation structure.
Home
News
U.S.
World
Technology
Sports
Finance
Quotes
Markets
U.S. Market Report
NYSE
Funds
Weather
From this structure, you can see that it goes down three levels in some places. One of the easiest places to use this file is with the new SiteMapPath server control that now comes with ASP.NET 2.0. Take a close look at this new server control.
129
Chapter 5
SiteMapPath Ser ver Control
It is quite easy to use the .sitemap file you just created with the new SiteMapPath server control provided with ASP.NET 2.0. You find this new control in the Navigation section of the Visual Studio 2005 IDE.
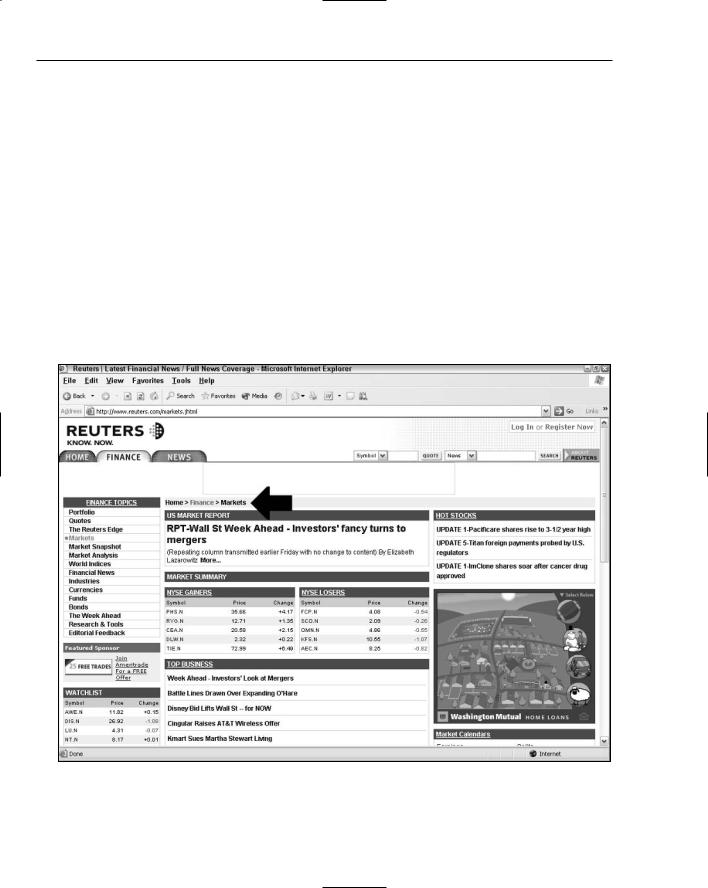
The SiteMapPath control creates navigation functionality that you have either created yourself or have seen elsewhere in Web pages on the Internet. The SiteMapPath control creates what some refer to as breadcrumb navigation. This is a linear path view of where the end user is in the navigation structure. The Reuters.com Web site, shown in Figure 5-1, uses this type of navigation. A black arrow points out the breadcrumb navigation used on the page.
The purpose of this type of navigation is to show end users where they are in relation to the rest of the site. Traditionally, coding this kind of navigation has been tricky, to say the least; but now with the introduction of the SiteMapPath server control, you should find coding for this type of navigation a breeze.
You should first create an application that has the web.sitemap file created in Listing 5-1. From there, create a WebForm called MarketsUS.aspx. This is a file defined in the web.sitemap file to be on the lowest tier of files in the application.
Figure 5-1
130
Site Navigation
The SiteMapPath control is so easy to work with that it doesn’t even require a datasource control to hook it up to the web.sitemap file where it infers all of its information. All you do is drag and drop a SiteMapPath control onto your MarketsUS.aspx page. In the end, you should have a page like the one shown in Listing 5-2.
Listing 5-2: Using the web.sitemap file with a SiteMapPath server control
<%@ Page Language=”VB” %>
<html xmlns=”http://www.w3.org/1999/xhtml” > <head ID=”Head1” runat=”server”>
<title>Using the SiteMapPath Server Control</title> </head>
<body>
<form id=”form1” runat=”server”>
<asp:SiteMapPath ID=”Sitemappath1” Runat=”server”> </asp:SiteMapPath>
</form>
</body>
</html>
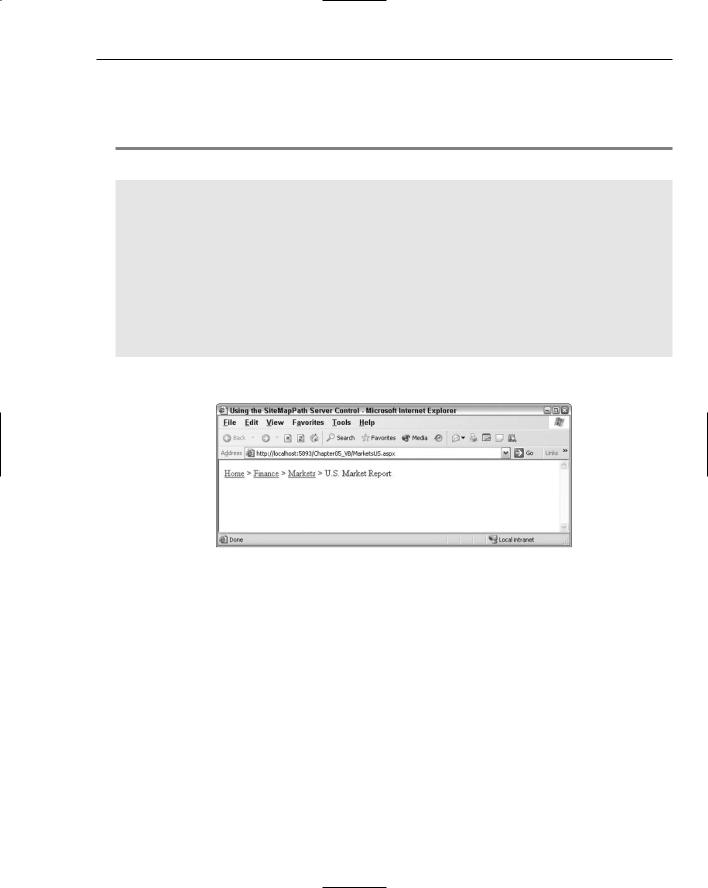
Not much to it, is there? It really is that easy. Run this page and you see the results shown in Figure 5-2.
Figure 5-2
This screen shot shows that you are on the U.S. Market Report page at MarketsUS.aspx. As an end user, you can see that this page is part of the Markets section of the site, which, in turn, is part of the Finance section of the site. With breadcrumb navigation, end users, understanding the structure of the site and their place in it, can quickly click the links to navigate to where they want to go in the site.
If you hover your mouse over the Finance link, you see a tooltip appear after a couple of seconds, as shown in Figure 5-3.
This tooltip, which reads The Latest Financial Information, comes from the description attribute of the <siteMapNode> element in the web.sitemap file.
<siteMapNode title=”Finance” description=”The Latest Financial Information” url=”Finance.aspx”>
131