

Chapter 8
Making changes to the web.config file
The next step is to configure your web.config file so that it can work with the role management service. Certain pages or subsections of your application may be accessible only to people with specific roles. To manage this access, you define the access rights in the web.config file. The necessary changes are shown in Listing 8-20.
Listing 8-20: Changing the web.config file
<?xml version=”1.0” encoding=”utf-8”?> <configuration>
<system.web>
<roleManager enabled=”true”/> <authentication mode=”Forms” /> <authorization>
<deny users=”?” /> </authorization>
</system.web>
<location path=”AdminPage.aspx”> <system.web>
<authorization>
<allow roles=”AdminPageRights” /> <deny users=”*” />
</authorization>
</system.web>
</location>
</configuration>
This web.config file is doing a couple of things. First, the function of the first <system.web> section is no different from that of the membership service shown earlier in the chapter. The <deny> element is denying all unauthenticated users across the board.
The second section of this web.config file is rather interesting. The <location> element is used to define the access rights of a particular page in the application (AdminPage.aspx). In this case, only users contained in the AdminPageRights role are allowed to view the page, whereas all other users — regardless whether they are authenticated — are not allowed to view the page. When using the asterisk (*) as a value of the users attribute of the <deny> element, you are saying that all users (regardless of whether they are authenticated) are not allowed to access the resource being defined. This overriding denial of access, however, is broken open a bit via the use of the <allow> element, which allows users contained within a specific role.
Adding and retrieving application roles
Now that the machine.config and the web.config files are in place, you can add roles to the role management service. The role management service, just like the membership service, uses data stores to store information about the users. In these examples, I focus primarily on using Microsoft Access as the provider because it is the default provider.
252

Membership and Role Management
To get Microsoft Access ready for use, read the instructions outlined earlier in the section “Adding users.”
One big difference between the role management service and the membership service is that no server controls are used for the role management service. You manage the application’s roles and the user’s role details through a new Roles API or through the Web Site Administration Tool provided with ASP.NET 2.0. Listing 8-21 shows how to use some of the new methods to add roles to the service.
Listing 8-21: Adding roles to the application
VB
<%@ Page Language=”VB” %>
<script runat=”server”>
Sub Page_Load(ByVal sender As Object, ByVal e As System.EventArgs) ListBoxDataBind()
End Sub
Sub Button1_Click(ByVal sender As Object, ByVal e As System.EventArgs) Roles.CreateRole(TextBox1.Text)
ListBoxDataBind() End Sub
Sub ListBoxDataBind()
ListBox1.DataSource = Roles.GetAllRoles() ListBox1.DataBind()
End Sub </script>
<html xmlns=”http://www.w3.org/1999/xhtml” > <head runat=”server”>
<title>Role Manager</title> </head>
<body>
<form id=”form1” runat=”server”> <h1>Role Manager</h1>
Add Role:<br />
<asp:TextBox ID=”TextBox1” Runat=”server”></asp:TextBox>
<p><asp:Button ID=”Button1” Runat=”server” Text=”Add Role to Application” OnClick=”Button1_Click” /></p>
Roles Defined:<br />
<asp:ListBox ID=”ListBox1” Runat=”server”> </asp:ListBox>
</form>
</body>
</html>
C#
<%@ Page Language=”C#” %>
<script runat=”server”>
void Page_Load(object sender, EventArgs e)
{
(continued)
253
Chapter 8
Listing 8-21: (continued)
ListBoxDataBind();
}
void Button1_Click(object sender, EventArgs e)
{
Roles.CreateRole(TextBox1.Text.ToString());
ListBoxDataBind();
}
void ListBoxDataBind()
{
ListBox1.DataSource = Roles.GetAllRoles(); ListBox1.DataBind();
}
</script>
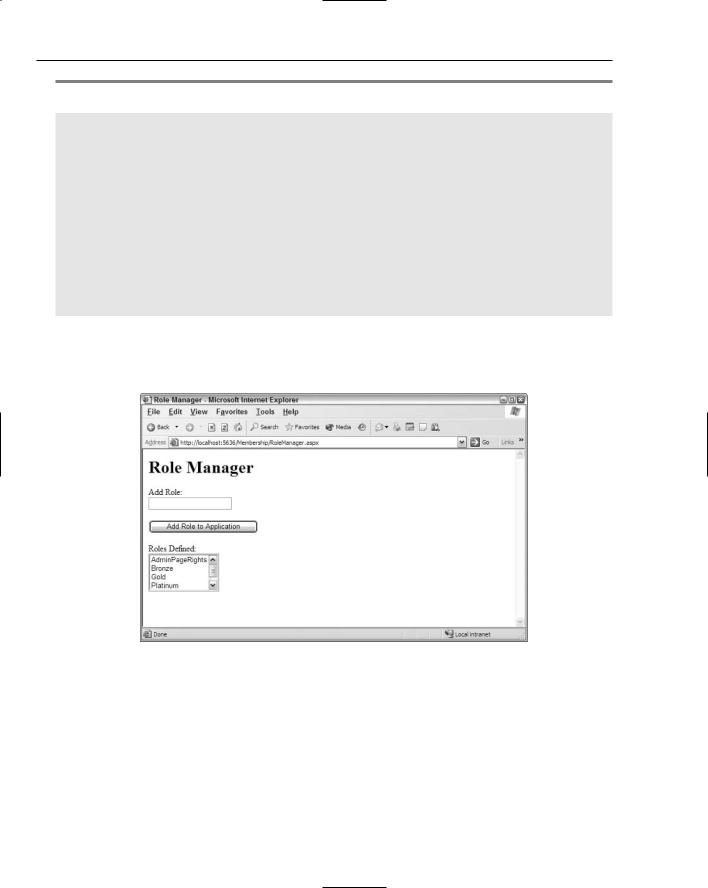
This example enables you to enter roles into the text box and then submit them to the role management service. The roles contained in the role management service are then displayed in the list box, as illustrated in Figure 8-18.
Figure 8-18
To enter the roles into the management service, you simply use the CreateRole method of the Roles class. Just as with the Membership class, you don’t instantiate the Roles class. To add roles to the role management service, use the CreateRole method that takes only a single parameter — the name of the role as a String value:
Roles.CreateRole(rolename As String)
With this method, you can create as many roles as you want, but each role must be unique — otherwise an exception is thrown.
254

Membership and Role Management
To retrieve the roles that are in the application’s role management service (such as the list of roles displayed in the list box from the earlier example), you use the GetAllRoles method of the Roles class. This method returns a String collection of all the available roles in the service:
Roles.GetAllRoles()
Deleting roles
It would be just great to sit and add roles to the service all day long. Every now and then, however, you must delete roles from the service as well. Deleting roles is just as easy as adding roles to the role management service. To delete a role, you use one of the DeleteRole method signatures. The first option of the DeleteRole method takes a single parameter — the name of the role as a String value. The second option takes the name of the role plus a Boolean value that determines whether to throw an exception when one or more members are contained within that particular role:
Roles.DeleteRole(rolename As String)
Roles.DeleteRole(rolename As String, throwOnPopulatedRole As Boolean)
Listing 8-22 is a partial code example that builds on Listing 8-21. For this example, add an additional button, which initiates a second button-click event that deletes the role from the service.
Listing 8-22: Deleting roles from the application
VB
Sub DeleteButton_Click(ByVal sender As Object, ByVal e As System.EventArgs) For Each li As ListItem In ListBox1.Items
If li.Selected = True Then Roles.DeleteRole(li.ToString())
End If
Next
ListBoxDataBind()
End Sub
C#
void DeleteButton_Click(object sender, EventArgs e)
{
foreach (ListItem li in ListBox1.Items) { if (li.Selected == true) {
Roles.DeleteRole(li.ToString());
}
}
ListBoxDataBind();
}
This example deletes the selected items from the ListBox control. If more than one selection is made (meaning that you have placed the attribute SelectionMode=”Multiple” in the ListBox control), each of the roles is deleted from the service, in turn, in the For Each loop. Although Roles.DeleteRole (li.ToString()) is used to delete the role, Roles.DeleteRole(li.ToString(), True) could also be used to make sure that no roles are deleted if that role contains any members.
255