


Introduction to ASP.NET 2.0
ASP.NET 2.0 determines the output based on the target, or you can apply any number of filters to finetune the output based on the device targeting your pages. For example, to have ASP.NET produce specific output for any WML device that calls the page, you do something similar to what is shown in Listing 1-3.
Listing 1-3: Targeting WML devices in your ASP.NET pages
<asp:DynamicImage ID=”Dynamicimage1” Runat=”server” ImageFile=”header-1.gif” wml:ImageFile=”header-2.gif”>
</asp:DynamicImage>
In the end, by the use of ASP.NET 2.0, you can better target devices that come to your site or application without building a separate portal.
Additional New Features of ASP.NET 2.0
You just learned some of the main goals of the ASP.NET team who built ASP.NET 2.0. To achieve these goals, it built a mountain of new features into ASP.NET. I describe a few of them here.
New developer infrastructures
An exciting advancement in ASP.NET 2.0 is that new infrastructures are in place for you to use in your applications. The ASP.NET team determined some of the most common programming operations that users were performing with ASP.NET 1.0 and decided to build a few of these operations directly into ASP.NET itself. The fact that these infrastructures are now built directly into the .NET Framework saves you considerable time and coding.
Membership and role management
In earlier versions, if you were developing a portal that required users to log in to the application to gain privileged access, invariably you had to create it yourself. It can be tricky to create applications with areas that are accessible only to select individuals.
With ASP.NET 2.0, this capability is now built in. You can now validate users as shown in Listing 1-4.
Listing 1-4: Validating a user in code
VB
If (Membership.ValidateUser (Username.Text, Password.Text)) Then
‘ Allow access code here
End If
C#
If (Membership.ValidateUser (Username.Text, Password.Text)) { // Allow access code here
}
9

Chapter 1
A new series of APIs in ASP.NET 2.0 enable you to control an application’s user membership and role management. Using these APIs, you can easily manage users and their complex roles — creating, deleting, and editing them. You get all this capability by using the APIs or a built-in Web tool called the Web Site Administration Tool.
As far as storing users and their roles, ASP.NET 2.0 is geared to work with Microsoft Access, SQL Server, or Active Directory out of the box. By default, ASP.NET uses an .mdb file (Access) for storing all users and roles. You are in no way limited to just one of these three data stores, however. You can expand everything offered to you by ASP.NET and build your own providers using whatever you fancy as a data store. For example, if you want to build your user store in LDAP or within an Oracle database, you can do so quite easily.
Personalization
One advanced feature that portals love to offer their membership base is the capability to personalize their offerings so that end users can make the site look and function however they want. The capability to personalize an application and store the personalization settings is now completely built into the ASP.NET framework.
Because personalization usually revolves around a user and possibly a role that this user participates in, the personalization architecture can be closely tied to the membership and role infrastructures. You have a couple of options as to where you can store the created personalization settings. The capability to store these settings in either Microsoft Access or in SQL Server is built into ASP.NET 2.0. As with the capabilities of the membership and role APIs, you can use the flexible provider model that is offered, and then either change how the built-in provider uses the available data store or build your own custom data provider to work with a completely new data store. The personalization API also supports a union of data stores, meaning that you can use more than one data store if you want.
Because it is so easy to create a site for customization using these new APIs, this feature is quite a valueadd for any application you build.
The ASP.NET Portal Framework
During the days of ASP.NET 1.0, developers could go to the ASP.NET team’s site (found at http://www
.asp.net) and download some Web application demos called IBuySpy. Known as Developer Solution Kits, these demos were used as the basis for many of the Web sites on the Internet today.
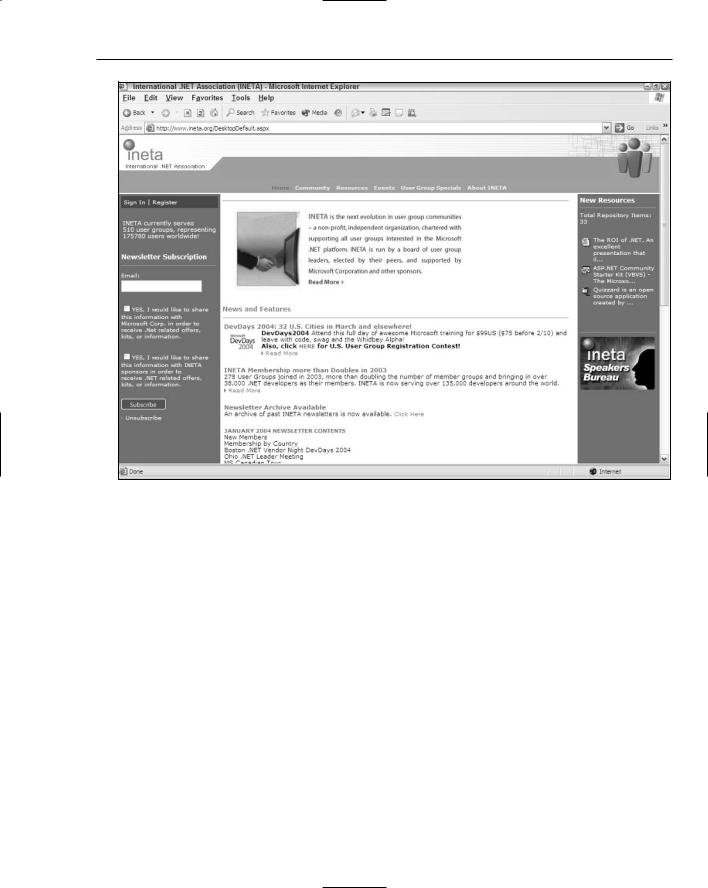
The nice thing about IBuySpy was that you could use the code that it provided as a basis to build either a Web store or a portal. You simply took the base code and extended it. For example, you could change the look and feel of the presentation part of the code or introduce advanced functionality into its modular architecture. Developer Solution Kits were quite popular because they made performing these types of operations so easy. Figure 1-5 shows the INETA (International .NET Association) Web site, which is built on the IBuySpy framework.
10
Introduction to ASP.NET 2.0
Figure 1-5
Because of the popularity of frameworks such as IBuySpy, ASP.NET 2.0 offers built-in capability for using Web Parts to easily build portals. The possibilities of what you can build using the new Portal Framework is astounding. The power of building using Web Parts is that it easily enables end-users to completely customize the portal for their own preferences. Figure 1-6 shows an example application built using Web Parts.
Site navigation
The ASP.NET team members realize that end users want to navigate through applications with ease. The mechanics to make this work in a logical manner is sometimes hard to code. The team solved the problem in ASP.NET 2.0 with a series of navigation-based server controls.
First, you can build a site map for your application in an XML file that specific controls can inherently work from. Listing 1-5 shows a sample site map file.
11
Chapter 1
Figure 1-6
Listing 1-5: An example of a site map file
<?xml version=”1.0” encoding=”utf-8” ?>
<siteMap>
<siteMapNode title=”Home” description=”Home Page” url=”default.aspx”> <siteMapNode title=”News” description=”The Latest News” url=”News.aspx”>
<siteMapNode title=”U.S.” description=”U.S. News” url=”News.aspx?cat=us” />
<siteMapNode title=”World” description=”World News” url=”News.aspx?cat=world” />
<siteMapNode title=”Technology” description=”Technology News” url=”News.aspx?cat=tech” />
<siteMapNode title=”Sports” description=”Sports News” url=”News.aspx?cat=sport” />
</siteMapNode>
<siteMapNode title=”Finance” description=”The Latest Financial Information” url=”Finance.aspx”>
<siteMapNode title=”Quotes” description=”Get the Latest Quotes” url=”Quotes.aspx” />
<siteMapNode title=”Markets” description=”The Latest Market Information”
12
Introduction to ASP.NET 2.0
url=”Markets.aspx”>
<siteMapNode title=”U.S. Market Report”
description=”Looking at the U.S. Market” url=”MarketsUS.aspx” /> <siteMapNode title=”NYSE”
description=”The New York Stock Exchange” url=”NYSE.aspx” /> </siteMapNode>
<siteMapNode title=”Funds” description=”Mutual Funds” url=”Funds.aspx” />
</siteMapNode>
<siteMapNode title=”Weather” description=”The Latest Weather” url=”Weather.aspx” />
</siteMapNode>
</siteMap>
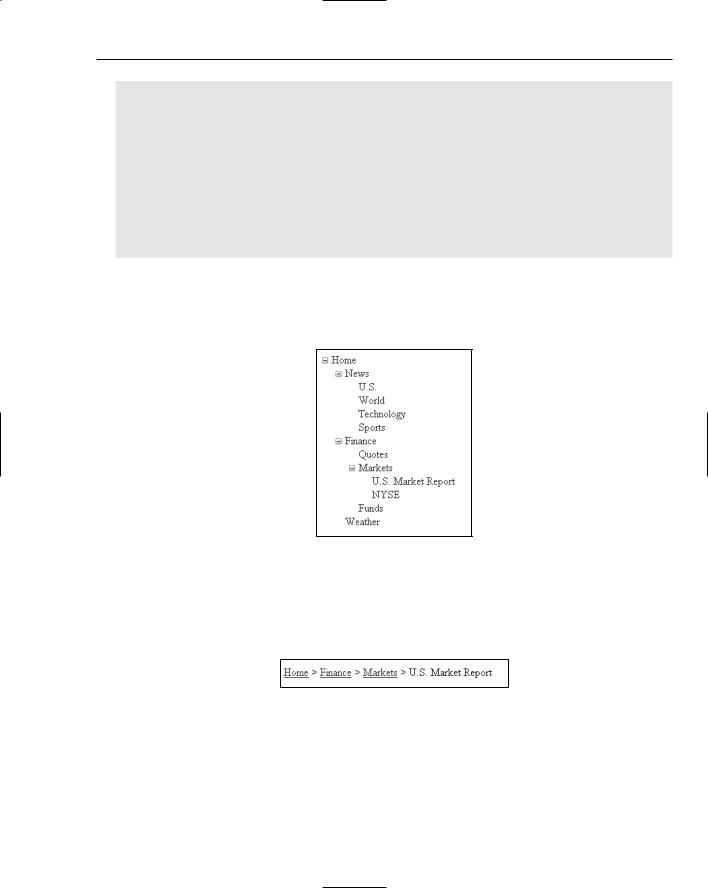
After you have a site map in place, you can use this file as the data source behind a couple of new site navigation server controls, such as the TreeView and the SiteMapPath server controls. The TreeView server control enables you to place an expandable site navigation system in your application. Figure 1-7 shows you an example of one of the many looks you can give the TreeView server control.
Figure 1-7
The SiteMapPath is a control that provides the capability to place what some call navigation breadcrumbs in your application so that the end user can see the path that he has taken in the application and can easily navigate to higher levels in the tree. Figure 1-8 shows you an example of the SiteMapPath server control at work.
Figure 1-8
These new site navigation capabilities provide a great way to get programmatic access to the site layout and even to take into account things like end-user roles to determine which parts of the site to show.
13
Chapter 1
Image generation
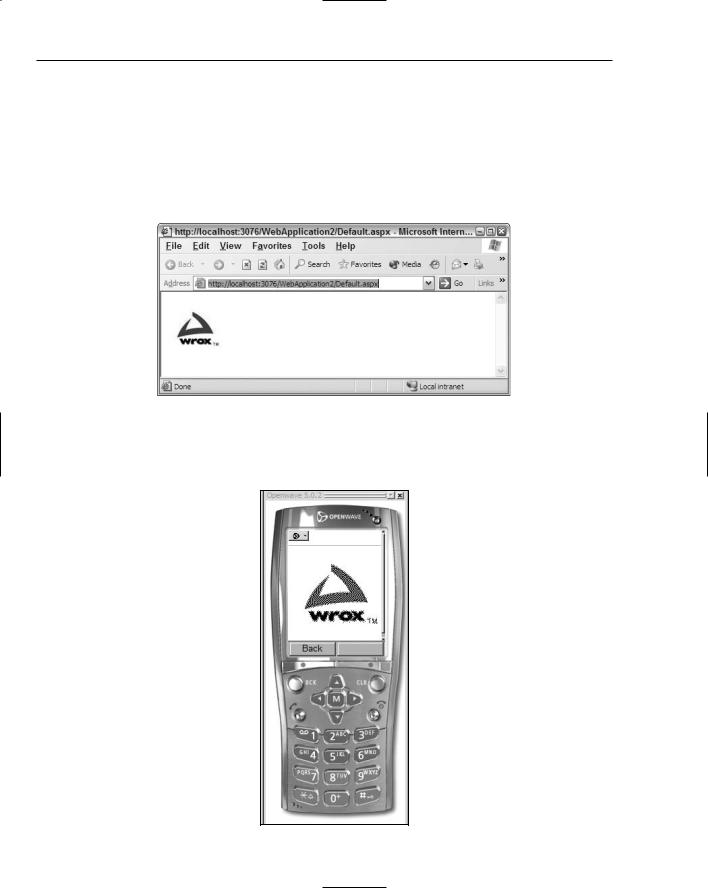
The DynamicImage server control is another exciting new control. Similar to the Image server control in ASP.NET 1.0, the DynamicImage control changes the image type based upon the container (browser or device type) of the end user. Not only does ASP.NET change its page output (HTML or WML, and so on) based upon the requester, but it also changes the file types of the images that are embedded in page output.
Figure 1-9 shows an image generated for a browser requesting the page. The file output is the same type as the file saved in the file system — a .gif file.
Figure 1-9
If a mobile device requests the same page, however, the file type is changed upon the request, and the output file is now suitable for the receiving device (a .wbmp file). This is shown in Figure 1-10.
Figure 1-10
14