

New Ways to Handle Data
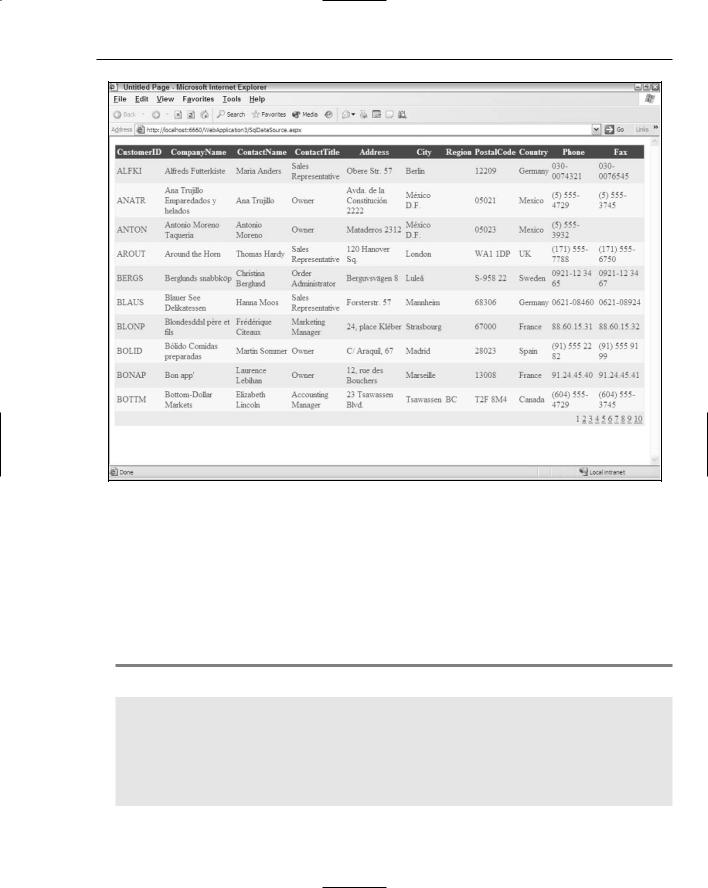
Figure 4-38
Connection Strings
An interesting point about the previous example is that we decided to store the connection string directly in the web.config file instead of hard-coding the connection string directly in the code of the page. This is always a good idea because it is more secure and makes your connection strings easier to manage. If you followed the previous steps as instructed, Visual Studio placed the connection string in the web.config for you. It then appears as shown in Listing 4-29.
Listing 4-29: Storing the connection string in the web.config
<?xml version=”1.0”?> <configuration>
<connectionStrings>
<add name=”AppConnectionString1” connectionString=”Provider=SQLOLEDB.1; Data Source=HOME01;User ID=sa;Initial Catalog=Northwind;
Persist Security Info=False” providerName=”System.Data.OleDb” />
(continued)
123

Chapter 4
Listing 4-29: (continued)
</connectionStrings>
<system.web>
...
</system.web>
</configuration>
A <connectionStrings> section is created in the web.config file. Placed within the <connection Strings> section is a simple <add> element that contains a couple of attributes. The first attribute is the name attribute. This is the name that is used to uniquely identify this connection string in your ASP.NET pages because it is possible to have multiple connection strings within your web.config file. In this case, the connection string is named AppConnectionString1.
The next attribute is the connectionString attribute. The value given here is the full connection string. The last attribute is the providerName attribute, which simply contains the name of the provider that you are using to connect to the data store.
Looking at the SqlDataSource code in the ASP.NET page utilizing this stored connection string in Listing 4-30, you can see that it is rather simple to use the information stored in the web.config file.
Listing 4-30: Using the connection string stored in the web.config file
<asp:SqlDataSource ID=”SqlDataSource1” Runat=”server” SelectCommand=”SELECT [Customers].* FROM [Customers]” ConnectionString=”<%$ ConnectionStrings:AppConnectionString1 %>” ProviderName=”<%$ ConnectionStrings:AppConnectionString1.providername %>”> </asp:SqlDataSource>
You can see here that the connection string value is retrieved using <%$ ConnectionStrings: AppConnectionString1 %> and that the provider name attribute is accessed using <%$ ConnectionStrings:AppConnectionString1.providername %>.
Although this was done automatically for you by Visual Studio, you can just as easily do this yourself within the ASP.NET applications that you code.
Summar y
This chapter introduced some of the new ways in which you can work with data in ASP.NET 2.0. The latest version of ASP.NET provides you with an outstanding new collection of data source controls that you can use to retrieve and manipulate data held in a wide variety of different data stores.
124

New Ways to Handle Data
The new data source controls, SqlDataSource, AccessDataSource, XmlDataSource, ObjectDataSource, DataSetDataSource, and SiteMapDataSource, are powerful and easy to use. They require little effort on the part of the developer, but at the same time, they are rather extensible and can be modified for almost any purpose when it comes to working with the data that is running your applications.
In addition to the data source controls, this chapter took a look at some of the new data-bound server controls such as the GridView and the DetailsView controls. These are outstanding new controls that you can use with the new data source controls. The GridView is an enhanced DataGrid that has built-in paging and sorting, whereas the DetailsView control enables you to drill down into a particular data piece in a logical manner.
125


Site Navigation
The Web applications you develop generally have more than a single page. Usually you create a number of pages that are all interconnected in some fashion. If you also build the navigation around your pages, you make it easy for the end user to successfully work through your application in a straightforward manner.
Currently, you must choose among a number of different ways to expose to the end user the paths through your application. The difficult task of site navigation is compounded when you continue to add pages to the overall application.
The present method for building navigation within Web applications is to sprinkle pages with hyperlinks. Hyperlinks are generally added to Web pages by using include files or user controls. They can also be directly hard-coded onto a page so that they appear in the header or the side bar of the page being viewed. The difficulties in working with navigation become worse when you move pages around or change page names. Sometimes developers are forced to go to each and every page in the application just to change some aspect of the navigation.
ASP.NET 2.0 tackles this problem with the introduction of a navigation system that makes it quite trivial to manage how end users work through the applications you create. This new capability in ASP.NET is complex; but the great thing is that it can be as simple as you need it to be, or you can actually get in deep and control every aspect of how it works.
The new site navigation system includes the capability to define your entire site in an XML file, which is called a site map. After you define a new site map, a SiteMap class gives you the capability to programmatically work with it. Another addition in ASP.NET 2.0 is a new data provider that is specifically developed to work with site map files and to bind them to a new series of naviga- tion-based server controls. This chapter takes a look at all these components in the new ASP.NET 2.0 navigation system. You can begin by looking at site maps.