

New Ways to Handle Data
Figure 4-22
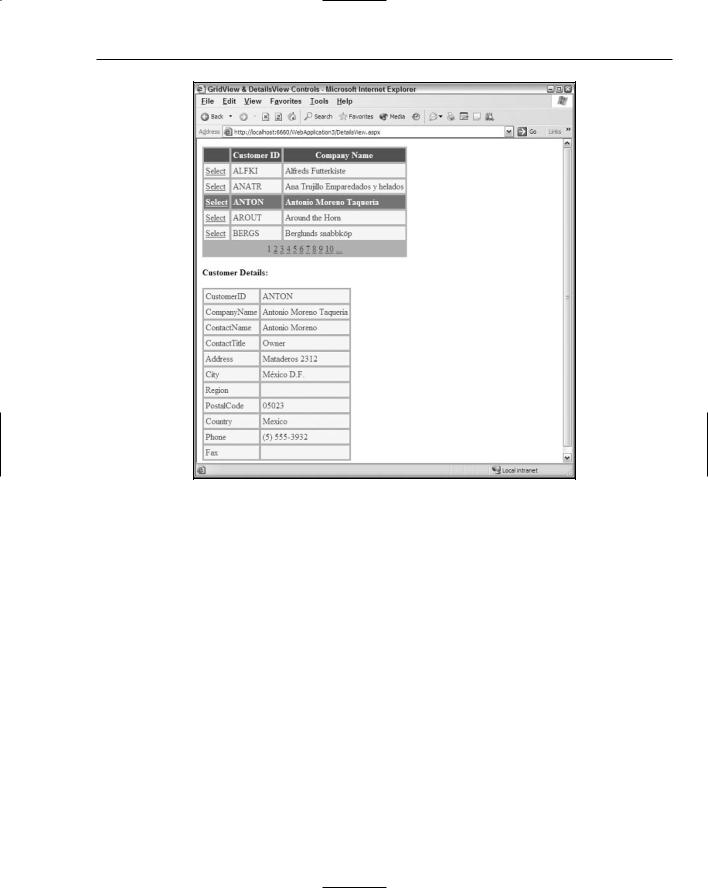
Using the <FilterParameters> element within the AccessDataSource control is the same as using it with the SqlDataSource control. In this case, the AccessDataSource control in Listing 4-18 uses an <asp:ControlParameter> to specify the name of the parameter, the control that the parameter value is coming from (the GridView1 control), and the property name from the control that is used to populate the parameters value.
In the GridView1 control, be sure to include the DataKeyNames attribute. This control gives this attribute a value of CustomerID — meaning that when the end user selects one of the rows in the table, the CustomerID value for that chosen row becomes what is provided via the SelectedValue property.
Updating, inserting, and deleting rows
Updating rows in the DetailsView control is quite similar to updating rows in the GridView — but with a few little twists that you should be aware of. The process for inserting and deleting rows is very similar to that for updating rows (shown here). First, to update data being displayed by the DetailsView control, you modify the <asp:AccessDataSource> control so that it allows for the editing of the data to which it is connected. The main node of the <asp:AccessDataSource> element is shown in Listing 4-19.
105

Chapter 4
Listing 4-19: The <asp:AccessDataSource> element
<asp:AccessDataSource ID=”AccessDataSource1” Runat=”server” SelectCommand=”Select * From Customers”
UpdateCommand=”UPDATE [Customers] SET [CompanyName] = ?, [ContactName] = ?, [ContactTitle] = ?, [Address] = ?, [City] = ?, [Region] = ?, [PostalCode] = ?,
[Country] = ?, [Phone] = ?, [Fax] = ? WHERE [CustomerID] = ?” DataFile=”Data/Northwind.mdb” FilterExpression=”CustomerID=’@CustID’”>
...
</asp:AccessDataSource>
A few things have been added to the AccessDataSource control to enable it to edit the data from the Northwind.mdb file. The first addition is that the UpdateCommand attribute has been added with a SQL command that updates the data store based upon a large collection of parameters that I define shortly.
The next required change to the AccessDataSource control is the addition of the update parameter definitions. You do this by using the <UpdateParameters> element within the AccessDataSource control itself. This is illustrated in Listing 4-20.
Listing 4-20: Adding the Update parameters to the AccessDataSource control
<UpdateParameters>
<asp:Parameter Type=”String” Name=”CompanyName”></asp:Parameter> <asp:Parameter Type=”String” Name=”ContactName”></asp:Parameter> <asp:Parameter Type=”String” Name=”ContactTitle”></asp:Parameter> <asp:Parameter Type=”String” Name=”Address”></asp:Parameter> <asp:Parameter Type=”String” Name=”City”></asp:Parameter> <asp:Parameter Type=”String” Name=”Region”></asp:Parameter> <asp:Parameter Type=”String” Name=”PostalCode”></asp:Parameter> <asp:Parameter Type=”String” Name=”Country”></asp:Parameter> <asp:Parameter Type=”String” Name=”Phone”></asp:Parameter> <asp:Parameter Type=”String” Name=”Fax”></asp:Parameter> <asp:Parameter Type=”String Name=”CustomerID”></asp:Parameter>
</UpdateParameters>
Each of these parameters defines what is used in the UpdateCommand string. Now that the AccessDataSource control is ready, turn your attention to the DetailsView control.
You need to make only a few changes to the DetailsView control. First, you add the Edit button to the control just as you added it to the GridView control. This is illustrated in Listing 4-21.
Listing 4-21: Adding an Edit button to the DetailsView control
<asp:DetailsView ID=”DetailsView1” Runat=”server” DataSourceId=”AccessDataSource1” DataKeyNames=”CustomerID” AllowPaging=”True” BorderColor=”#DEBA84” BorderStyle=”None” BorderWidth=”1px” PagerSettings-Mode=”NextPrevious” BackColor=”#DEBA84” CellSpacing=”2” CellPadding=”3” AutoGenerateRows=”True” AutoGenerateEditButton=”True”>
...
</asp:DetailsView>
106
New Ways to Handle Data
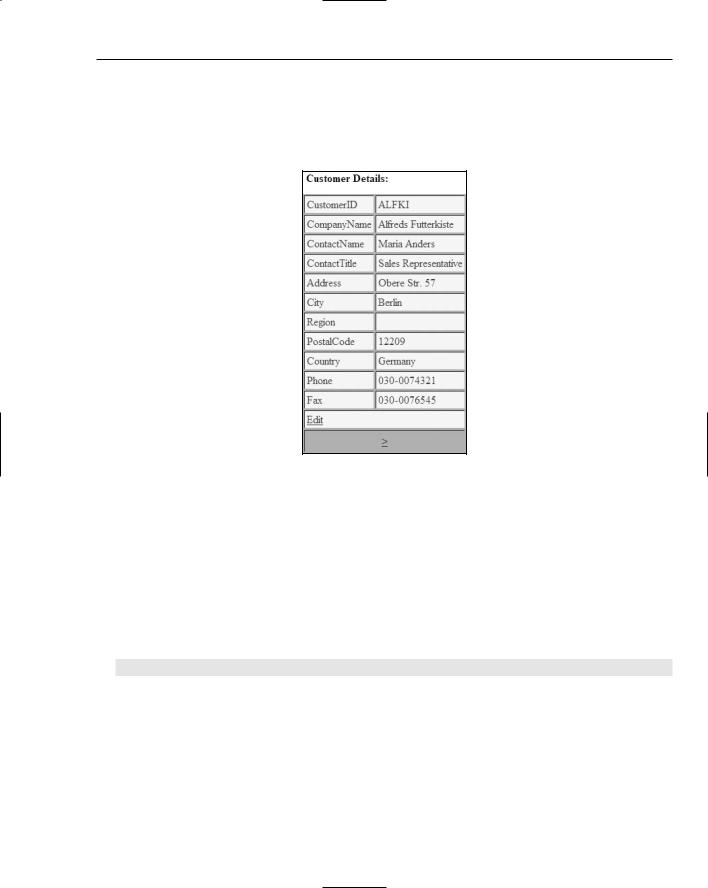
You add an Edit button to the DetailsView control via the use of the AutoGenereateEditButton attribute, which you set to True. You should also add a DataKeyNames attribute, which points to the IDENTITY field that should be utilized for the update. In this case, it is the CustomerID field. After this is in place and running, the DetailsView control appears with an Edit link at the bottom of the control (as shown in Figure 4-23).
Figure 4-23
If the end user clicks on the Edit hyperlink, most of the fields within the DetailsView control are changed to allow for editing, and the Edit hyperlink is replaced with an Update and Cancel hyperlink, as shown in Figure 4-24.
Adding the capability to insert or delete rows using the AccessDataSource control is the same as using the SqlDataSource control as shown earlier in the chapter.
The DetailsView control also works like GridView control in regard to inserting and deleting data. To insert additional rows into the Access file using the DetailsView control, simply add the AutoGenerateInsert attribute to the control:
AutoGenerateInsertButton=”True”
After this is in place, you find a New hyperlink next to the Edit hyperlink, as illustrated in Figure 4-25.
107

Chapter 4
Figure 4-24
Figure 4-25
108