
- •About the Authors
- •Contents at a Glance
- •Contents
- •Introduction
- •Goal of the Book
- •How to Use this Book
- •Introduction to the .NET Framework
- •Common Language Runtime (CLR)
- •Class Library
- •Assembly
- •Versioning
- •Exceptions
- •Threads
- •Delegates
- •Summary
- •Introduction to C#
- •Variables
- •Initializing Variables
- •Variable Modifiers
- •Variable Data Types
- •Types of Variables
- •Variable Scope
- •Types of Data Type Casting
- •Arrays
- •Strings
- •Initializing Strings
- •Working with Strings
- •Statements and Expressions
- •Types of Statements
- •Expressions
- •Summary
- •Classes
- •Declaring Classes
- •Inheritance
- •Constructors
- •Destructors
- •Methods
- •Declaring a Method
- •Calling a Method
- •Passing Parameters to Methods
- •Method Modifiers
- •Overloading a Method
- •Namespaces
- •Declaring Namespaces
- •Aliases
- •Structs
- •Enumerations
- •Interfaces
- •Writing, Compiling, and Executing
- •Writing a C# Program
- •Compiling a C# Program
- •Executing a C# Program
- •Summary
- •Arrays
- •Single-Dimensional Arrays
- •Multidimensional Arrays
- •Methods in Arrays
- •Collections
- •Creating Collections
- •Working with Collections
- •Indexers
- •Boxing and Unboxing
- •Preprocessor Directives
- •Summary
- •Attributes
- •Declaring Attributes
- •Attribute Class
- •Attribute Parameters
- •Default Attributes
- •Properties
- •Declaring Properties
- •Accessors
- •Types of Properties
- •Summary
- •Introduction to Threads
- •Creating Threads
- •Aborting Threads
- •Joining Threads
- •Suspending Threads
- •Making Threads Sleep
- •Thread States
- •Thread Priorities
- •Synchronization
- •Summary
- •Case Study
- •Project Life Cycle
- •Analyzing Requirements
- •High-Level Design
- •Primary and Foreign Keys
- •Referential Integrity
- •Normalization
- •Designing a Database
- •Low-Level Design
- •Construction
- •Integration and Testing
- •User Acceptance Testing
- •Implementation
- •Operations and Maintenance
- •Summary
- •Creating a New Project
- •Console Application
- •Windows Applications
- •Creating a Windows Application for the Customer Maintenance Project
- •Creating an Interface for Form1
- •Creating an Interface for WorkerForm
- •Creating an Interface for CustomerForm
- •Creating an Interface for ReportsForm
- •Creating an Interface for JobDetailsForm
- •Summary
- •Performing Validations
- •Identifying the Validation Mechanism
- •Using the ErrorProvider Control
- •Handling Exceptions
- •Using the try and catch Statements
- •Using the Debug and Trace Classes
- •Using the Debugging Features of Visual Studio .NET
- •Using the Task List
- •Summary
- •Creating Form1
- •Connecting WorkerForm to the Workers Table
- •Connecting CustomerForm to the tblCustomer Table
- •Connecting the JobDetails Form
- •to the tblJobDetails Table
- •Summary
- •Introduction to the Crystal Reports Designer Tool
- •Creating the Reports Form
- •Creating Crystal Reports
- •Creating the Windows Forms Viewer Control
- •Creating the Monthly Worker Report
- •Summary
- •Introduction to Deploying a Windows Application
- •Deployment Projects Available in Visual Studio .NET
- •Deployment Project Editors
- •Summary
- •Case Study
- •Project Life Cycle
- •Analyzing Requirements
- •High-Level Design
- •Low-Level Design
- •Summary
- •Populating the TreeView Control
- •Displaying Employee Codes in the TreeView Control
- •Event Handling
- •Displaying Employee Details in the ListView Control
- •Summary
- •Case Study
- •Project Life Cycle
- •Analyzing Requirements
- •High-Level Design
- •Low-Level Design
- •Summary
- •Adding the Programming Logic to the Application
- •Adding Code to the Form Load() Method
- •Adding Code to the OK Button
- •Adding Code to the Exit Button
- •Summary
- •The Created Event
- •Adding Code to the Created Event
- •Overview of XML
- •The XmlReader Class
- •The XmlWriter Class
- •Displaying Data in an XML Document
- •Displaying an Error Message in the Event Log
- •Displaying Event Entries from Event Viewer
- •Displaying Data from the Summary.xml Document in a Message Box
- •Summary
- •Airline Profile
- •Role of a Business Manager
- •Role of a Network Administrator
- •Role of a Line-of-Business Executive
- •Project Requirements
- •Creation and Deletion of User Accounts
- •Addition of Flight Details
- •Reservations
- •Cancellations
- •Query of Status
- •Confirmation of Tickets
- •Creation of Reports
- •Launch of Frequent Flier Programs
- •Summarizing the Tasks
- •Project Design
- •Database Design
- •Web Forms Design
- •Enabling Security with the Directory Structure
- •Summary
- •Getting Started with ASP.NET
- •Prerequisites for ASP.NET Applications
- •New Features in ASP.NET
- •Types of ASP.NET Applications
- •Exploring ASP.NET Web Applications
- •Introducing Web Forms
- •Web Form Server Controls
- •Configuring ASP.NET Applications
- •Configuring Security for ASP.NET Applications
- •Deploying ASP.NET Applications
- •Creating a Sample ASP.NET Application
- •Creating a New Project
- •Adding Controls to the Project
- •Coding the Application
- •Summary
- •Creating the Database Schema
- •Creating Database Tables
- •Managing Primary Keys and Relationships
- •Viewing the Database Schema
- •Designing Application Forms
- •Standardizing the Interface of the Application
- •Common Forms in the Application
- •Forms for Network Administrators
- •Forms for Business Managers
- •Forms for Line-of-Business Executives
- •Summary
- •The Default.aspx Form
- •The Logoff.aspx Form
- •The ManageUsers.aspx Form
- •The ManageDatabases.aspx Form
- •The ChangePassword.aspx Form
- •Restricting Access to Web Forms
- •The AddFl.aspx Form
- •The RequestID.aspx Form
- •The Reports.aspx Form
- •The FreqFl.aspx Form
- •Coding the Forms for LOB Executives
- •The CreateRes.aspx Form
- •The CancelRes.aspx Form
- •The QueryStat.aspx Form
- •The ConfirmRes.aspx Form
- •Summary
- •Designing the Form
- •The View New Flights Option
- •The View Ticket Status Option
- •The View Flight Status Option
- •The Confirm Reservation Option
- •Testing the Application
- •Summary
- •Locating Errors in Programs
- •Watch Window
- •Locals Window
- •Call Stack Window
- •Autos Window
- •Command Window
- •Testing the Application
- •Summary
- •Managing the Databases
- •Backing Up the SkyShark Airlines Databases
- •Exporting Data from Databases
- •Examining Database Logs
- •Scheduling Database Maintenance Tasks
- •Managing Internet Information Server
- •Configuring IIS Error Pages
- •Managing Web Server Log Files
- •Summary
- •Authentication Mechanisms
- •Securing a Web Site with IIS and ASP.NET
- •Configuring IIS Authentication
- •Configuring Authentication in ASP.NET
- •Securing SQL Server
- •Summary
- •Deployment Scenarios
- •Deployment Editors
- •Creating a Deployment Project
- •Adding the Output of SkySharkDeploy to the Deployment Project
- •Deploying the Project to a Web Server on Another Computer
- •Summary
- •Organization Profile
- •Project Requirements
- •Querying for Information about All Books
- •Querying for Information about Books Based on Criteria
- •Ordering a Book on the Web Site
- •Project Design
- •Database Design
- •Database Schema
- •Web Forms Design
- •Flowcharts for the Web Forms Modules
- •Summary
- •Introduction to ASP.NET Web Services
- •Web Service Architecture
- •Working of a Web Service
- •Technologies Used in Web Services
- •XML in a Web Service
- •WSDL in a Web Service
- •SOAP in a Web Service
- •UDDI in a Web Service
- •Web Services in the .NET Framework
- •The Default Code Generated for a Web Service
- •Testing the SampleWebService Web Service
- •Summary
- •Creating the SearchAll() Web Method
- •Creating the SrchISBN() Web Method
- •Creating the AcceptDetails() Web Method
- •Creating the GenerateOrder() Web Method
- •Testing the Web Service
- •Securing a Web Service
- •Summary
- •Creating the Web Forms for the Bookers Paradise Web Site
- •Adding Code to the Web Forms
- •Summary
- •Case Study
- •Project Life Cycle
- •Analyzing Requirements
- •High-Level Design
- •Low-Level Design
- •Summary
- •Overview of Mobile Applications
- •The Microsoft Mobile Internet Toolkit
- •Overview of WAP
- •The WAP Architecture
- •Overview of WML
- •The Mobile Web Form
- •The Design of the MobileTimeRetriever Application
- •Creating the Interface for the Mobile Web Forms
- •Adding Code to the MobileTimeRetriever Application
- •Summary
- •Creating the Forms Required for the MobileCallStatus Application
- •Creating the frmLogon Form
- •Creating the frmSelectOption Form
- •Creating the frmPending Form
- •Creating the frmUnattended Form
- •Adding Code to the Submit Button in the frmLogon Form
- •Adding Code to the Query Button in the frmSelectOption Form
- •Adding Code to the Mark checked as complete Button in the frmPending Form
- •Adding Code to the Back Button in the frmPending Form
- •Adding Code to the Accept checked call(s) Button in the frmUnattended Form
- •Adding Code to the Back Button in the frmUnattended Form
- •Summary
- •What Is COM?
- •Windows DNA
- •Microsoft Transaction Server (MTS)
- •.NET Interoperability
- •COM Interoperability
- •Messaging
- •Benefits of Message Queues
- •Limitations
- •Key Messaging Terms
- •Summary
- •Pointers
- •Declaring Pointers
- •Types of Code
- •Implementing Pointers
- •Using Pointers with Managed Code
- •Working with Pointers
- •Compiling Unsafe Code
- •Summary
- •Introduction to the Languages of Visual Studio .NET
- •Visual C# .NET
- •Visual Basic .NET
- •Visual C++ .NET
- •Overview of Visual Basic .NET
- •Abstraction
- •Encapsulation
- •Inheritance
- •Polymorphism
- •Components of Visual Basic .NET
- •Variables
- •Constants
- •Operators
- •Arrays
- •Collections
- •Procedures
- •Arguments
- •Functions
- •Adding Code to the Submit Button
- •Adding Code to the Exit Button
- •Summary
- •Introduction to Visual Studio .NET IDE
- •Menu Bar
- •Toolbars
- •Visual Studio .NET IDE Windows
- •Toolbox
- •The Task List Window
- •Managing Windows
- •Customizing Visual Studio .NET IDE
- •The Options Dialog Box
- •The Customize Dialog Box
- •Summary
- •Index

BASICS OF ASP.NET WEB APPLICATIONS |
Chapter 19 |
|
443 |
|
|
||||
|
|
|
|
|
You will learn how to implement different security mechanisms for your Web application in Chapter 25.
Deploying ASP.NET Applications
You can deploy ASP.NET applications by copying the files in the virtual directory of an application to a virtual directory on the destination server. However, Visual Studio .NET provides a more sophisticated method of deployment. Instead of manually copying all ASP.NET files, you can use the Web Setup deployment project in Visual Studio .NET.
The Web Setup deployment project is a project template that can be configured to accomplish the necessary tasks to deploy a Web application. Some tasks that you can configure using the Web Setup project template are specified in the following list:
Check for the presence of .NET run-time files and other prerequisite software before installing the application.
Prompt the user for the name for the virtual directory in which the application should be installed.
Enforce business rules, such as acceptance of user agreements, before the installation of the software.
Create databases and add data that might be necessary for the successful execution of your application.
It is advisable to use the Web Setup project template for deploying your ASP.NET applications. However, another easy method to deploy your application is to use the Copy Project feature in Visual Studio .NET. This feature copies the source files of the application to a virtual directory that you specify. You can use this feature only when the computer on which you want to deploy your application is accessible on the network. It is not possible to use it to distribute your application to customers or business partners. I will describe the steps to deploy ASP.NET applications in Chapter 26, “Deploying the Application.”
Creating a Sample ASP.NET Application
After having examined the basic concepts of an ASP.NET application, you can build on your knowledge by attempting a simple ASP.NET application. In this

444 Project 4 CREATING AN AIRLINE RESERVATION PORTAL
section, I have created a simple application that queries a username and password in a database and displays a welcome message if the user is successfully authenticated.
Creating a New Project
The first step in creating an ASP.NET application in Visual Studio .NET is to add a new project by using the ASP.NET Web Application template. The steps to add a new ASP.NET Web Application were discussed in the section “Summary of Web Form Server Controls.” Create a new project with the name SampleApplication. After creating the new project, proceed to the next section, “Adding Controls to the Project,” to add controls to the sample application.
Adding Controls to the Project
To design the user interface of the application, you need to add controls to the application. The steps to add controls to the Web form are specified in the following list:
1.Click on the View menu and select Toolbox to open Toolbox.
2.Drag a Label control from Toolbox to the default form in the Web application.
3.Change the properties of the label as given here:
ID=lblCaption
Text=Please log on
Font
Bold=True
Italic=True
Name=Georgia
4.Drag two label controls to the form for accepting the username and the password. Change the Text property of these label controls to User Name and Password, respectively.
5.Drag two TextBox controls to the form and change their ID to txtUserName and txtPassword, respectively.
6.Drag a Button control to the form and change its Text property to Submit. In addition, change the ID of the button to btnSubmit.
BASICS OF ASP.NET WEB APPLICATIONS |
Chapter 19 |
445 |
|
|
|
|
|
The basic structure of the form is complete. Next, you need to add validation controls to the form to validate user input before data is processed on the server. To add validation controls to the form, follow these steps:
1.Drag a RequiredFieldValidator control to the form for validating the User Name text box. Change the properties of the RequiredFieldValidator control as mentioned in the following list:
ErrorMessage=Invalid user name
ControlToValidate=txtUserName
2.Drag another RequiredFieldValidator control to the form for validating
the Password text box. Change the properties of the control as mentioned here:
ErrorMessage=Invalid password
ControlToValidate=txtPassword
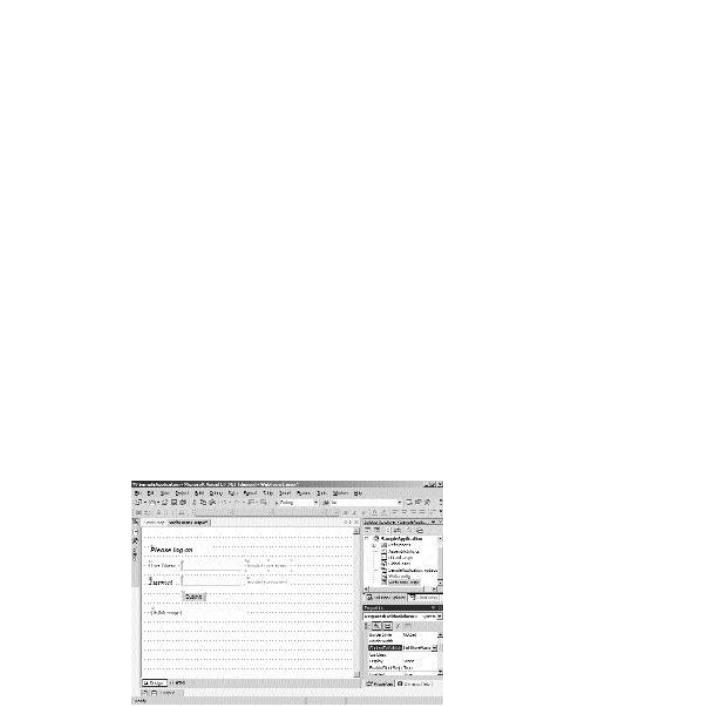
The interface of the form is complete. However, you can add one more Label control to display a welcome message if the user logs on successfully. Change the ID of the label to lblMessage and clear the Text property. The complete form is shown in Figure 19-3.
FIGURE 19-3 Form to accept username and password
After having designed the interface of the form, you can code the functionality of the Web application.

446 Project 4 CREATING AN AIRLINE RESERVATION PORTAL
Coding the Application
To code the functionality of the application, you need to create the database structure and use the database to validate users. In this section, I will explain the procedure for creating a database and utilizing it in the application.
Creating the Database
To validate the username and the password, I have created a database named SampleDatabase and added a Logon table to the database. Next, I added two records to the Logon table. To create a similar structure for your Web application, execute the SQL script given as follows:
CREATE DATABASE SampleDatabase
GO
USE SampleDatabase
GO
CREATE TABLE Logon (
[UserName] [char] (10) COLLATE SQL_Latin1_General_CP1_CI_AS NOT NULL , [Password] [char] (10) COLLATE SQL_Latin1_General_CP1_CI_AS NOT NULL
) ON [PRIMARY] GO
ALTER TABLE Logon WITH NOCHECK ADD
CONSTRAINT [PK_Logon] PRIMARY KEY CLUSTERED
(
[UserName] ) ON [PRIMARY]
GO
INSERT INTO LOGON
VALUES (‘John’, ‘password’)
GO
INSERT INTO LOGON
VALUES (‘Suzan’, ‘mypassword’)
GO
Adding Functionality to the Application
ASP.NET includes data access tools that make it easier for you to interact with databases. The SQL Server .NET data provider is used for accessing SQL Server databases. The data provider provides three primary classes to access databases:
BASICS OF ASP.NET WEB APPLICATIONS |
Chapter 19 |
|
447 |
|
|
||||
|
|
|
|
|
SqlConnection. The SqlConnection class is used for creating a connection to the database.
SqlDataAdapter. The SqlDataAdapter class is used for adding, updating, deleting, and selecting records from the database.
DataSet. The DataSet class is used to cache data that is retrieved from a database. A DataSet object comprises a number of DataTable objects that contain data retrieved from database tables.
In addition to the three classes described here, ASP.NETprovides the SqlCommand class that can be used for executing queries on a database.
Visual Studio .NET provides data controls that correspond to the SQL Server data provide classes described in the previous list. These controls are available on the Data tab of the Toolbox. Follow these steps to use the data controls for accessing databases:
1.Drag an SqlDataAdapter control from Toolbox to the form. Data Adapter Configuration Wizard will start.
2.On the Welcome screen, click on Next. The Choose Your Data Connection screen of the wizard will appear.
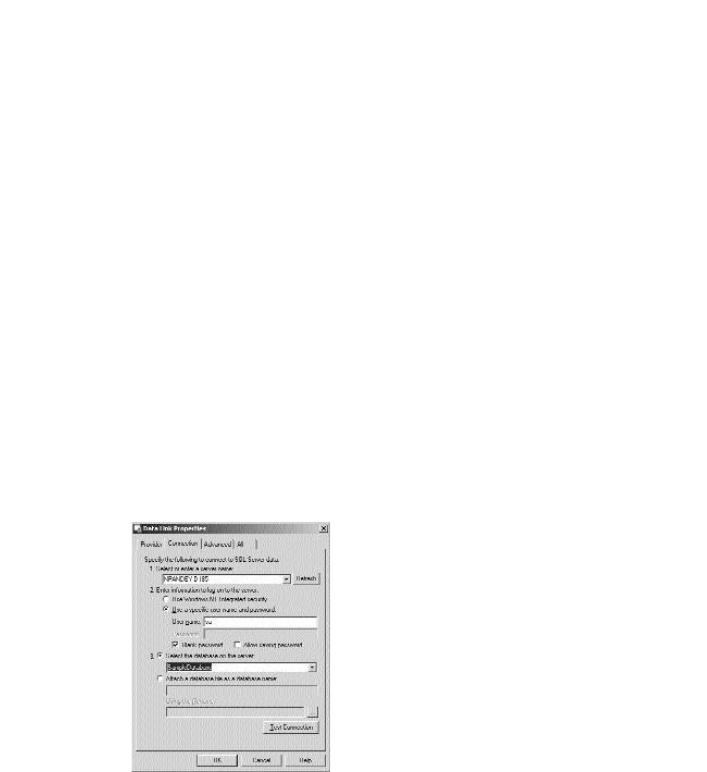
3.On the Choose Your Data Connection screen, click on New Connection. The Data Link Properties dialog box will appear, as shown in Figure 19-4.
FIGURE 19-4 The Data Link Properties dialog box
448 Project 4 CREATING AN AIRLINE RESERVATION PORTAL
4. In the Data Link Properties dialog box, configure the connection to the database that you created in the previous section and click on OK. The data connection that you created will be displayed on the Choose Your Data Connection screen of the Data Adapter Configuration wizard.
5. Click on Next. The Choose Query Type screen will appear.
6. |
On the Choose Quer y Type screen, retain the default option and click |
||||
|
on Next. The Generate the SQL Statements screen will appear. |
||||
7. |
Specify the SQL Query as specified and click on Next. |
||||
|
|
|
|
F |
|
|
Select UserName, Password from |
ogon where (UserName=@username) |
|||
8. |
|
|
|
M |
|
On the View Wizard results screen,Yclick on Finish to complete the |
|||||
|
wizard. |
|
A |
L |
|
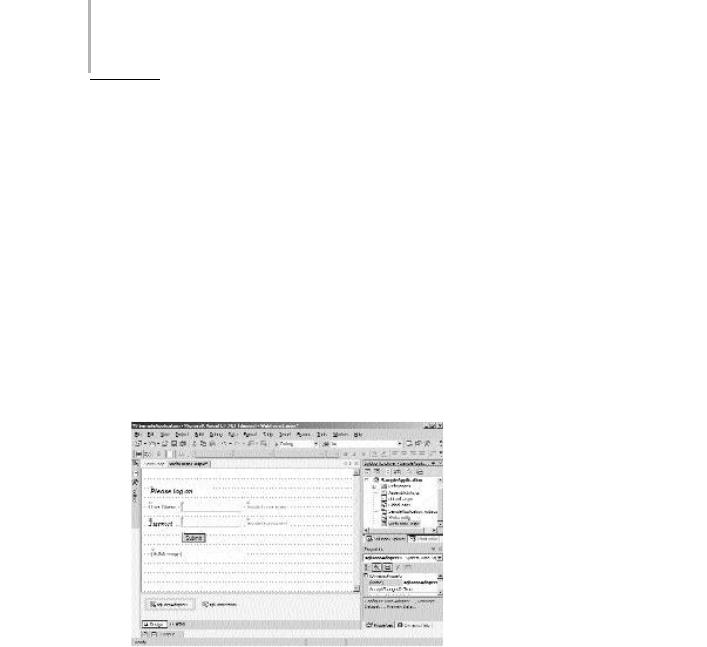
When you complete the wizard, new SqlDataAdapter and SqlConnection con- |
|||||
|
|
E |
|
||
trols are added to your project.These controls appear in Component Designer, as |
|||||
|
|
T |
|
|
|
shown in Figure 19-5. |
|
|
|
||
FIGURE 19-5 Adding new SqlDataAdapter and SqlConnection controls to the form
In the preceding steps, you used the Data Adapter Configuration wizard to configure the SqlDataAdapter and SqlConnection controls. However, Visual Studio
.NET offers another simple mechanism to configure these controls without traversing the wizard. This method is specified below:
Team-Fly®
BASICS OF ASP.NET WEB APPLICATIONS |
Chapter 19 |
449 |
|
|
|
|
|
1.Click on the View menu and select Server Explorer to open the Server Explorer window.
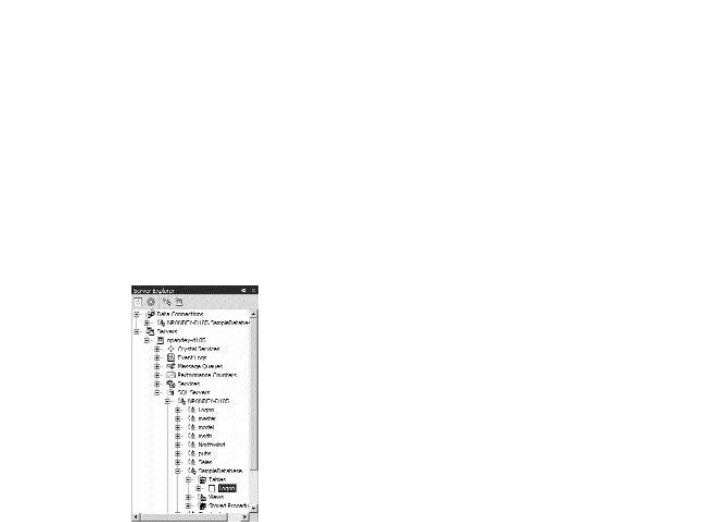
2.In the Server Explorer window, navigate to the table for which you want to configure the data adapter. For example, the path to the Logon table is shown in Figure 19-6.
3.Press and hold the mouse button on the name of the table and drag it to the form. Visual Studio .NET will automatically add the SqlDataAdapter and SqlConnection controls to your form.
FIGURE 19-6 Using the Server Explorer to add data cont rols
In the SkyShark Airlines project, I will use Server Explorer to configure the connections to database tables.
After adding data controls to the Web form, you need to add a DataSet control to the form. To add the DataSet control to the form, perform the following steps:
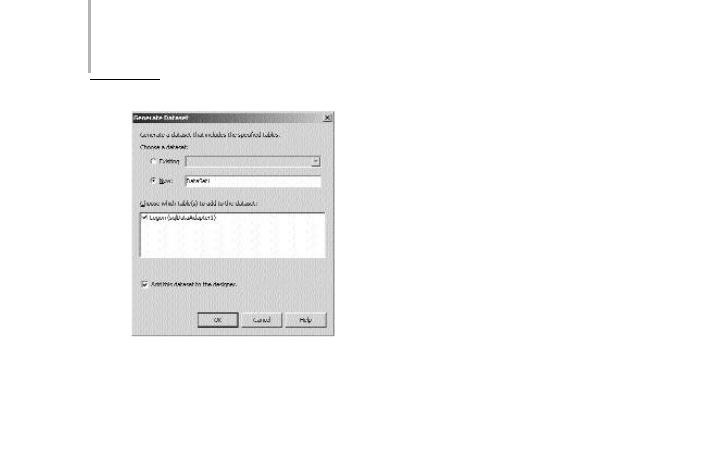
1.Click on the Data menu and then click on Generate Dataset. The Generate Dataset dialog box will appear, as shown in Figure 19-7.
2.Click on OK to configure a new DataSet control and add it to Component Designer.
450 Project 4 CREATING AN AIRLINE RESERVATION PORTAL
FIGURE 19-7 Adding a new DataSet cont rol
You have added all the required controls to configure your application. In the last step, add the following code for the Click event of the Submit button:
private void btnSubmit_Click(object sender, System.EventArgs e)
{
sqlConnection1.Open(); sqlDataAdapter1.SelectCommand.Parameters[0].Value=txtUserName.Text.Trim(); sqlDataAdapter1.Fill(dataSet11, “UserDetails”);
if (dataSet11.Tables[“UserDetails”].Rows.Count==0)
{
lblMessage.Text=”Invalid user name”;
}
else
{
if (dataSet11.Tables[“UserDetails”].Rows[0][1].ToString().Trim()== txtPassword.Text.Trim())
lblMessage.Text=”Welcome “ + txtUserName.Text; else
lblMessage.Text=”Invalid password”;
}
sqlConnection1.Close()
}

BASICS OF ASP.NET WEB APPLICATIONS |
Chapter 19 |
451 |
|
|
|
|
|
In the preceding code, the following sequence of tasks is performed:
1.The connection to the database is opened by the Open function.
2.The value specified by the user for the username is assigned to the first parameter of the SELECT query. The first parameter is @username.
3.The Fill method of the SqlDataAdapter class is used for executing the select query and adding the resultant data to the data set. The Fill command accepts two parameters, the name of the data set and the name of the DataTable in the data set in which the data should be stored.
4.If the number of rows returned by the select command is 0 as determined by the Count property of the Rows collection of a DataTable, an error message is displayed to the user.
5.If the number of rows returned is greater than 0, the password specified by the user is validated against the password retrieved from the database. The password retrieved from the database is stored in the second column of the first row of a DataSet table and can be accessed at the position Rows[0][1].
TIP
The first member of a collection has the index 0.Therefore, to access the second element, which is the password in this case, the index that needs to be used is 1.
6.If the password specified by the user matches the password retrieved from the database, a welcome message is displayed. If the password does not match, an error message is displayed.
After specifying the preceding code, click on Debug and then Start to run the application. The output of the application, which is generated after you specify a valid username and password, is shown in Figure 19-8.
