


DEPLOYING A WINDOWS APPLICATION |
Chapter 12 |
279 |
|
|
|
|
|
Visual Studio .NET allows you to create shortcuts to the user’s desktop and the user’s program menu. To create a shortcut to the user’s desktop, drag the shortcut to the User’s Desktop folder. However, to add a shortcut to the user’s program menu, drag the shortcut to the User’s Program Menu folder in the file system editor. After adding the shortcut, you can build the project.
In this section, you learned about the file system editor. The following section discusses all the default editors in detail.
Deployment Project Editors
As discussed earlier, while creating a deployment project, you need to specify the information, such as the location where you need to deploy the project, the method of deployment, the registry information, and so on. In addition, you might want to add customized information for the installation of the deployment project. To enable you to specify all this information, Visual Studio .NET provides you with several deployment project editors. By default, there are six deployment project editors. The following sections will look at each of the deployment project editors in detail.
The File System Editor
The file system editor is the default editor that is displayed when you create a deployment project in Visual Studio .NET. You can use the file system editor to add files and folders to your deployment project. By default, the file system editor contains the Application Folder, the User ’s Desktop folder, and User’s Program Menu folder. The folder structure displayed in the file system editor corresponds to the folder structure that will be created on the user’s machine. However, Visual Studio .NET allows you modify the default folder structure by adding additional folders to the file system editor.
To add additional folders, perform the following steps:
1.Right-click on the File System on Target Machine option.
2.From the displayed list, select the Add Special Folders option.
A list containing the available folders is displayed. You can select any option to add the corresponding folder to the file system editor. These folders include Fonts Folder, User’s Personal Data Folder, Windows Folder, User’s Favorites Folder, and so on.
280 Project 1 CREATING A CUSTOMER MAINTENANCE PROJECT
In addition, you can also add several files to the file system editor. For example, you can add output files, such as .exe or .dll files, or additional files, such as .txt or .htm files, to any folder in the file system editor. To add a file to the file system editor, perform the following steps:
1.Select the folder in which you want to add a file.
2.Click on the Action menu and point to the Add option.
3.From the list that is displayed, select the File option. The Add Files dialog box is displayed.
4.Browse for the file in the Add Files dialog box and click on the Open button.
The selected files are added to the specified folder.
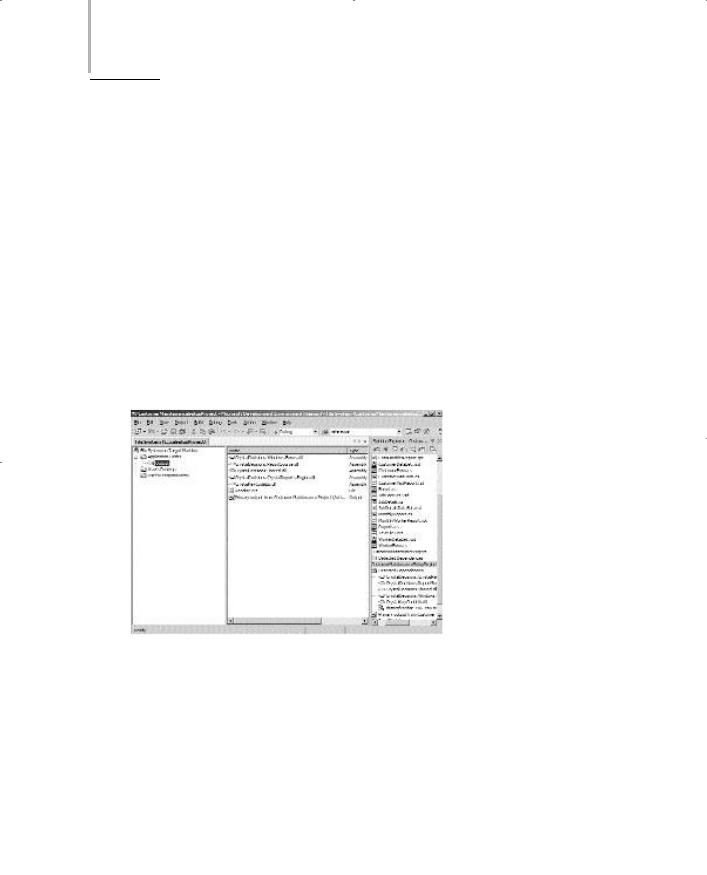
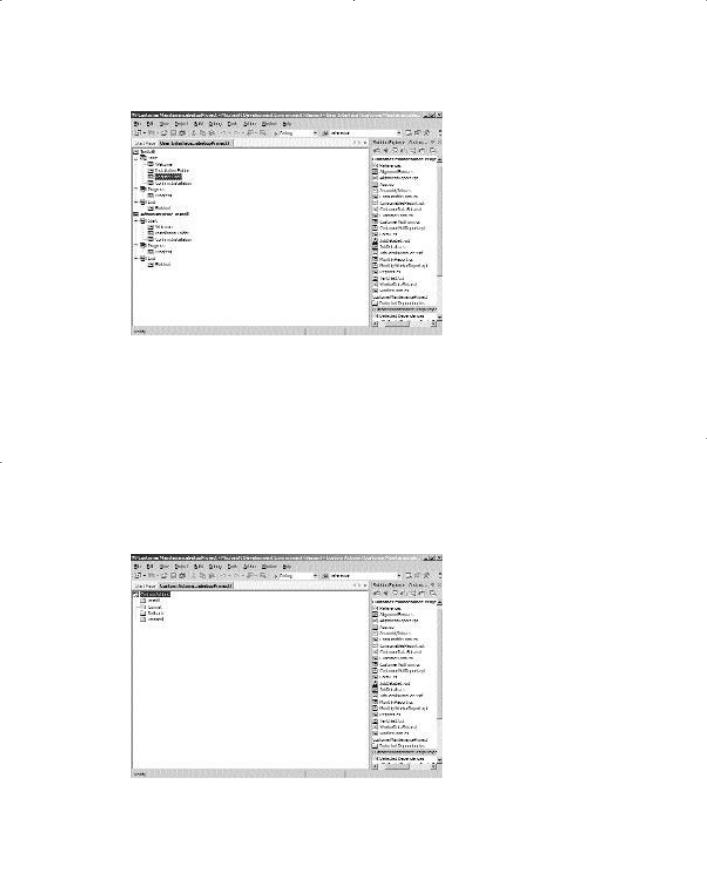
You can also add shortcuts to the editor as explained in the previous section. Figure 12-13 displays a file system editor with additional files and folders added to it.
FIGURE 12-13 A file system editor with additional files and folders
As you can see, a file system editor contains the left-hand pane, called the navi - gation pane , and a right-hand pane, called the details pane. The navigation pane
DEPLOYING A WINDOWS APPLICATION |
Chapter 12 |
281 |
|
|
|
|
|
shows the list of folders, and the details pane contains the files, folders, and shortcuts within the folder that is selected in the navigation pane. When you select a folder, you can view the properties of the folder in the Properties window.
The Registry Editor
When you install an application on the user’s computer, you may need to make modifications to the registry of the user’s computer. These modifications may include adding registry keys and values to the registry. The registry editor in Visual Studio .NET allows you to write the registry keys and values to the registry. To access the registry editor, perform the following steps:
1.On the View menu, point to the Editor option.
2.In the displayed list, select the Registry option.
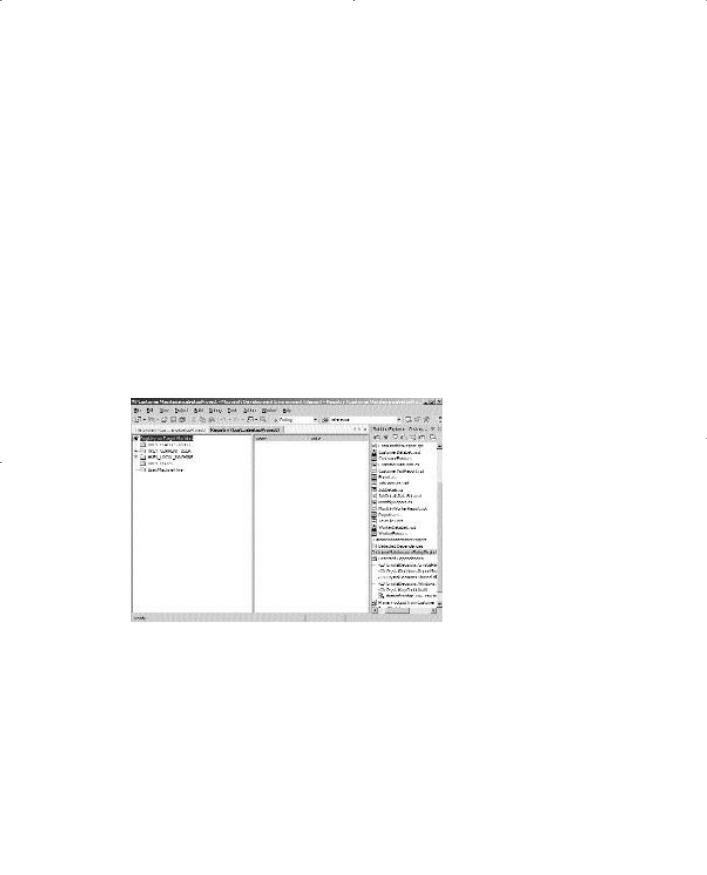
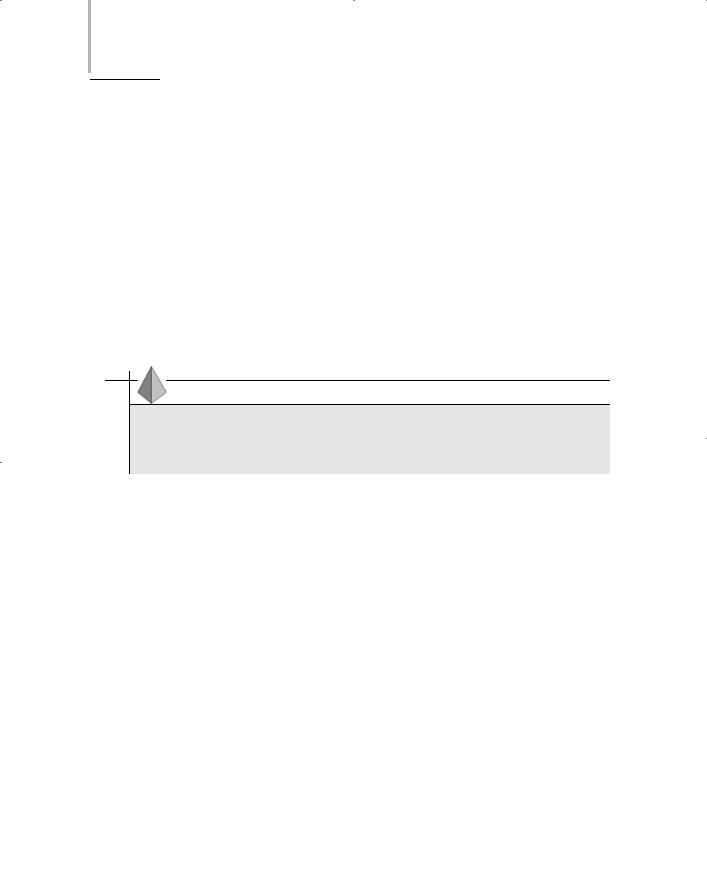
The registry editor as shown in Figure 12-14 is displayed.
FIGURE 12-14 The registry editor
Similar to the file system editor, the registry editor includes the navigation pane and the details pane. The navigation pane shows a list of existing registry keys on the user’s computer. The details pane displays the registry entries for the registry

282 Project 1 CREATING A CUSTOMER MAINTENANCE PROJECT
key selected in the navigation pane. The navigation pane contains the name and the values for the corresponding registry entry.
As discussed earlier, you can add registry keys to the registry on the user’s computer by using the registry editor. The following section discusses adding registry keys to the registry editor.
Adding Registry Keys to the Registry Editor
To add a registry key to the registry editor, perform the following steps:
1.Select the registry key in the navigation pane.
2.On the Action menu, select the New Key option.
A new registry key gets added to the selected registry key. You can rename the registry key as required.
Similar to adding registry keys, you can also add values to new or existing keys.
Adding Registry Values to Registry Keys
To add a registry value, perform the following steps:
1.Select the registry key for which you want to add a value.
2.On the Action menu, point to the New option.
The list that is displayed allows you to add a string, binary, or DWORD type value to the registry keys. Select the String Value, Environment String Value, Binary Value, or DWORD Value options to add the corresponding key value.
When you install the application on the user’s machine, the registry values are written to the registry of the user’s computer. If values exist for a registry key, the new value is overwritten to the registry key.
Visual Studio .NET also allows you to import an existing registry file to the registry editor, as discussed in the following section.
Importing Registry Files
A registry file with an extension .reg can be included in the registry editor by performing the following steps:
1. In the registry editor, select the Registry on Target Machine option.

DEPLOYING A WINDOWS APPLICATION |
Chapter 12 |
|
283 |
|
|
||||
|
|
|
|
|
2.On the Action menu, click on the Import option.
3.The Import Registry File dialog box is displayed.
4.Browse for the required registry file, and click on the Open button to import the registry file to your project.
The File Types Editor
Visual Studio .NET allows you to specify any file type or file association on the user’s computer by using the file types editor. To create a file association, you need to associate the file extension with the application that you have created. You can then associate an action to be performed for all file types that you identify. For example, you can associate your application with a Microsoft Word document (.doc file) or a Microsoft Excel worksheet (.xls file). Associating an application with a file type creates an executable file. For example, for a Microsoft Excel worksheet, an executable file, EXCEL.exe, is created. When a file with an extension of .xls is opened, the executable file EXCEL.exe is launched.
Similar to the other editors, you can access the file types editor from the Editor option on the View menu.The file types editor does not contain any file type yet. You will now learn to add a file type to the file type editor.
Adding File Types to the File Type Editor
To add a file type to the file type editor, perform the following steps:
1.Select the File Types on Target Machine option in the file type editor.
2.On the Action menu, click on the Add File Type option.
Visual Studio .NET creates a new file type for your deployment project. Rename this file MyFileType. This file type does not have a file extension associated with it.
Associating a File Extension to the File Type
You can now associate a file extension to the MyFileType file type by performing the following steps:
1.Select the MyFileType file type in the file type editor.
To associate a file extension, change the Extensions property of the file type.
284Project 1 CREATING A CUSTOMER MAINTENANCE PROJECT
2.In the Properties window, click on the Extensions property.
3.Type the value of the Extensions property as xls.
TIP
The value for the Extensions property is not preceded with a period.
The file extension that you type is added to the name of the file type, MyFileType. However, you have not yet added an executable file to the file type.
Adding an Executable File to the File Type
To add an executable file to the file type, perform the following steps:
1.Select the MyFileType file type in the file type editor.
To add an executable file, change the Command property of the file type.
2.In the Properties window, click on the ellipsis button of the Command property.
3.The Select Item in Project dialog box is displayed.
4.In the Select Item in Project dialog box, select the folder in which you want to add the file from the Look in: list box and click on the Add File button.
You may also add an output file or an assembly by clicking on the Add Output or Add Assembly button, respectively.
5.The Add Files dialog box is displayed.
6.Browse for the executable file (EXCEL.exe file) and click on the OK button.

DEPLOYING A WINDOWS APPLICATION |
Chapter 12 |
|
285 |
|
|
||||
|
|
|
|
|
TIP
You can add an icon to the executable file by associating the icon file with the icon property of the file type.
As discussed earlier, you can specify the actions to be performed on the file with the .xls extension.The following section describes specifying an action.
Specifying an Action to be Performed on the File with the .xls Extension
When you create a file t ype, the Open action is created for you by default. However, you can add more actions to be performed on the file. To specify an action, perform the following steps:
1.Select the MyFileType file type in the file type editor.
2.On the Action menu, click on the Add Action option. A new action is added to the MyFileType file type.
3.Rename the action &Save.
4.In the Properties window, select the Verb property and type the value of the Verb property as Save.
The value in the Verb property is used to identify the action to be performed when the user selects the Save option from the shortcut menu.
In addition to adding actions to the file types, you can specify a default action to be performed when the user double-clicks on a file with the .xls extension. You can create the default action Open. To do this, perform the following steps:
1.Right-click on the Open action.
2.Select the Set As Default option.
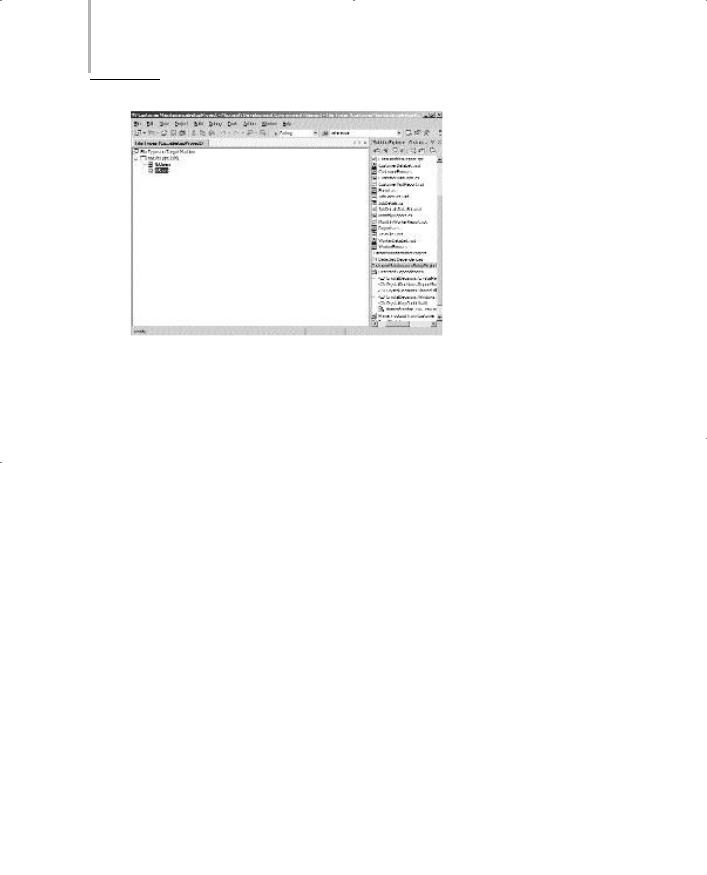
Figure 12-15 displays the file type editor.
286 Project 1 CREATING A CUSTOMER MAINTENANCE PROJECT
FIGURE 12-15 The file type editor
User Interface Editor
You have seen the installation process of the Customer Maintenance project. During the installation process, the dialog boxes that are displayed are created by Visual Studio .NET. You can make changes to these dialog boxes or may even add new dialog boxes in Visual Studio .NET. In addition, you can change the properties of the default dialog boxes. To do this, Visual Studio .NET provides you with a user interface editor. Similar to any other editor, you can access a user interface editor from the Editor option on the View menu. Figure 12-16 displays the user interface editor.

DEPLOYING A WINDOWS APPLICATION |
Chapter 12 |
287 |
|
|
|
|
|
FIGURE 12-16 The user interface editor
As you can see, the user interface editor displays the structure of dialog boxes that will be displayed during the installation process.The user interface editor is a tree view control containing the dialog boxes that are displayed when the user or the system administrator installs the application on the user’s machine or the network. The following section discusses customizing the dialog box in the installation process of an application.
Customizing Dialog Boxes
Visual Studio .NET allows you to customize the interface of a dialog box by performing the following steps:
1.Select the Standard dialog box in the user interface editor.
2.In the Properties window of the dialog box, modify the required property.
In addition to customizing dialog boxes, you may want to add new dialog boxes to the installation process.The next section will discuss adding new dialog boxes.
288 Project 1 CREATING A CUSTOMER MAINTENANCE PROJECT
Adding New Dialog Boxes
Consider a situation in which you may need to add dialog boxes to the installation process. For example, you may want to add a dialog box that accepts the user and company name at the time of installation. To do this, perform the following steps:
1. |
Select the Start, Progress, or Finish option in the Install section. |
|
2. |
On the Action menu, click on the Add Dialog option. |
|
|
|
L |
|
The Add Dialog page is displayed.The Add Dialog page provides you |
|
|
|
F |
|
with several options that you can add to the installation process. You can |
|
|
view a short description of each optionYby selecting the option. Figure |
|
|
|
M |
|
12-17 shows the Add Dialog page. |
|
3. |
A |
|
Select the Register User dialog box on the Add Dialog page. |
||
4. |
E |
|
Click on the OK button to add the Register User dialog box. |
||
|
T |
|
FIGURE 12-17 The Add Dialog page
By default, the Register User dialog box gets added last in the list. You can move the newly added dialog box up or down the list as required. Figure 12-18 displays the Register User dialog box added to the user interface editor.
Team-Fly®
DEPLOYING A WINDOWS APPLICATION |
Chapter 12 |
289 |
|
|
|
|
|
FIGURE 12-18 The Register User dialog box added to the user interface editor
The Custom Action Editor
Using the custom editor in Visual Studio .NET, you can modify the installation process to perform some additional tasks on the user’s computer. This implies that you can add custom actions that the installation process performs while installing the application. You can access the custom action editor in the Editor option of the View menu. Figure 12-19 shows the custom action editor.
FIGURE 12-19 The custom action editor
290 Project 1 CREATING A CUSTOMER MAINTENANCE PROJECT
As you can see, the custom action editor contains the Install, Commit, Rollback, and Uninstall folders by default. These folders represent the stages of the installation process. You can add custom actions to any of these folders.
To add custom actions to the installation process, perform the following steps:
1.Select any folder to which you want to add a custom action.
2.On the Action menu, select the Add Custom Action option.
3.The Select Item in Project dialog box is displayed.
4.Select a folder in the Look in: list box.
5.To add a file, an output file, or an assembly that contains the custom action, click on the Add File, Add Output, or Add Component button, respectively.
TIP
Before adding a custom action to the installation process, you must compile your custom action in the form of executable files, such as .dll or .exe, or scripts, such as VBScript (.vbs file) or JScript (.js file).
6. Click on the OK button to add the custom action.
The Launch Conditions Editor
When you install an application, the installation process must follow some conditions. These conditions may include the availability of certain files, the required operating system, or the required registry keys. You can apply these conditions by using the launch conditions editor. Applying conditions ensures the successful installation and deployment of the application. To access the launch conditions editor, access the Editor option on the View menu.
To add a launch condition, perform the following steps:
1.Select the Requirements on Target Machine option in the launch condition editor.
2.On the Action menu, select the Add File Launch Condition option.