
- •In this tutorial we are going to create fun, realistic, animal textured, 3d typography in Photoshop using cs5′s Repousse tool. Let’s get started!
- •I suggest you save each word letters in different groups to keep things organized.
- •It’s best if we fill all the sides with color white, that way we can quickly see if we missed texturing any spots on the letter.
- •Step 9 – Texture Wrapping
- •It may take you some time to get the perspective right but it’ll get easier as you do it.
- •Step 10 – Shading
- •Step 15 – Letter "I"
- •In this letter we will be using a Cat image stock as texture.
Final Product What You'll Be Creating
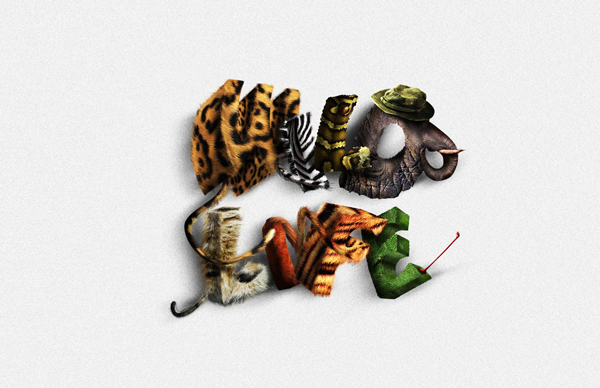
In this tutorial we are going to create fun, realistic, animal textured, 3d typography in Photoshop using cs5′s Repousse tool. Let’s get started!

Tutorial Assets
The following assets were used during the production of this tutorial.
Leopard Texture
Zebra Image
Snake Image
Reptile Eye
Elephant texture
Elephant trunk
Hat
Cat image
Horse Image
Tiger Image
Frog Image
Step 1 – Document Setup
Open a new Photoshop file that should be 17 inches width and 11 inches high with a resolution of 300 pixel/inch.

Step 2 – Background
First we a re going to create a simple background. I want the final background to be really bright so I can show off the letters properly but it would make it a little bit hard to work on, so I’m just going to put a subtle gradient that we can take out later.
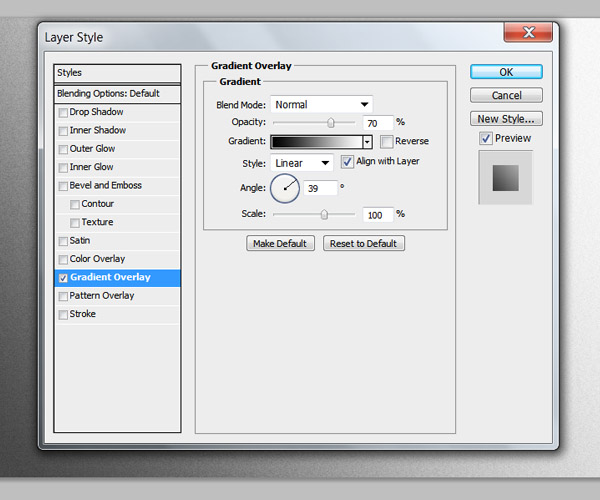
Unlock the background layer by clicking twice on it and open the layer style menu. Select the "Gradient Overlay" option and select a gradient that goes from Black to White to an angle of 39° approximately and reduce the opacity to 70%.
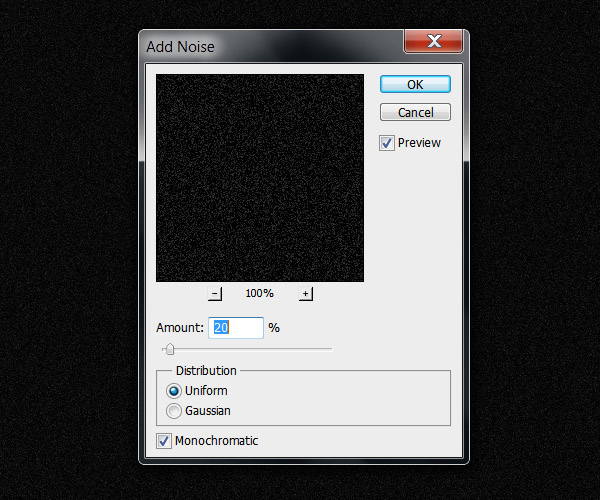
Create a new layer on top of that and using the Bucket tool (G) set your foreground color to black and fill the layer. Then go to the menu Filter > Noise > Add Noise and use an amount of 20% with Distribution on Uniform and the Monochromatic option checked.
Go to Image > Adjustments > Invert (Command/Ctrl + I) and set the layer blending mode to multiply.
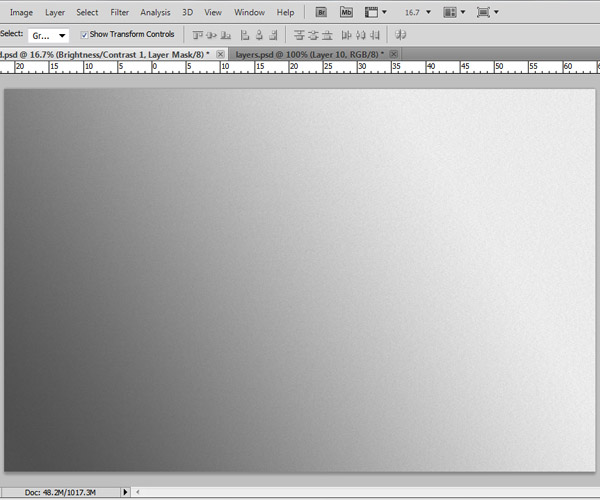
Your background is set and should look something like this:
Step 3 – Text rendering
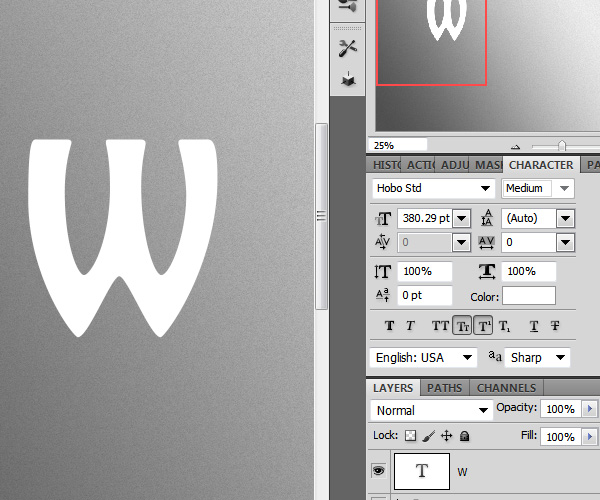
Select the text tool (T) and write the first letter of your text. We will be doing this letter by letter so we can give a different perspective to each one once we render them with the Repoussé tool. The font I’ll be using for this tutorial is called Hobo Std with the size of about 380 pt (Change the size depending on the document size you are working on).
Step 4
Once you have positioned your text layer, go to menu 3D > Repoussé > Text layer. Make sure you select the "extrude" shape preset and rotate your 3D letter to a nice perspective using the rotate text mesh tool. We are going to leave all the other options to their default settings. All the 3D letters will be the base of our work so take your time while positioning them and rendering.
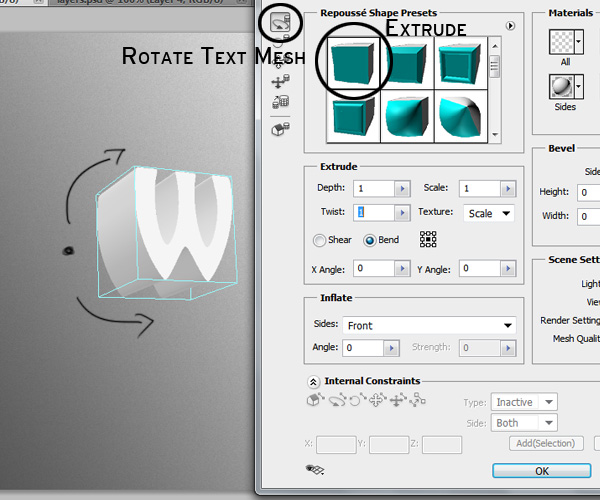
Basically we are going to do the same for each letter in your word. Each time changing a little bit the perspective of the letter. You don’t have to worry about light sources right now, we are going to fix that once we start wrapping our textures around the letters.
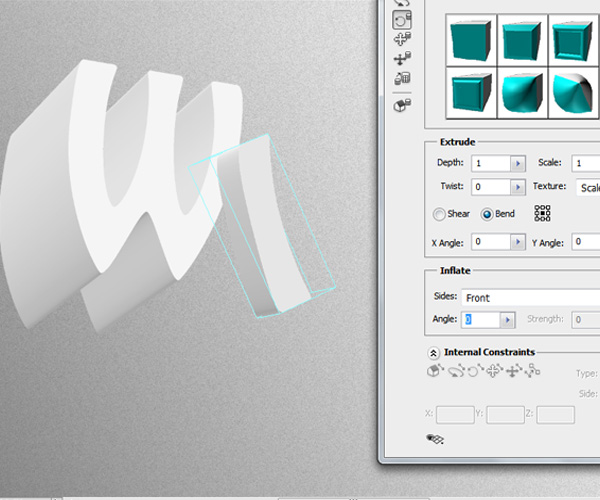
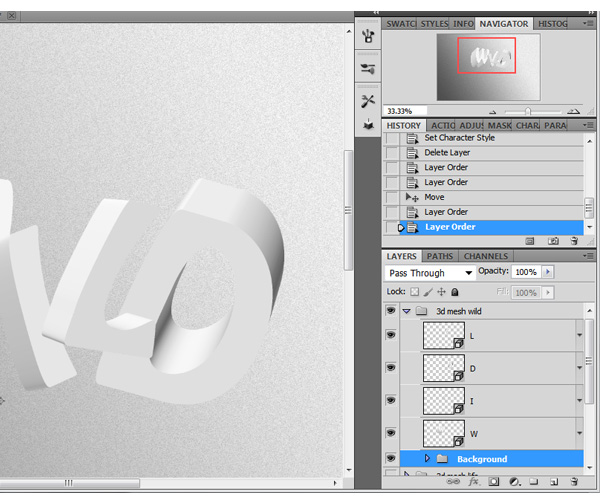
Feel free to play around with the position of each letter. As you can see here, I put the "L" in front of the "I" and "D" to give more variation and depth.
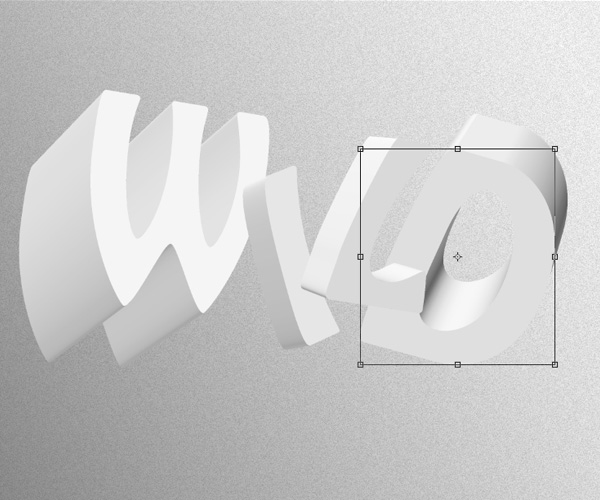
I suggest you save each word letters in different groups to keep things organized.
Step 5
Do the same thing for the second word. Remember to keep rotating and playing around with the positions of the layers so they don’t look all the same. Create a new group for every word you make.
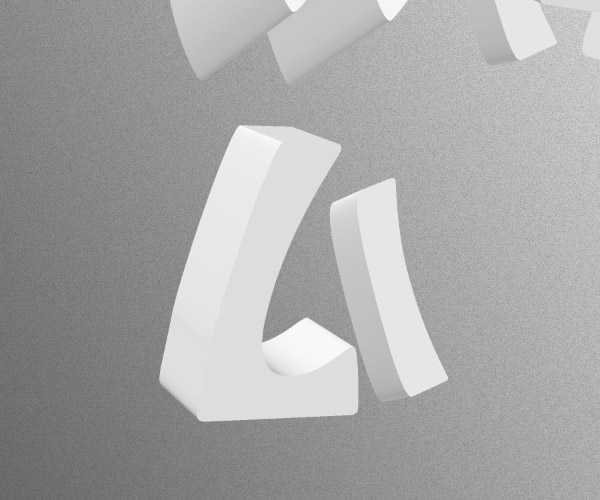
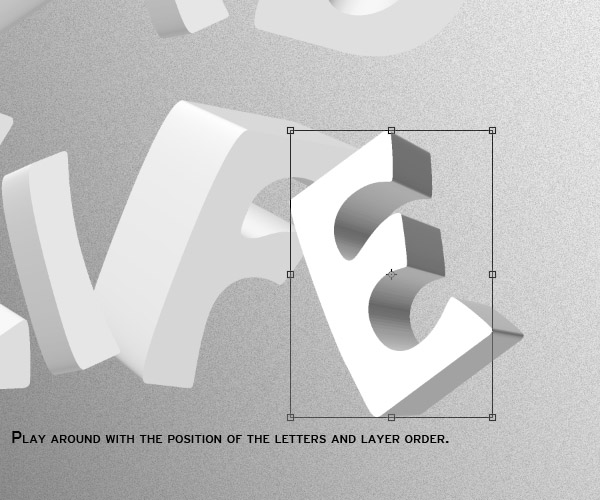
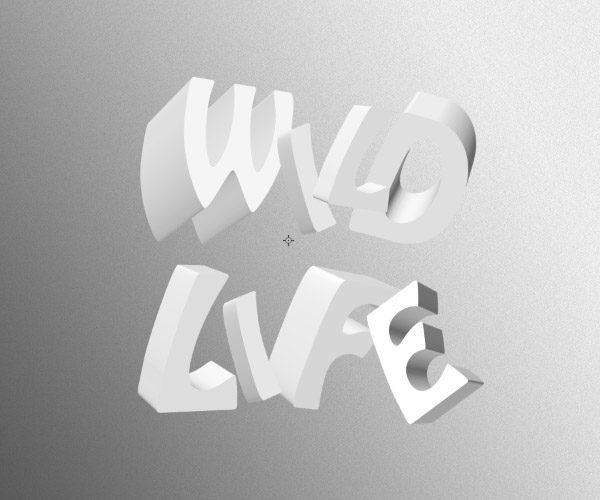
After you are done with each word, they should be separated in different groups to keep things organized for the next step. Your image with the rendered letters should now look something like this:
Step 6
Copy the folders of your 3D letters and rasterize each one of them by right clicking next to the thumb of the layer and selection the option "Rasterize 3D", this will make it easier to work with them. If you wish, you can keep the original 3D words so you can go back to them in case you need to.
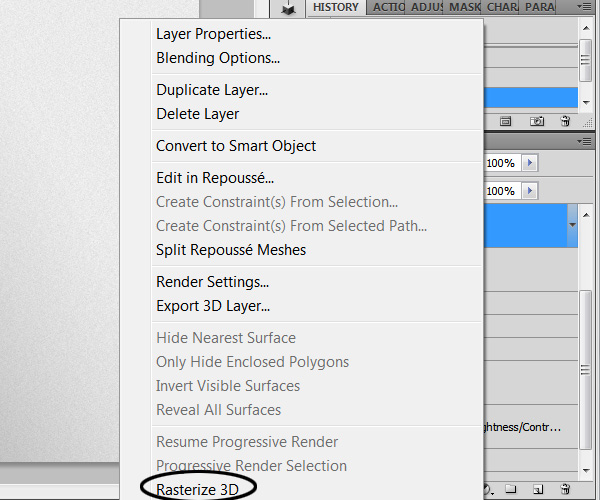
Step 7
We will be using many clip masked layers and adjustment layers so I highly recommend you put each letter in its own group.
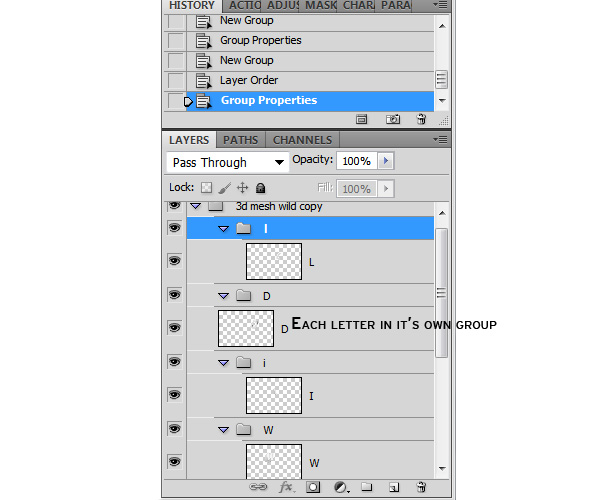
Step 8 – Preparing the letters
For this effect to work, first we need to isolate every side of the letter so we can wrap the textures according to the letters perspective. This process might be a little boring at first but in the end we will get a cool realistic animal texture effect.
We are going to start with the letter "W". There are many ways we can isolate the sides of each letters. Right now we are going to use two methods. Using the Magic Wand tool (W) and the Pen tool (P).
Select the Magic Wand tool (W) and click on one side of the letter. Once the selection is made, create a new layer and fill the shape with color white (ALT + BACKSPACE). Rename the new layer with whatever side of the letter you selected. In this case the "Front, "then we’ll go with the "Side" the "Back" and so on.
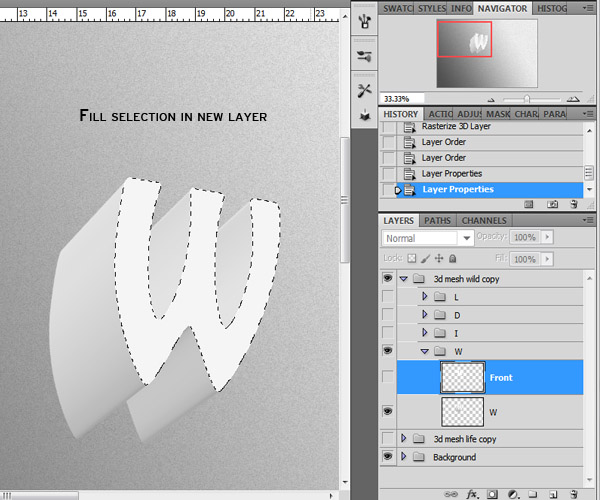
De – select the shape (Command/Ctrl + D) and go back to the "W" layer then select a new side with the magic wand tool, create a new layer and fill it with white. Repeat this same process for each side.
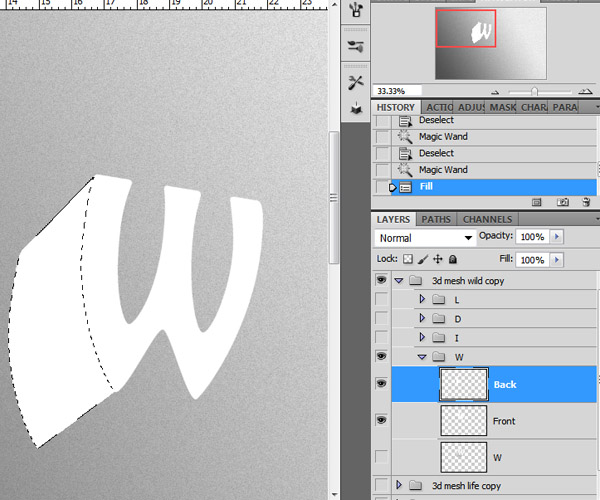
You might need to change the "Tolerance" value of the magic wand tool depending on how the selection is made. If the tool does a smaller selection than you wanted, select a tolerance value higher to the one you have set until you eventually make a selection of the whole shape.
