504 Chapter 17 ■ Making Structures
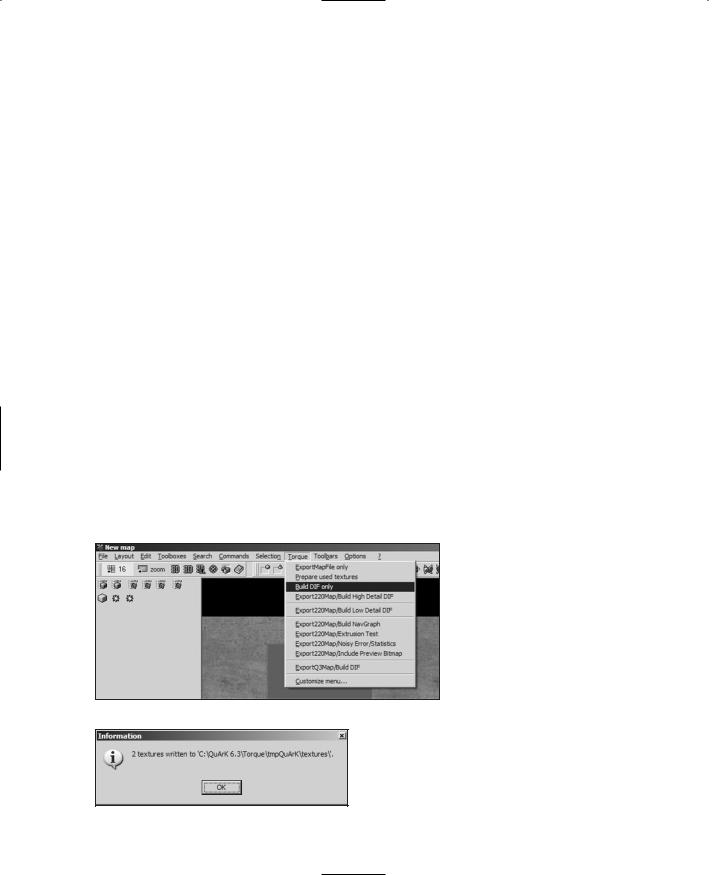
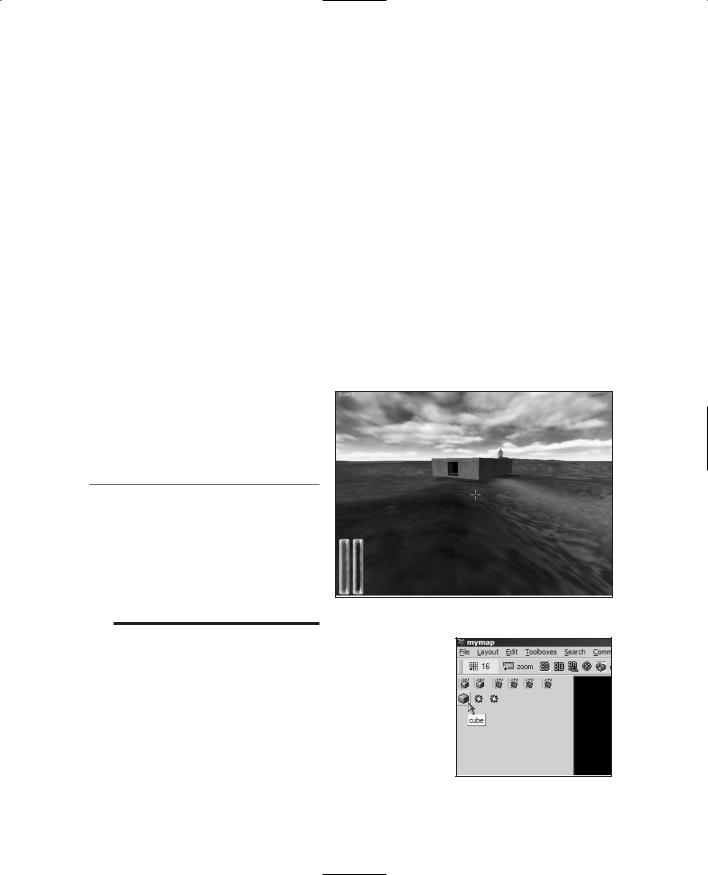
If you see this, your map has successfully compiled.
4.Next, from the same menu, choose Torque, Prepare used textures.
This will create a list of all the textures used in your creation and copy them to the prepared textures directory. After a brief pause, you will get an information alert, like that shown in Figure 17.9.
5.Browse to your map output directory, C:\QuArK 6.3\torque\tmpquark\maps, and locate newmap.dif.
6.Copy newmap.dif to your Emaga6 sample game, into the directory C:\aEmagaCh6\ control\data\structures.
7.Browse to your prepared textures directory, C:\QuArK 6.3\torque\tmpquark\ textures, and locate concrete.jpg and NULL.jpg.
8.Copy concrete.jpg and NULL.jpg to the directory C:\aEmagaCh6\control\data\ structures.
9.Use UltraEdit to open the mission file for Emaga6, C:\aEmagaCh6\control\data\ maps\book_ch6.mis.
10.Locate the first instance of this line:
interiorFile = "~/data/structures/hovelb.dif";
and change it to the following, to reflect your new structure:
interiorFile = "~/data/structures/newmap.dif";
11. Directly above that, find this line (the numbers might be different):
position = "-4.05031 54.9271 207.919";
Figure 17.8 Selecting Build DIF only.
Figure 17.9 The texture information alert.