

This material is copyright and is licensed for the sole use by Kliwon Klimis on 28th October 2008 425 cilce, , frood, grradt, 525254
Installing Zimbra
Installing on Red Hat Enterprise Linux 4
Let me start out this section by mentioning that if you have a choice on what operating system to use for your Zimbra Collaboration Suite implementation, I would recommend using Red Hat Enterprise Linux 4 (RHEL4). The reason for this is that, according to the Zimbra documentation, all features ZCS is made up of, are offered on RHEL4. The other two major operating systems (SUSE and MAC OS X) each have limitations as will be discussed later in the chapter. All that being said, Email Collaboration Services, Inc (EmailCS) will use RHEL4 (32 bits) as its operating system of choice. Now we will walk through the Red Hat installation process.
Installing the Red Hat Operating System
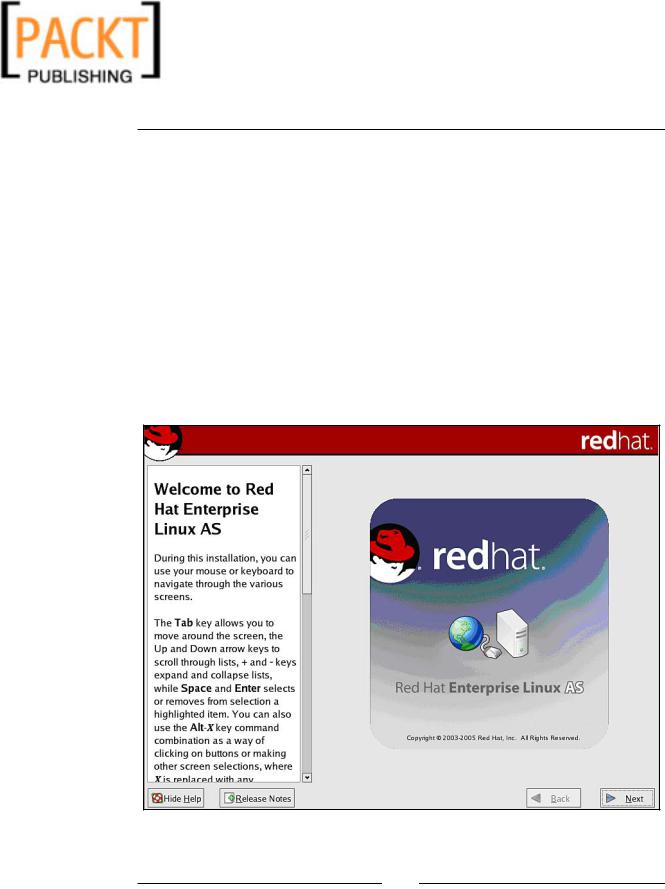
1.When the Red Hat installer boots up from the install CD, the user is presented with the initial splash screen, shown in the following screenshot. Once the screen is loaded, simply click on Next to proceed.
[ 26 ]
This material is copyright and is licensed for the sole use by Kliwon Klimis on 28th October 2008 425 cilce, , frood, grradt, 525254
Chapter 2
2.The next screen prompts the user to select the Language they would like to use during the installation. Click on the language of choice and click NEXT. I recommend choosing English here.
3.The Keyboard Selection screen is next, and the user will now have the opportunity to select which keyboard layout they would prefer to use during the installation. Choose the correct language, depending on your own keyboard.
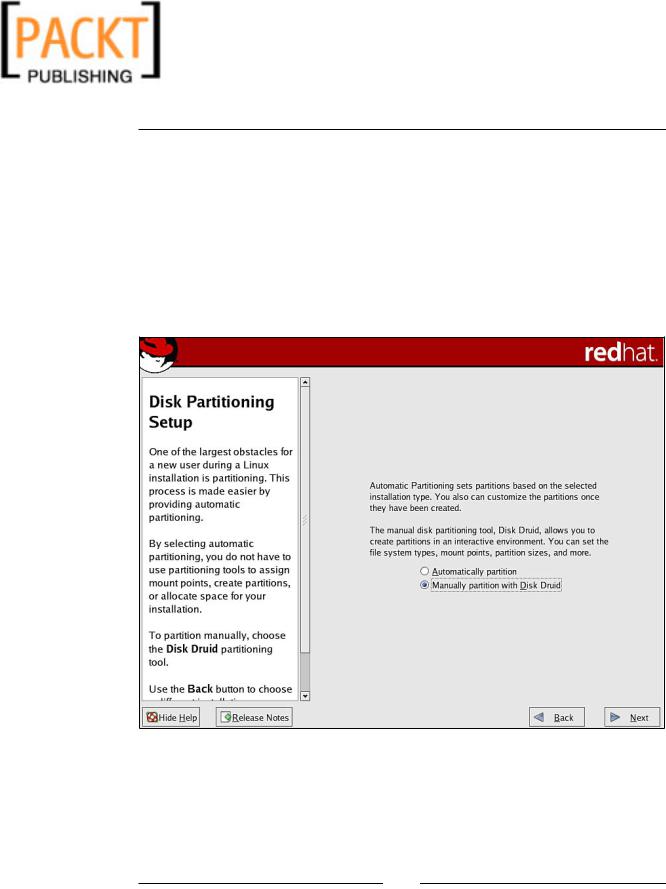
4.The first part of the installation where we have an opportunity to optimize our installation for Zimbra comes next, which is the Disk Partitioning Setup screen. In our case, we will choose to Manually Partition with Disk Druid.
[ 27 ]
This material is copyright and is licensed for the sole use by Kliwon Klimis on 28th October 2008 425 cilce, , frood, grradt, 525254
Installing Zimbra
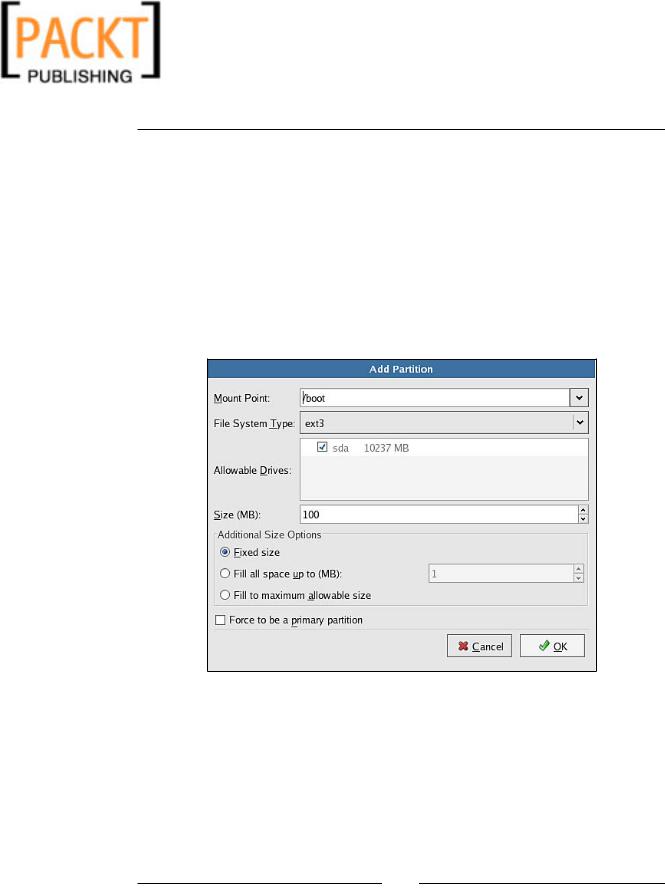
5.The easiest way to partition our disk, is to delete any current partitions we do not need. I am making the assumption that this server will only be running one operating system, RHEL4, and will not be a dual or multi-boot situation. Once the partitions are cleaned up, we will create a partition scheme consisting of the following:
•A /boot partition of 100MB
•A swap partition of twice our physical memory (RAM)
•A / partition that is able to grow to fill the remainder of the diskspace
The following screenshot shows how to create the /boot partition. You may use this as a template to create the other two partitions.
[ 28 ]

This material is copyright and is licensed for the sole use by Kliwon Klimis on 28th October 2008 425 cilce, , frood, grradt, 525254
Chapter 2
Obviously, this partition scheme is OK for our test/demo server, but you should create your own partition scheme depending on your "real life" needs.
Once the partitions are created, the partitioning scheme should match the one shown in the following screenshot.
[ 29 ]
This material is copyright and is licensed for the sole use by Kliwon Klimis on 28th October 2008 425 cilce, , frood, grradt, 525254
Installing Zimbra
6.The following screen will ask for a choice of the bootloader you would prefer to use. I would leave this screen as default and click Next.
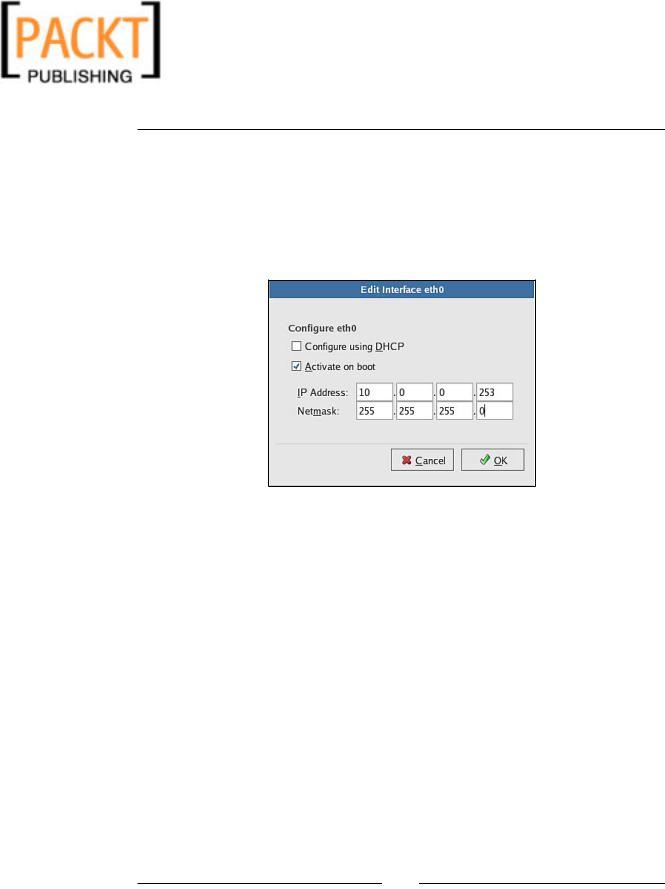
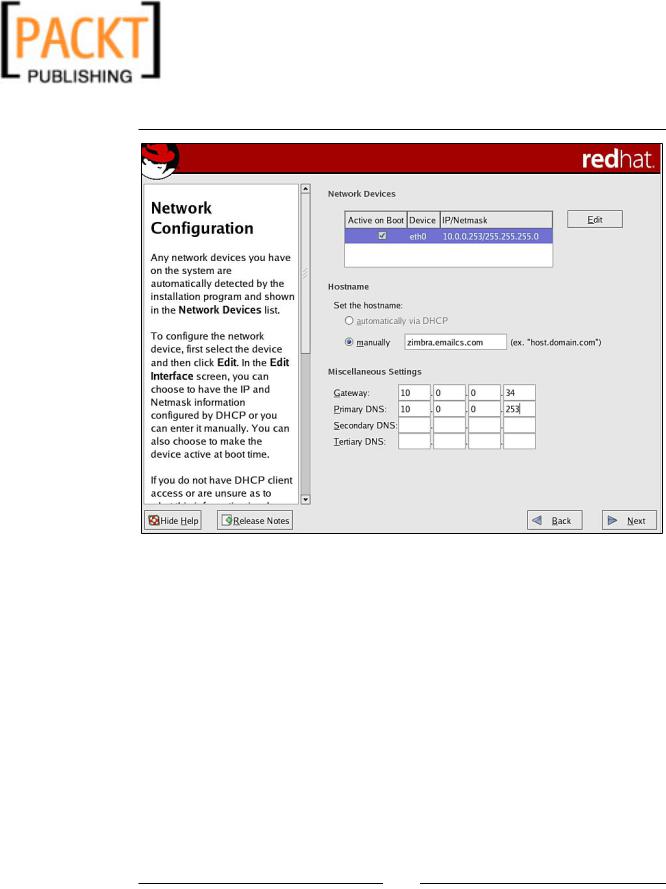
7.Due to the fact we are creating an email server, it is critical the server has a static IP address and network configuration. It should not use any DHCP client information, including hostname, DNS, and Gateway. So on the network setup screen, the first thing we need to do is edit our eth0 device and give it a static IP address by clicking the Edit button.
At this point, we need to uncheck the Configure Using DHCP checkbox and also make sure that Activate on boot is checked (if you don't, your network card won't be "up" after boot and your server will be unreachable).
After entering our IP address information, which you may need to ask your Network Administrator to provide, click on OK. The rest of the screen should be used to enter the rest of the networking information including the
hostname. The hostname should be the fully qualified domain name (FQDN) of the server. In our case, that would be zimbra.emailcs.com.
[ 30 ]
This material is copyright and is licensed for the sole use by Kliwon Klimis on 28th October 2008 425 cilce, , frood, grradt, 525254
Chapter 2
Also, please note that the DNS server will be the same IP address of the server we are creating. This is because we want to make sure we have complete control of the DNS information when configuring our server. After Zimbra is installed, I would recommend not running DNS on this server, but providing another server to handle DNS by editing the
/etc/resolv.conf file.
[ 31 ]
This material is copyright and is licensed for the sole use by Kliwon Klimis on 28th October 2008 425 cilce, , frood, grradt, 525254
Installing Zimbra
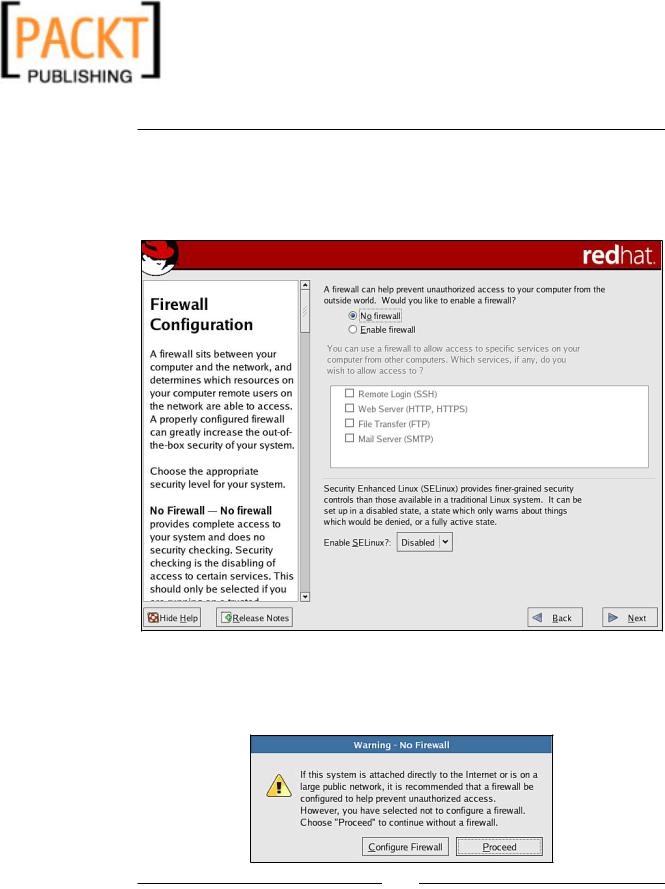
8.At the time the server is installed and until Zimbra has been installed, you should disable the firewall. This is recommended by Zimbra, due to the several "non standard" ports used by Zimbra to communicate with itself.
Once your server is running, you'll be able to re-enable it with the correct configuration. You'll have to disable SELinux too (mandatory from Zimbra).
9.Now Red Hat will try and make you think twice about disabling the firewall and will prompt you with a warning message. Simply continue with the message, by clicking Proceed, knowing that we will enable the firewall as soon as Zimbra is up and running.
[ 32 ]
This material is copyright and is licensed for the sole use by Kliwon Klimis on 28th October 2008 425 cilce, , frood, grradt, 525254
Chapter 2
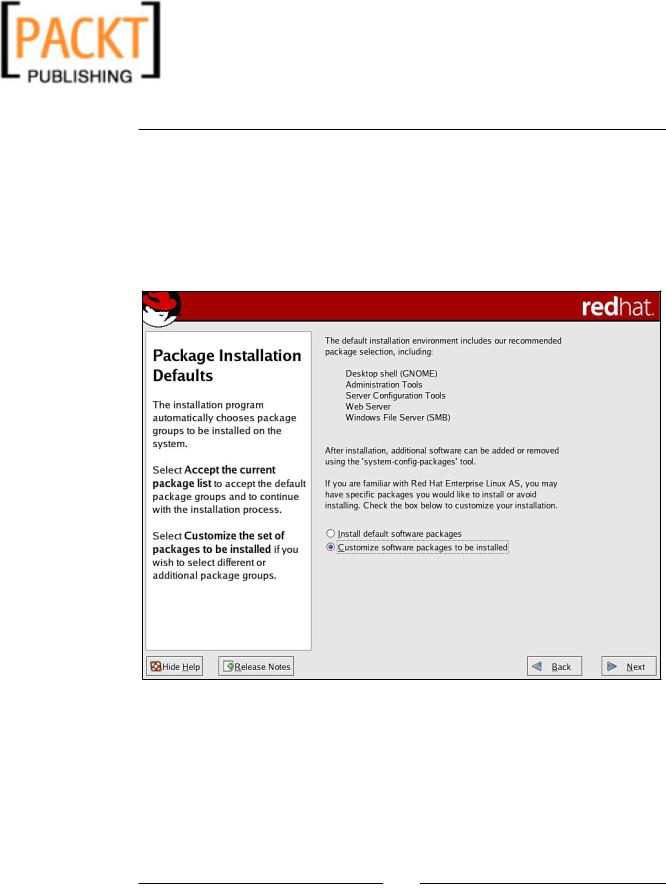
10.The following screens will prompt the user to enter any additional languages, set the time zone, and create a root password. These are all user-specific so once you have completed these three screens, the installation will ask you what packages to install with the installation. This is a great way to save time on preparing the server for the Zimbra installation, as we could customize the packages Red Hat installs, so we will not need to install them later. So please make sure you click on the Customize software packages to be installed radio button before proceeding.
11.Considering we're setting up a test/demo server, we can add some graphical interface and additional tools. These tools are not mandatory and I think they should not be set-up on a production server. On the package selection screen, select the following packages:
°Desktops
X Windows System
Gnome Desktop Environment
[ 33 ]
This material is copyright and is licensed for the sole use by Kliwon Klimis on 28th October 2008 425 cilce, , frood, grradt, 525254
Installing Zimbra
°Applications
Editors
Graphical Internet
Text-based Internet
°Servers
Server Configuration Tools
DNS Name Server
°Development
Development Tools
Gnome Software Development
Legacy Software Development
°System
Administration Tools
System Tools
[ 34 ]