

Chapter 5: Building Web Applications
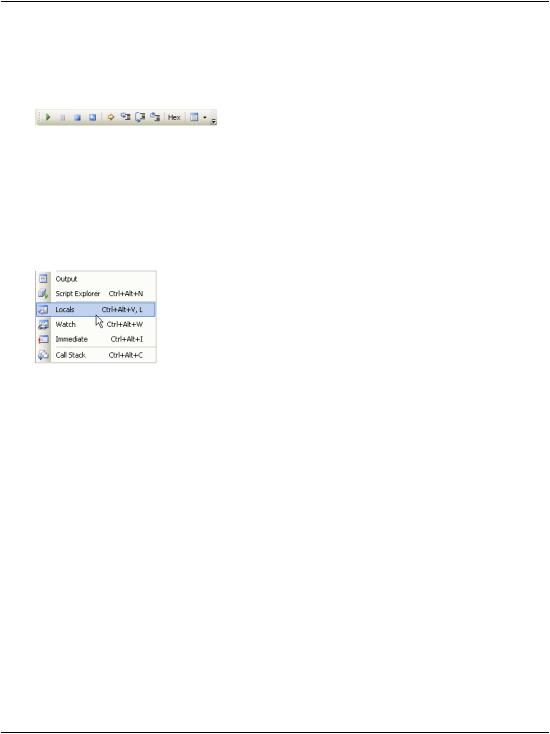
All these commands are also available from the Debug toolbar, which is shown in Figure 5.52.
Figure 5.52. The Debug toolbar
This toolbar appears by default when you’re debugging, but if it doesn’t, you can make it display by right-clicking the toolbar and selecting Debug. The Debug toolbar reflects the commands you can find in the Debug menu, which is depicted in Figure 5.53, and the button on the extreme right gives you easy access to the various debugging windows.
Figure 5.53. Debugging windows accessible from the toolbar
Other Kinds of Errors
Along with the runtime errors we’ve seen so far, ASP.NET can also throw the following kinds of errors:
configuration errors |
These are caused by problems in the Web.config |
|
file. Try adding an incorrect tag to Web.config, and |
|
the next time you try to load the application, an |
|
error will occur. |
parser errors |
Parser errors are caused by the use of incorrect syn- |
|
tax in an ASP.NET script page; for instance, prob- |
|
lems in the definitions of ASP.NET controls in- |
|
cluded in a web form will cause parser errors. |
compilation errors |
These errors are raised by the compiler when there’s |
|
a syntax error in the page’s C# or VB code, and will |
|
be caught by Visual Web Developer. |
210
Other Kinds of Errors
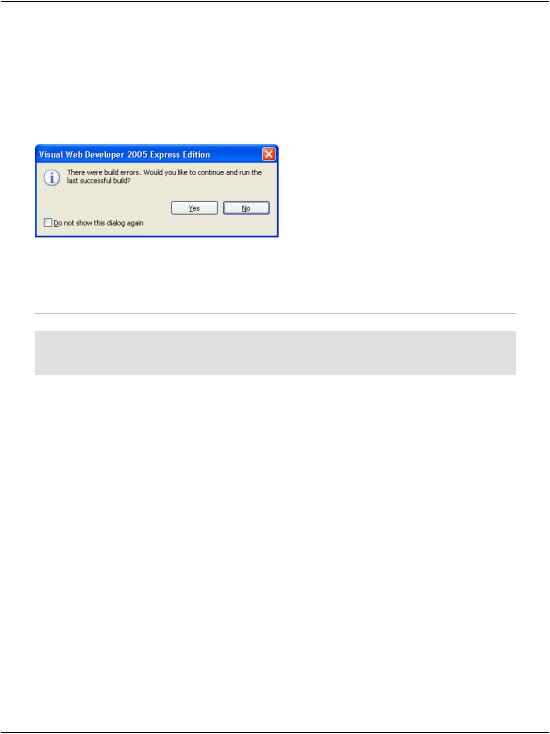
If you try to execute a page that contains compilation errors with Visual Web Developer, those errors will be signaled right away, and the page won’t be loaded in the web browser (see Figure 5.54).
Figure 5.54. Visual Web Developer warns about a compilation error
If you’d like to try this for yourself, write some VB code, but terminate one of the lines with a semicolon as if you were writing C# code, as shown in the snippet below.
Visual Basic
Sub Page_Load(s As Object, e As EventArgs)
timeLabel.Text = DateTime.Now.ToString();
End Sub
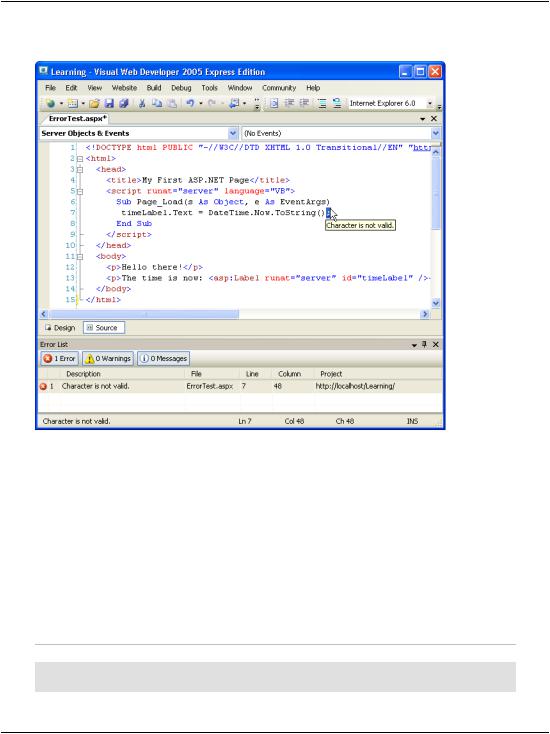
If you try to run this code, Visual Web Developer will present you with the message shown in Figure 5.54. If you choose Yes, a previous version of the code that used to compile successfully will be executed. Usually, this isn’t what you want: you’ll prefer to investigate the problem and fix the error. If you choose No, Visual Web Developer will display a window called Error List. Double-click the entry in the Error List, and the offending portion of code will be highlighted in the editor. Moreover, hovering your cursor over the highlighted code will display a tooltip containing a few details about the error, as Figure 5.55 illustrates.
After such a demonstration, I hope you agree that Visual Web Developer is a fantastic tool. What you’ve just seen is merely a common-sense feature in the world of Visual Web Developer, though—much more exciting and powerful features are available!
211
Chapter 5: Building Web Applications
Figure 5.55. Visual Web Developer explaining an error in a tooltip
Custom Errors
If you’re not running your application through Visual Web Developer, ASP.NET will report errors by displaying a message in the browser window, as we saw in Figure 5.46. The default error message that’s shown to remote users doesn’t contain code or other sensitive data, but you can customize the page that’s displayed to visitors when errors occur using a Web.config setting called customErrors.
We define the customErrors element as a child of the system.web element like so:
File: Web.config (excerpt)
<configuration>
<system.web>
212

Handling Exceptions Locally
<customErrors mode="modeValue"
defaultRedirect="errorPage.aspx" />
</system.web>
</configuration>
The defaultRedirect attribute of the customErrors element is used to specify the page that’s used to report errors. We can then choose whether this error page is shown to everybody, to nobody, or only to users who access the site from another network using the mode attribute. The possible values for the mode attribute are:
On |
When mode is On, ASP.NET uses user-defined custom error pages, |
|
instead of its default error page, for both local and remote users. |
Off |
When mode has a value of Off, ASP.NET uses its default error |
|
page for both local and remote users. The customErrors element |
|
has no effect when mode is set to Off. |
RemoteOnly |
When mode has the RemoteOnly value, the ASP.NET error page |
|
is shown only to local users, and the custom error page is shown |
|
to remote users. RemoteOnly is the default value, and is generally |
|
the safest option during development. If the defaultRedirect |
|
attribute is present, remote visitors will see the page mentioned; |
|
otherwise, they’ll see a generic error that doesn’t contain debug- |
|
ging information. |
Handling Exceptions Locally
As you can see, unless you handle any exceptions that are raised in your code yourself, they’ll be caught by the debugger. If you’re not running the code within Visual Web Developer, the exceptions will be caught by the ASP.NET runtime, which displays the errors in the browser.
Additionally, C# and VB enable you to handle runtime errors using the
Try-Catch-Finally construct.
The basic syntax of Try-Catch-Finally is as follows:
Visual Basic
Try
' Code that could generate the exception that you want to handle
213

Chapter 5: Building Web Applications
Catch ex As Exception
'Code that is executed when an exception is generated
'The exception's details are accessible through the ex object Finally
'Code that is guaranteed to execute at the end, no matter if
'an exception occurred
End Try
The equivalent C# syntax looks like this:
C#
try
{
//Code that could generate the exception that you want to
//handle
}
catch (Exception ex)
{
//Code that is executed when an exception is generated
//The exception's details are accessible through the ex
//object
}
finally
{
//Code that is guaranteed to execute at the end, no matter
//if an exception occurred
}
As a basic rule of thumb, we’ll place inside the Try block any code that we suspect might generate errors that we’ll want to handle. If an exception is generated, the code in the Catch block will be executed. If the code in the Try block doesn’t generate any exceptions, the code in the Catch block won’t execute. In the end, whether an exception occurred or not, the code in the Finally block will execute.
That’s an important point: the code in the Finally block will always execute, no matter what! As such, it’s good practice to place any “mission-critical” code in that block. For example, if database operations are performed in the Try block, a good practice would be to close the database connection in the Finally block to ensure that no open connections remain active on the database server—con- suming resources!—or to keep database objects locked.
Exceptions propagate from the point at which they were raised up through the call stack of your program. The call stack is the list of methods that are being executed. So, if method A calls a method B, which in turn calls method C, the call stack will be formed of these three methods, as Figure 5.56 illustrates.
214
Handling Exceptions Locally
Figure 5.56. A simple call stack
In this scenario, an exception that’s raised in method C can be handled within the same function, provided the offending code is inside a Try/Catch block. If this isn't the case, the exception will propagate to method B, which also has the opportunity to handle the exception, and so on. If no method handles the exception, it will be intercepted either by the Visual Web Developer debugger or the ASP.NET runtime.
In the Try-Catch-Finally construct, both the Finally and Catch blocks are optional. You can use only the Try and Catch blocks if there’s no need for a Finally block; you might use only Try and Finally blocks if you want your code always to perform a particular action when an exception is thrown, but you want the exception to propagate up the call stack.
In more complex scenarios, you can use more layers of error handling. In these scenarios, you’ll want to handle the error partially in the place in which it occurred, but you’ll still want to let it propagate so that the upper layers take note of it, and perform further processing. Exceptions are thrown using the Throw keyword (throw in C#), like so:
Visual Basic
Try
'Code that could generate and exception that you want to handle Catch ex As Exception
'Code that is executed when an exception is generated
Throw ex
End Try
C#
try
{
//Code that could generate the exception that you want to
//handle
215

Chapter 5: Building Web Applications
}
catch (Exception ex)
{
// Code that is executed when an exception is generated throw ex;
}
We could modify our array example to include Try and Catch blocks like this:
Visual Basic File: ErrorTest.aspx.vb (excerpt)
Protected Sub Page_Load(ByVal sender As Object, _ ByVal e As System.EventArgs) Handles Me.Load
Dim a(10) As Integer Dim i As Integer
Try
For i = 1 To 11 a(i) = i
Next
Catch ex As Exception
messageLabel.Text = "Exception!<br />" & ex.Message
End Try |
|
End Sub |
|
C# |
File: ErrorTest.aspx.cs (excerpt) |
protected void Page_Load(object sender, EventArgs e)
{
int[] a = new int[10]; int i;
try
{
for (i = 0; i < 11; i++)
{
a[i] = i;
}
}
catch(Exception ex)
{
messageLabel.Text = "Exception!<br />" + ex.Message;
}
}
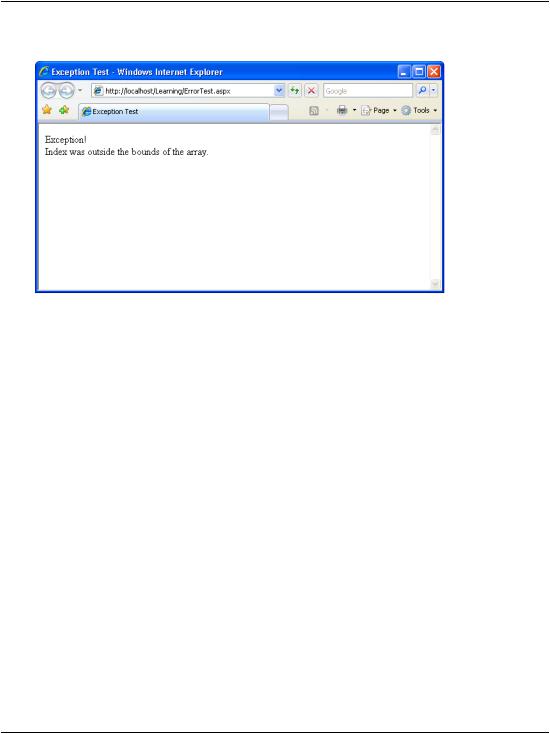
Provided you have a Label control named messageLabel in your web form, you’ll see the message shown in Figure 5.57 when you run this code.
216
Handling Exceptions Locally
Figure 5.57. Catching an exception
In the code above, we can see that the Catch block receives an Exception object as a parameter. This object describes the exception that has caused the Catch block to execute. In our code, we use one of the Exception object’s many prop- erties—in this case, Message—to display some information about the error.
In .NET, all exceptions are .NET classes derived from the Exception class. This means that, in fact, each exception is a different class (in our case, ex is an
IndexOutOfRangeException object), but we can treat ex as the generic Exception class to access the generic details of any error.
The Exception class contains the following properties:
Message
the error message
Source
the name of the exception’s source
StackTrace
the names of the methods that were called just before the error occurred
TargetSite
an instance of the MethodBase class that represents the method that caused the error
217