

Ä |
|
LAMPS 8L - 7 |
|
INSTALLATION
Reverse the preceding operation.
Fig. 3 Front Side Marker Lamps
TAIL, STOP AND TURN SIGNAL LAMP OR BULB
REMOVAL (FIG. 4)
(1)Open deck lid and remove the plastic wing nut securing the rear trim cover in place.
(2)Pivot the end of the trim panel out of the way to gain access, and remove three plastic wing-nuts securing the lamp to the vehicle.
(3)Separate the tail lamp from the body far enough to rotate the socket and bulb assemblies. Rotate sockets counterclockwise one-half turn and pull the sockets out of the lamp body.
(4)Remove the bulb from the socket.
INSTALLATION
Reverse the preceding operation.
Fig. 4 Rear LightingÐAA/P or AA/D Body
BACK-UP LAMPSÐAA/C-BODY
REMOVAL (FIG. 5)
(1)Remove screws holding back-up lamp to rear bumper fascia.
(2)Separate back-up lamp from fascia.
(3)Remove socket from back-up lamp.
(4)Pull bulb from socket if bulb replacement is required.
INSTALLATION
Reverse the preceding operation.
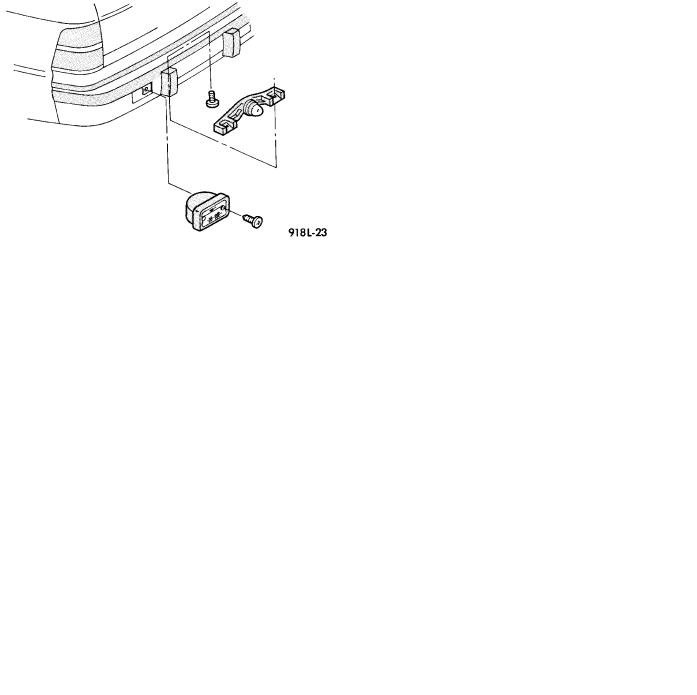
Fig. 5 Back-Up and License Plate Lamps AA/C Body
LICENSE PLATE LAMPS
REMOVAL (FIG. 5)
(1)Remove screws holding license plate lamp to rear bumper fascia.
(2)Separate license plate lamp from fascia.
(3)Remove socket from license plate lamp.
(4)Pull bulb from socket if bulb replacement is required.
INSTALLATION
Reverse the preceding operation.
TRUNK LID MOUNTED TAIL AND BACK-UP LAMP BULB
REMOVAL (FIG. 4)
(1)Remove deck lid liner as necessary. Through the access hole in the inner deck lid, rotate socket counterclockwise one-half turn, and pull the socket and bulb assembly from the lamp body.
(2)Remove the bulb from the socket (Fig. 4).
INSTALLATION
Reverse the preceding operation.
DECK LID MOUNTED TAIL LAMP
AA/P-D-Body trunk lid mounted tail lamps include the back-up lamps.
REMOVAL (FIG. 4)
(1)Refer to bulb replacement and remove the socket and bulb assemblies.
(2)Remove eight nuts and two screws securing the tail lamp to the deck lid and remove the lamp from the vehicle (Fig. 4).