

Run on a Real Device
If you have a real Android-powered device, here's how you can install and run your app:
Plug in your device to your development machine with a USB cable. If you're developing on Windows, you might need to install the appropriate USB driver for your device. For help installing drivers, see the OEM USB Drivers document.
Enable USB debugging on your device.
On most devices running Android 3.2 or older, you can find the option under Settings > Applications > Development.
On Android 4.0 and newer, it's in Settings > Developer options.
Note: On Android 4.2 and newer, Developer options is hidden by default. To make it available, go to Settings > About phone and tap Build number seven times. Return to the previous screen to find Developer options.
To run the app from Eclipse:
Open one of your project's files and click Run
 from
the toolbar.
from
the toolbar.In the Run as window that appears, select Android Application and click OK.
Eclipse installs the app on your connected device and starts it.
Or to run your app from a command line:
Change directories to the root of your Android project and execute:
ant debug
Make sure the Android SDK platform-tools/ directory is included in your PATH environment variable, then execute:
adb install bin/MyFirstApp-debug.apk
On your device, locate MyFirstActivity and open it.
That's how you build and run your Android app on a device! To start developing, continue to the next lesson.
Run on the Emulator
Whether you're using Eclipse or the command line, to run your app on the emulator you need to first create an Android Virtual Device (AVD). An AVD is a device configuration for the Android emulator that allows you to model different devices.
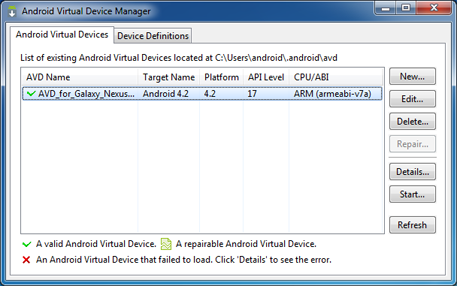
Figure 1. The AVD Manager showing a few virtual devices.
To create an AVD:
Launch the Android Virtual Device Manager:
In Eclipse, click Android Virtual Device Manager
 from
the toolbar.
from
the toolbar.From the command line, change directories to <sdk>/tools/ and execute:
android avd
In the Android Virtual Device Manager panel, click New.
Fill in the details for the AVD. Give it a name, a platform target, an SD card size, and a skin (HVGA is default).
Click Create AVD.
Select the new AVD from the Android Virtual Device Manager and click Start.
After the emulator boots up, unlock the emulator screen.
To run the app from Eclipse:
Open one of your project's files and click Run from the toolbar.
In the Run as window that appears, select Android Application and click OK.
Eclipse installs the app on your AVD and starts it.
Or to run your app from the command line:
Change directories to the root of your Android project and execute:
ant debug
Make sure the Android SDK platform-tools/ directory is included in your PATH environment variable, then execute:
adb install bin/MyFirstApp-debug.apk
On the emulator, locate MyFirstActivity and open it.
That's how you build and run your Android app on the emulator! To start developing, continue to the next lesson.