

РГКП «Евразийский национальный университет им. Л.Н.Гумилева» МО и Н РК |
Система менеджмента качества Стандарт университета Структура, содержание, порядок разработки и утверждение УМК Общие требования |
СМК ЕНУ С 09-2006 Версия 1 стр. |
Практические задания по учебной практике
для специальности: «5B060200 – «Информатика»
факультет – Информационных технологий
кафедра – Теоретическая информатика
курс – 1, семестр – 2
продолжительность – 2 недели
форма обучения – дневная
количество кредитов - 2
Астана 2012
Оглавление
Практическая работа №1 3
Практическое задание № 2. 8
Практическая работа № 3 11
Практическая работа № 4 15
Практическая работа № 5 18
Практическая работа № 6 25
Практическая работа № 7 27
Практическая работа №8 32
Практическая работа №9 36
Практическая работа № 10 41
Практическая работа №11 47
Практическое задание №12 48
Практическая работа № 13 53
Практическая работа № 14 59
Практическая работа № 15 67
Практическая работа №1
Creating Simple animation (Tweening) in Flash
Flash can create a type of tweened animation using timeline: Motion Tween
Creation of Motion/Shape tween using timeline is the basics of Flash.
Motion tween is nothing but tweening a Symbol's movement from one position to another.
To implement Motion Tween all that you have to do is, provide Flash with Symbol's initial position and the end position. Rest is taken care by Flash. Isn't it really simple.
Steps to follow:
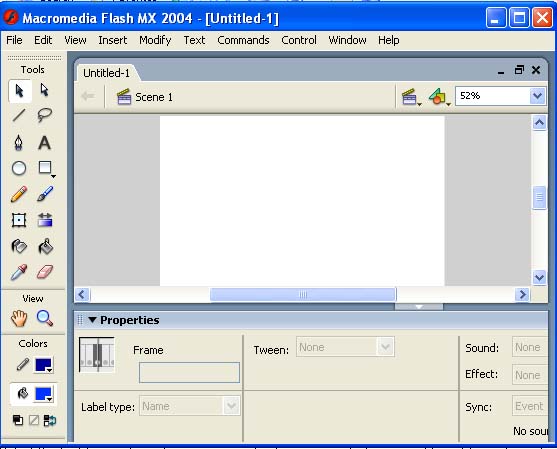
Open a new flash file (Ctrl+N).
New Document window will appear
Select General panel and choose Type: Flash Document . Press OK.
I
Timeline not opened
f your timeline window is not open, press (Ctrl+Alt+T).

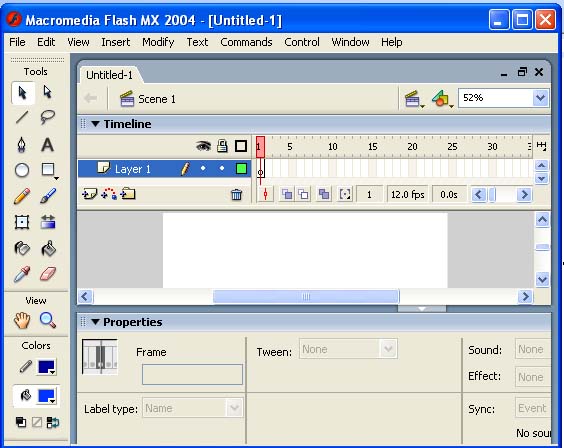
Timeline opened
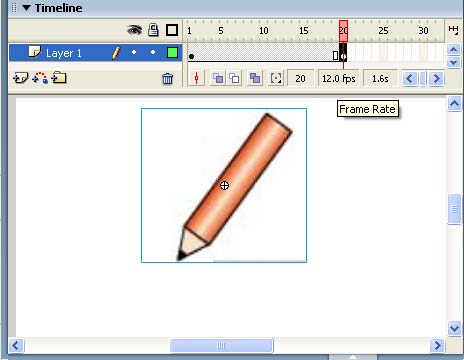
Now you can see a single Layer called "Layer1" in your timeline Window.
Select the first frame.
Now you draw your own object. Draw a pencil as shown below:

The following tools in the toolbox are useful to draw the above pencil:


This tool is used to select, move and adjust. To enable this tool, you may also press “v”

This tool is used to draw lines
This tool is used to fill colour
o
You can also either choose Rectangular tool or Oval tool from the tool box and draw your desired shape.
Now select your object on the stage – press “v” on the keyboard and select.
Press F8 to convert this image to a Movie Clip Symbol. Convert to Symbol window will pop-up as follows:
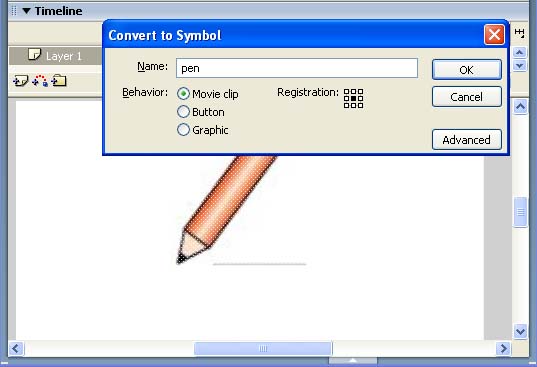
Name the movie clip symbol as “pen”.
Select Movie Clip behavior and press OK.
Note: You can create motion tween only on symbols.
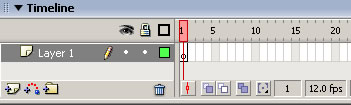
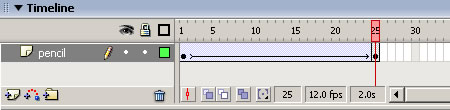
Right now your Symbol is in frame1 of Layer1. Select frame 20 and press F6 to insert a new keyframe.


Press F6 and creating new keyframe now
Still keeping playhead on frame 20, move your Symbol to any other position other than the present one.
Select any frame between, 2 to 19

Press Ctrl + F3 and a Property inspector will pop up as follows:
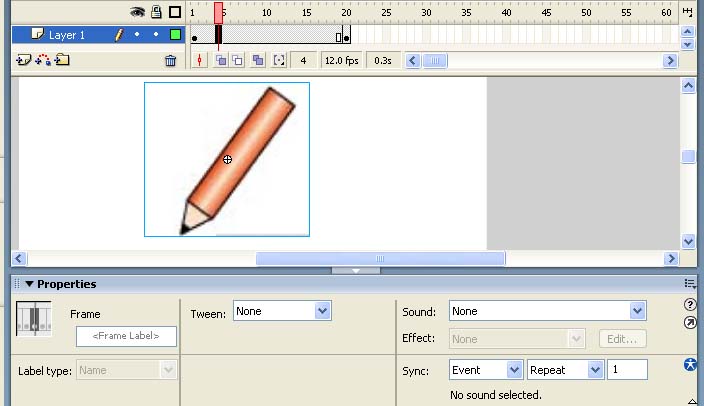

Property inspector pop up
Select Motion from the tween pop-up menu in the Property inspector.


Now your Layer will look something like the one shown below.
20. Now press (Ctrl+Enter) to view your motion tween.