Professional Java.JDK.5.Edition (Wrox)
.pdf Adaptor
 name=html.port=8082
 JMImplementation
 type=MBeanServerDelegate
 processing
 name=order-processor-01
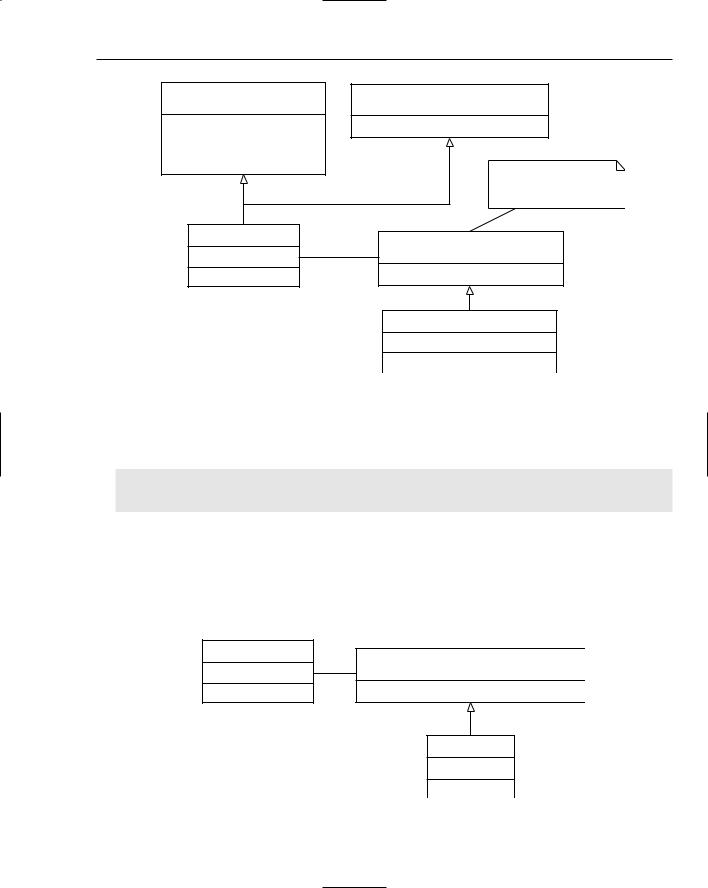


Java Security
Security becomes ever more important as people flock to the Web and a large number of sites (such as amazon.com and online banks) store personal information about their customers, not to mention a wide variety of uses in custom enterprise solutions with multiple users. Java provides for security in two major ways. Java Cryptography provides for user identification/authentication and signing of digital messages. Java Authentication and Authorization Services provides programmatic access control and user authentication, granting a set of the program’s features based on permissions and security policies. This chapter will give you a solid foundation in these APIs and show you how to utilize them effectively.
The Java implementation of security addresses many standard facets of security such as access control, public/private key generation and management, signing of digital content, and management of digital certificates. Just what are all these components of a security package? Let’s look at what Java provides in its various security packages and delve into the concepts of security.
Java Cr yptography Architecture and Java Cr yptography Extension (JCA/JCE)
The Java Cryptography Architecture (JCA) was first introduced in JDK 1.1. Since its initial release, the JCA went from providing APIs for digital signatures and message digests to including certificate management and fine-grained configurable access control. The other important features of a security implementation are encryption of data for communication, key management and exchange, and Message Authentication Code (MAC) support. These features are all found in the Java Cryptography Extension (JCE), which was integrated into the standard Java API in version 1.4 of the Java 2 SDK release. Combining the functionality provided by JCA with JCE presents you with a rich set of security and cryptography-related routines for your security needs.