

C# ПІДРУЧНИКИ / c# / Premier Press - C# Professional Projects
.pdf
BASICS OF MOBILE APPLICATIONS |
Chapter 32 |
759 |
|
|
|
|
|
{
case “1”:
timeDiff=new TimeSpan(5,0,0); break;
case “2”:
timeDiff=new TimeSpan(8,0,0); break;
case “3”:
timeDiff=new TimeSpan(12,0,0); break;
case “4”:
timeDiff=new TimeSpan(13,0,0); break;
case “5”:
timeDiff=new TimeSpan(15,0,0); break;
}
DateTime newTime=currentTime.Add(timeDiff); lblSelLoc.Text=”You selected: “ + lstLocations.Selection.Text;
lblTime.Text=”Time at the selected location:” + Convert.ToString(newTime); lblOrgLoc.Text=”(as of “ + DateTime.Now + “ EST)”;
ActiveForm=frmResult;
}
private void cmdBack_Click(object sender, System.EventArgs e)
{
ActiveForm=frmOptions;
}
}
}
In Figures 32-18 and 32-19, you saw the forms in Internet Explorer. To have an idea of the look of the forms in a mobile device, you can view the output of the application in a WAP device emulator. To view the output of the application in an emulator, you need to install the emulator and the WAP gateway. After installing the emulator and the gateway, you need to perform the following steps to view the output in the emulator:
1. On the View menu, point to the Mobile Explorer Browser option.

760Project 6 CREATING A MOBILE APPLICATION
2.In the displayed list, select the Show Browser option.
3.Type the URL address of the mobile Web page in the Address box of the emulator and then press the Enter key.
The output is shown in the emulator. Figure 32-20 shows the frmOptions form in an emulator.
FIGURE 32-20 The frmOptions form in an emulator
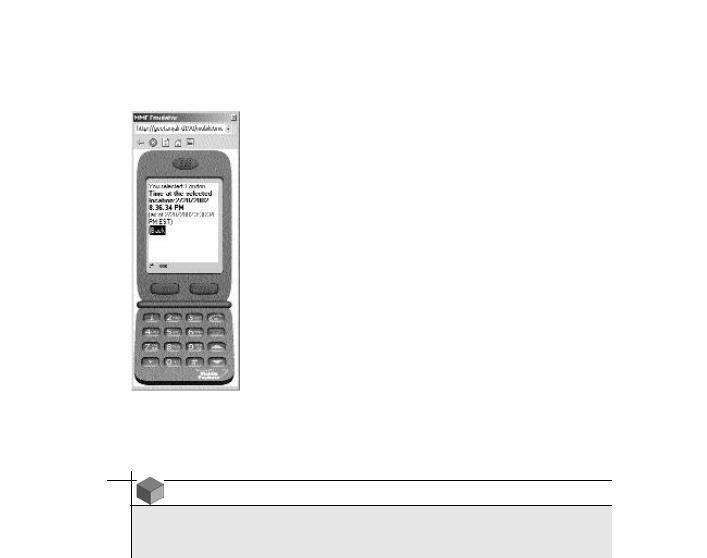
Figure 32-21 shows the frmResult form in the emulator.
BASICS OF MOBILE APPLICATIONS |
Chapter 32 |
761 |
|
|
|
|
|
FIGURE 32-21 The frmOptions form in an emulator
NOTE
I have used the Microsoft Mobile Explorer 3.0 Emulator and the Ericsson Gateway/ Proxy Demo 1.0 gateway to capture the preceding figures.
Summary
In this chapter, you learned about the basics of a mobile application.Mobile applications are applications that are accessible from various mobile devices. In addition, mobile applications allow you to access a Web site from mobile devices. To create a mobile application, you first need to install the Microsoft Mobile Internet Toolkit.The Mobile Internet Toolkit provides you with the essential tools for creating, testing, and deploying a mobile application. These tools include mobile Web forms, components, and controls.

762 Project 6 CREATING A MOBILE APPLICATION
Next, you learned about the transfer protocol for mobile applications, WAP. WAP is a communication protocol, or a set of rules, that allows a wireless device to access a mobile application. Therefore, to enable a user to access a mobile application, the user needs to have a WAP-enabled mobile device, such as a WAPenabled mobile phone.
Then you learned about the technology used for rendering the mobile applications on a mobile phone, WML. WML is a language based on XML. Similar to XML, WML provides a standard for describing data. The standards defined for describing data are based on the W3C standards.
Finally, you learned to create a simple mobile Web application, MobileTimeRetriever, that can be accessed from a mobile phone. You can use the same code to create a mobile application that can be accessed from a PDA. However, in that case, the transfer protocol used is TCP/IP.


764 Project 6 CREATING A MOBILE APPLICATION
In the preceding chapters, you looked at the case study and design of the MobileCallStatus application. In addition, you were introduced to the basics of a mobile Web application. Based on this learning, you created a simple mobile Web application in the .NET Framework. In this chapter, you will create the forms required for the MobileCallStatus application.You will also add the business logic
to the MobileCallStatus application.
Creating the Forms Required for the MobileCallStatus Application
You have already seen the design of the forms required for the MobileCallStatus application. In this chapter, I will discuss how to create the mobile Web forms for the MobileCallStatus application.
Before creating the mobile Web forms, you need to create a mobile application with the name MobileCallStatus. To create a mobile application with the name MobileCallStatus, perform the following steps:
1.On the File menu, point to the New option.
2.In the displayed list, click on the Project option. The New Project dialog box is displayed.
3.In the Project Types: pane of the New Project dialog box, select the Visual C# option.
4.In the Templates: pane, select the Mobile Web Application option.
5.In the Location: text box, the local host appears by default. Type the name of the application as MobileCallStatus.
6.Click on the OK button.
Figure 33-1 shows the IDE (Interactive Development Environment) for the MobileCallStatus application.

IMPLEMENTING THE BUSINESS LOGIC |
Chapter 33 |
765 |
|
|
|
|
|
FIGURE 33-1 The IDE for the MobileCallStatus application
As you can see in Figure 33-1, Visual Studio .NET automatically creates the default files. In addition, Visual Studio .NET generates default code.The following section discusses the default code generated by Visual Studio .NET for a mobile application.
The Default Code Generated by Visual Studio
.NET for a Mobile Application
The default code generated by Visual Studio .NET is as follows:
using System;
using System.Collections; using System.ComponentModel; using System.Data;
using System.Drawing; using System.Web;
using System.Web.Mobile;

766 Project 6 CREATING A MOBILE APPLICATION
using System.Web.SessionState; using System.Web.UI;
using System.Web.UI.MobileControls; using System.Web.UI.WebControls; using System.Web.UI.HtmlControls;
namespace MobileCallStatus
{
public class MobileWebForm1 : System.Web.UI.MobileControls.MobilePage
{
protected System.Web.UI.MobileControls.Form Form1; private void Page_Load(object sender, System.EventArgs e)
{
}
}
}
The preceding code contains the using directive statements that allow you to use the namespace and the classes defined in the namespace within the code for your application. In addition, the Visual Studio .NET creates a namespace with the same name as that of the application, MobileCallStatus.
Inside the MobileCallStatus namespace, a public class with the name MobileWebForm1 is created. The MobileWebForm1 class is derived from the MobilePage class that lies in the System namespace. The MobileWebForm1 class contains the declaration of the instance of the Form class, Form1. In addition, the MobileWebForm1 class contains the Page_Load() method. You can include the statements required for initializing the mobile page in the Page_Load() method.
In addition to the preceding code, Visual Studio .NET creates HTML code for the mobile application. To view the HTML code, switch to the HTML page in the IDE. To do this, select the HTML Source option on the View menu. Figure 33-2 shows the HTML code for the MobileCallStatus application.
