

Chapter 48: Map Insertion
Now that we’ve made our map and have a .MAR, we can insert it into the game.
First we need to insert the .MAR. Thankfully the awesome Nintenlord made a program that does it for us (yes, you used to have to do it manually, and man was it a pain). It’s called the MAR Array Inserter. Like many other things, you can find it on google or on my website. It’s a simple but useful program.
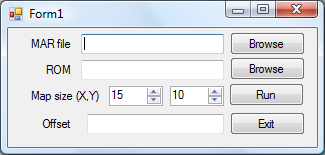
When you first open the program it should look like this. Please note that like all of NL’s programs, you have to have the Net Framework or Mono installed… this should already be done if GBAGE worked for you and all.
Use the “browse” button to locate the MAR file that we just exported. Use the browse button below that to navigate to where the ROM you are going to insert to is.
Now you need to know the size of your map. If you don’t already know it, you can go into Mappy, load your map, and use MapTools->MapProperties or MapTools->Resize and it’ll tell you the size of your map. Anyway, enter that into the ‘Map size’ slot.
Lastly, we need some free space to insert to. Let’s say 0x1009100 is empty so we are going to insert our map at that offset. This is just my example though—like always, you need to know your own free areas and manage them so you don’t overwrite data and stuff.
Once you’re done inputting the info, it should look something like this:
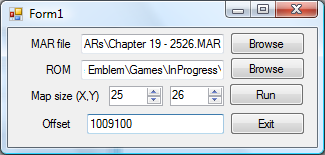
Except with different offsets and stuff. If you notice, I label the map I am inserting with its size beforehand so I don’t have to go back and look it up.
Anyway, once that’s all set up, we hit “run”, the program says “Finished”, and the map is inserted, so we can exit the program.
Now we have to fix up our tilesets. I was smart and I wrote down before what tileset I used for this map: 1C1D1E1F was the name. These also happen to be the bytes I use in the Chapter Data Editor. It’s pretty nifty. So let’s load Nightmare, our ROM, and the chapter data editor.
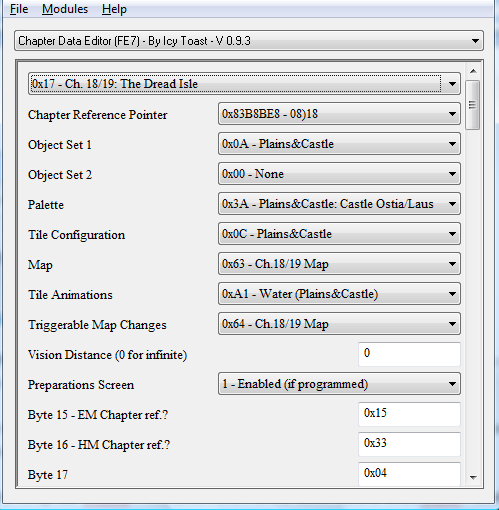
In my case I’m inserting over chapter 18/19 (I’m actually killing two birds with one stone and doing legit hacking ATM), but it works all the same for all the maps. Currently it’s set to 0A003A0C for a Plains and Castle map. I’m going to have to change those bytes to 1C1D1E1F. And bang.
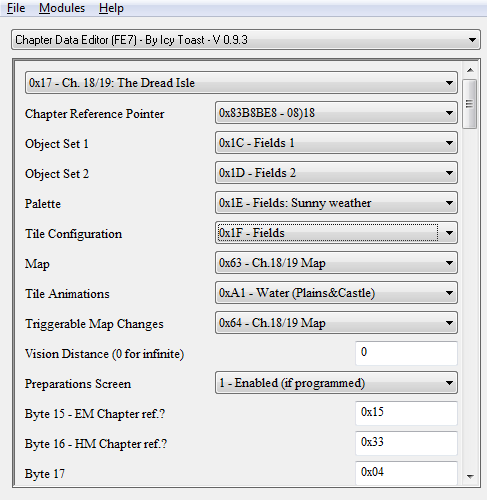
Remember! The maps palette can change to anything in the same set, but nothing else can change! You can’t make a map meant to be an outdoor field map and then use castle tiles. It just won’t work.
Hit enter/apply your changes in Nightmare and save. Now we are going to use the Event References module to repoint the old map to our new one.
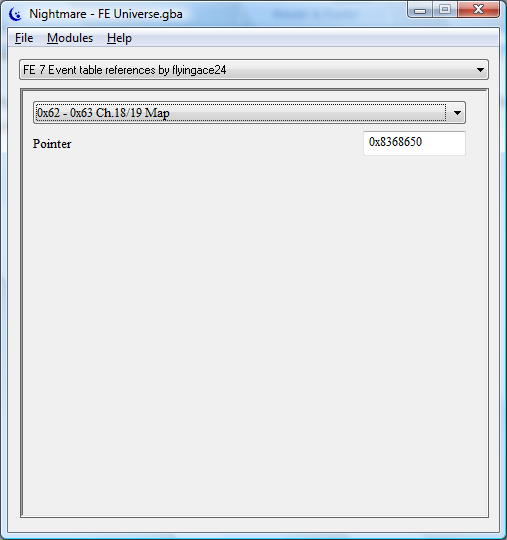
Alright. I loaded the module and scrolled down to the chapter 18/19 map pointer, since that IS what I am changing. I see some pointer that I don’t care too much about. I’m going to repoint it to my new map. Since my new map is at 0x01009100, the pointer is +0x08000000 to that, meaning 0x09009100. So that’s what I type. I hit “enter” to apply changes and then save. I’m done!
Congratulations, you’ve inserted your first map! I hope you enjoy it!