

DataPilot Revisited II
August 22nd, 2005
In this tip, we build on our previous lesson by looking at one of the key new OOo 2.0 features related to the DataPilot.
The example table below has four fields, Sex (M/F), pay grade, state of residence , and salary.

We open the DataPilot dialog as before. For OOo 2.0, a new Page Field is available. We drag the headers into the various DataPilot fields as shown below.
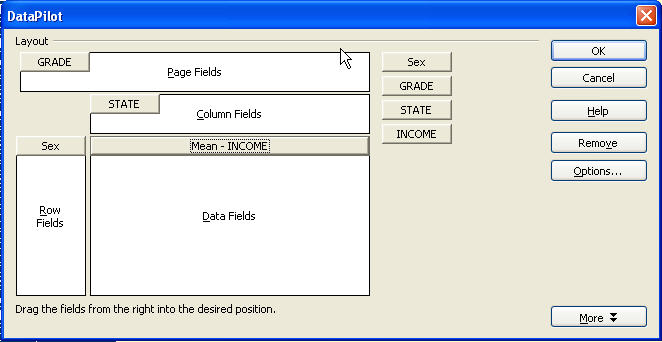
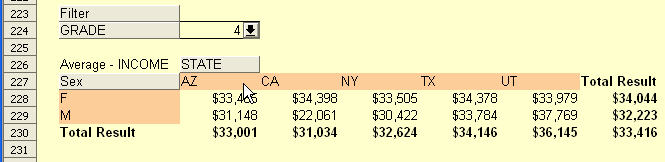
The new Page field gives us a filter to control the data that is displayed/processed in the DataPilot table.
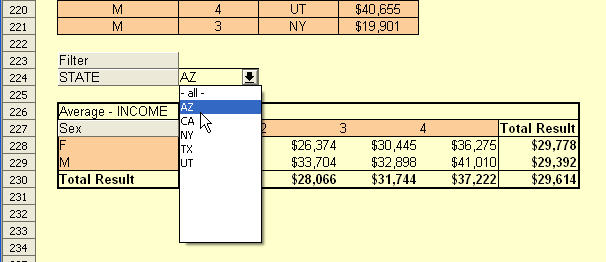
Below, we have returned to the DataPilot dialog and swapped the STATE and GRADE fields. We see the different options provided by the filter. A good illustration of the power and flexibility of the updated DataPilot feature in OOo Calc.
Posted in Using OpenOffice Calc | No Comments »
________________
Data Filtering : Standard Filter
In the previous article on Data Filtering - we looked at theAutoFilter option.
We will now look at the Standard Filter.
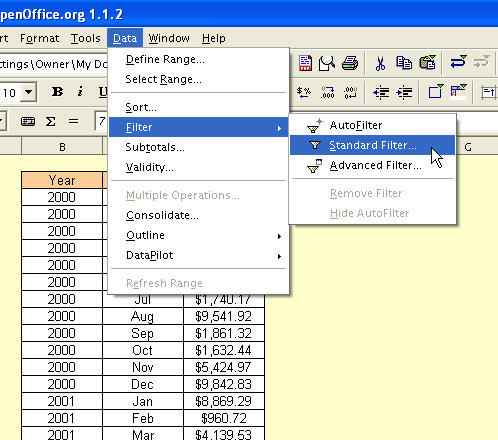
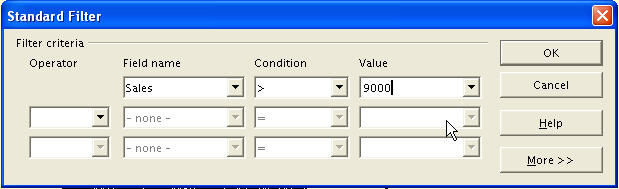
For this example, we will be using the same data as the AutoFilteroption. The Standard Filter is invoked by Data-FIlter-Standard FIlter - as is shown below.
The Standard Filter dialog box opens up. In the first simple example, we will just select the rows where Sales exceeded $9000. The Field name, Condition and Value fields are filled by selecting the desired values from the drop down lists presented. In the case of the Value field, you can also enter your own desired value in place of one of the drop down options.
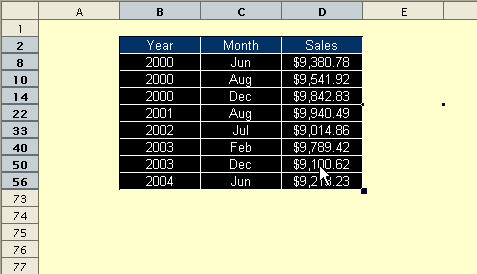
Once you’ve filled in the required fields, hit OK for the filters to take effect - see below. Please note the row numbers indicate that we have filtered, not deleted the unwanted data - at least for the purposes of this particular analysis.
This entry was posted on Wednesd
Data Filtering : Advanced Filter
The OOo Calc Advanced Filter is similar in functionality to theAutoFilter wherein lists are filtered according to a combination of multiple criteria.
What is different is the mechanism by which we define these criteria.
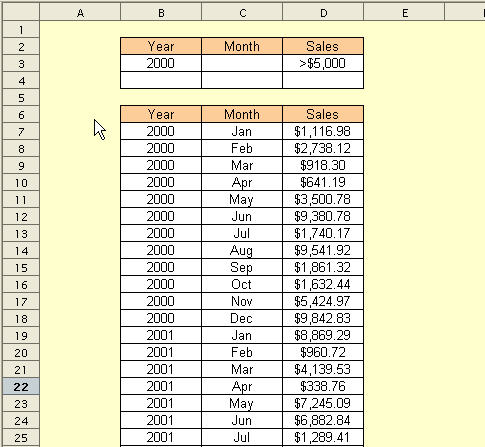
Sometimes, the Autofilter does not meet the requirements due to the limited number of criteria that can be applied. With Advanced Filter, the criteria are defined in the spreadsheet. This is illustrated below in cells B2:D4 The criteria matrix normally has the same colums and headers as the main database. Each row of the criteria matrix corresponds to a conditon to be applied to the database when filtering. Criteria in the same row are ANDed, while criteria in different rows are ORed
In the example below, we have configured the criteria to select rows whose Year is 2000 AND whose sales exceeds $5,000. We have yet to apply these criteria to the database.
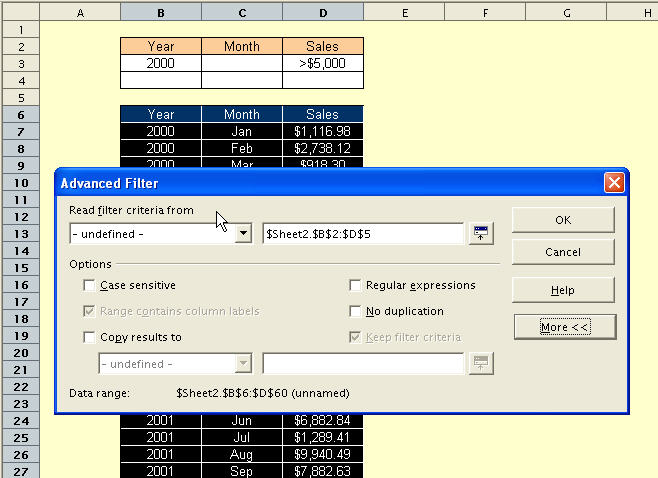
The Advanced Filter dialog is opened with Data-FIlter-Advanced Filter - after selecting the database cells we wish to filter and having created our criteria matrix (see above)
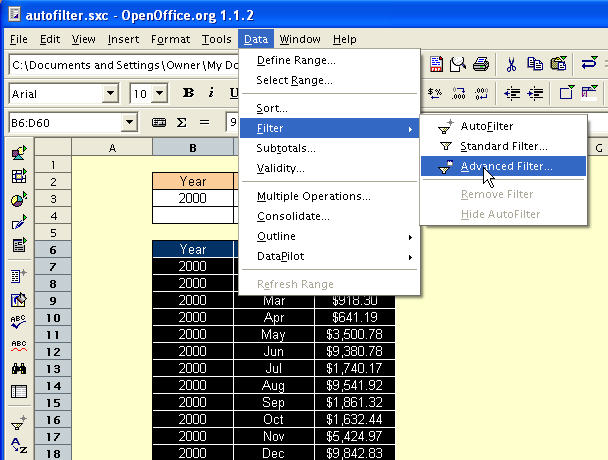
In the Advanced Filter dialog, we just need to identify the criteria matrix and then press OK
The filtered data is shown below.

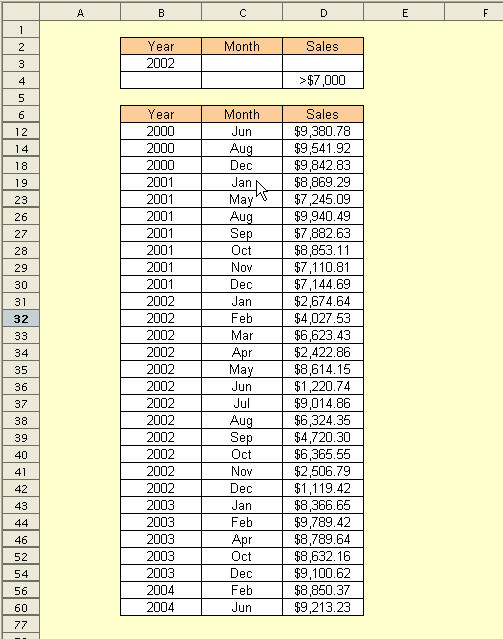
Finally, we see an example where the same original data is filtered with a different criteria matrix. Here, with the conditions on different rows, they are ORed.
This entry was posted on Thursd