

Blog Design Solutions (2006)
.pdfB L O G D E S I G N S O L U T I O N S
We could have put some of this in the Page Content area of the Create Page screen, but for this demo we want to have everything in the template, so on we go:
<?php srg_clean_archives(); ?> <h2>
Commenter Heat Map </h2>
<p>
Below is a heat map of the commenters here.
</p>
<?php cjd_comment_heat(); ?> </div>
Notice the call to the plug-ins. Finally, we close with the footer call:
<?php get_footer(); ?>
That is the entire template; now we save it as new_archive.php, place it in /wp-content/themes/default/, and then log into the WordPress admin area to create a new Page.
Finally, we need to create a blank Page and link it up with the new template.
Let’s go to Write Write Page and get down to business. We need to give our Page a title, let’s say My Archives. We can skip down past the Page Content area to Page Options.
The first field should be Page Template, and in the drop-down box we should find Archives Template—select that, make sure you have my-archives as the Page slug, and click Create New Page. That’s it. If you have installed and activated the plug-ins, when you load http://localhost/my-archives/ you should see your lovely new Archives page.
Let’s continue our exploration of custom templates by looking at another little-known power hidden within the theme system: per category templates.
Hidden spiffiness abounds
Deep within the recesses of the WordPress code base lies dormant the power to create custom templates for each of our categories; what is astounding is how easy it is to create them. This sleeping giant merely awaits the correct filenames to wake and unleash untold shininess and spiffiness upon your visitors’ heads!
This isn’t a feature for everyone, but we think that for a select few it can be a breath of fresh air, not to mention a solution for many frustrations.
When you get down to brass tacks, this is a profoundly easy feature to exploit. All you need to know is the number of each category and what you want each category to look like. Let’s look at how it can be used on Chris’s site (www.chrisjdavis.org).
206

Context-sensitive information is the bee’s knees
Giving information to the user that is both contextually correct as well as useful should be the goal of any webmaster. A prime opportunity to do this is when a reader is browsing your category pages.
You will find on Chris’s site, where appropriate, a list of other resources specific to the category you are browsing in the left-aligned column. Two prime examples are the Tutorial
(www.chrisjdavis.org/category/tutorials) and Web Standards (www.chrisjdavis.org/ category/web-standards) categories. On each one, you find links to offsite resources.
Now this is a very limited example of per category templates. If you want, you can change every aspect of the way the Page is displayed, load alternate stylesheets . . . anything! The sky’s the limit. But think before you go crazy, people. So what does one need to do to tap in to the power of per category templates? Glad you asked!
Let’s write some code, shall we?
After the previous discussion, creating these templates will be a piece of cake. We’ll start by making sure we actually have a category.php file to begin with. You will find it very helpful to have a good layout with which to browse categories, and your readers will, too. If you don’t have one, simply open a new file in your favorite text editor and enter this code to get you started with a category template:
<?php
/*
Template Name: Cateogry Template */ ?>
<?php get_header(); ?> <div class="narrowcolumn">
<?php if (have_posts()) : while (have_posts()) : the_post(); ?>
<h3>
<?php the_time('l') ?>, <?php the_time('F') ?>
<?php the_time('jS') ?>, <?php the_time('Y') ?>
</h3>
<h1>
<?php permalink_anchor(); ?><a href="<?php echo the_permalink(); ?>" rel="bookmark" title="Permanent Link: <?php the_title();
?>">
<?php the_id(); ?></a> <?php the_title(); ?>
</h1>
<small>
<?php the_category(' ,'); ?> </small>
<p>
W O R D P R E S S
5
207

B L O G D E S I G N S O L U T I O N S
<?php the_content(); ?> </p>
<?php endwhile; else: ?>
<p>
<?php _e('Sorry, no posts matched your criteria.'); ?> </p>
<?php endif; ?> </div>
<?php get_footer(); ?>
Simply save this code as category.php and place it in /wp-content/themes/default/.
Now that we have a category template file, we need to decide what we want to customize. Let’s make this the Gorillas category. Heh, gorillas are funny.
Make sure to have more than the Uncategorized category to play with. Create a new category by going to the Dashboard and selecting Manage Categories. Call the category Gorillas and give it a description if you want. Finally click Add Category. Make a note of its ID because you’ll need that in a second. You also need to have at least one post in a category before you can see it, so go ahead and add a post by clicking Write Write Post in the Dashboard. When you have written it, make sure you select the Gorillas category at the top right and then click Publish. You can now view the category from the frontpage of the blog.
You’ll now create a template for the Gorillas category (with whichever category number you noted in the last paragraph), okay? Good. You need to have some links to gorilla resources on the Net offered to your visitors while they are in your Gorillas category listing.
First, we edit our previous template name section like so:
<?php
/*
Template Name: Gorillas Category Template Description: A template for the Gorillas Category. */ ?>
Now usually we would want to just call <?php get_sidebar(); ?> and include the template file sidebar.php, but we want to add context-sensitive info, and the menu is the best place for it. So we will be hard coding this bit in this template between the closing div and before calling the footer:
<div id="sidebar"> <ol>
<li>
<a href="http://gorilla.com" title="gorillas">gorilla.com</a> </li>
<li>
208

W O R D P R E S S
<a href="http://www.kilimanjaro.com/gorilla/websites.htm" title="Gorillas Help Site">kilimanjaro.com</a>
</li>
<li>
<a href="http://kongisking.com"
title="really big gorilla">Kongisking.com</a>
</li>
</ol>
</div>
The rest of the template is fine for our purposes, so we are ready to save this puppy and move on.
Now for the payoff—making it all work
Okay, so now we have created a template for our Gorillas category, complete with spiffy
links about gorillas for our readers. We are ready to save this bad boy, but how does 5 WordPress know to use this when Gorillas is called?
It is time to do something with that category number we found. All we need to do is save this file as category-n.php, where n is the number of your category. For example, if Gorillas is category number 18, we would save this file as category-18.php and place it in wp-content/themes/default/.
Easy-peasy, as they say. Believe it or not, that’s all there is to it. The next time you load the Gorillas category you should see the template we just created.
Note that unlike Page templates, you don’t need to assign this template to your category. WordPress just knows what to do when it finds a category template with a number attached in your theme directory.
Now let’s talk about a seldom-used theme template: the Home template (home.php).
There’s no place like Home
We talked about the different files that WordPress is hard coded to recognize. One of the template files that we have not talked about yet is home.php, which is used when index.php is called without any arguments passed to it.
That is a mouthful, isn’t it? What that nonsense means is the following. When you load a site, say www.binarybonsai.com, the physical URI, or address, is www.binarybonsai.com/ index.php. When you click a link to a specific post, say one that is number 732, the address becomes index.php?p=732. Now p=732 is an argument, or rather how we tell WordPress that we want to see post #732.
Most sites use some mod_rewrite magic so you don’t see it, but (trust us) it is there. So home.php is used only when the physical address in the address bar of your browser is somesite.com/index.php.
209

B L O G D E S I G N S O L U T I O N S
And that matters to me WHY exactly?
Good question; glad you asked.
home.php is the front door of your blog. This is where you want to show users and visitors the most recent posts, your categories and how busy they are, and links to other blogs and sites that you think visitors will like. In other words, this is the place to inform and amaze your users and visitors. You can customize the information in home.php. You will already have seen index.php, which will give you some idea about what you can place on your frontpage. home.php is simply a customizable version.
Suppose we want to have the home page of our site contain some aggregated content, say some of our images posted to Flickr, and then the five newest entries of our weblog. In other words, we’re providing fresh, rolling news for users and visitors so that they don’t see the same old frontpage every time they pay a visit. And just to make things interesting, let’s not call the_loop: <?php if (have_posts()) : while (have_posts()) : the_post(); ?> anywhere on that page.
What we’re showing you isn’t necessarily the best way to go about this; this course of action will demonstrate how powerful and completely disconnected from the core function of WordPress you can make home.php. Keep that in mind.
How am I displaying all this info if I am not hitting the database for it?
Simple. You’re using the version of magpieRSS (http://magpierss.sourceforge.net/) that is bundled with WordPress to grab, parse, and style various RSS feeds.
What home.php gives you is the ability to have a WordPress-handled index page that can be more static in nature than a blog, with a blog behind the scenes. In essence, we move closer to using WordPress as a CMS instead of merely an elegant blogging platform.
Of course, you want to have the_loop included in the home template to simplify matters. We just wanted to emphasize the extreme flexibility of WordPress when using templates by going without it.
Let’s write some code!
If this section is your first exposure to the RSS aggregation built into WordPress, don’t go nuts with it! It is powerful and easy to use, but you take a hit in performance when using it.
We’ll create a new document in our favorite text editor and call it home.php. We’ll open up with the customary code:
<?php get_header(); ?>
Here is the first new bit—we need to call the RSS functions and set a variable to today’s date:
<?php require_once (ABSPATH . WPINC . '/rss-functions.php'); ?> <?php $today = current_time('mysql', 1); ?>
<div class="main">
210

<h2>
Recent Flickr </h2>
We’re not parsing RSS for the Flickr area because Flickr (http://flickr.com) provides a nice little solution for this already (http://flickr.com/badge_new.gne). We won’t paste it all in here, but you can find the code easily enough on its website. If you’ve been living under a social software-proof rock lately, Flickr is the premier way to publish and share your photos with family and friends. Flickr incorporates tagging and commenting to create a unique user experience. Go and check it out!
OK. Here is where the fun begins. We’re now ready to call and handle the first RSS feed:
<?php
$rss = @fetch_rss('http://localhost/feed/');
if ( isset($rss->items) && 0 != count($rss->items) ) { ?>
What have we done so far? We’re telling WordPress that we want to grab the RSS feed from our site; if the feed responds, move on (remember to change the URI to whatever your WordPress installation is: http://localhost/wordpress/feed/, for example).
<h3>
Latest Posts on <?php bloginfo('name'); ?> </h3>
<ol>
<?php
$rss->items = array_slice($rss->items, 0, 5); foreach ($rss->items as $item ) {
?>
The preceding snippet says to grab the pieces of the RSS feed (publish date, author, title, content, and so on) and create an array from them. We then deal with each array in turn:
<li>
<a href='<?php echo wp_filter_kses($item['link']); ?>'> <?php echo wp_specialchars($item['title']); ?> <small>--
<?php echo human_time_diff( strtotime($item['pubdate'], time() ) ); ?> <?php _e('ago'); ?></small>
</li>
<?php
}
}
?>
</ol>
Let’s look at what is going on here. We are grabbing the link for the item returned and passing it through one of WordPress’s many filters. This link allows us to load the post in
W O R D P R E S S
5
211
B L O G D E S I G N S O L U T I O N S
full at the site referenced. Because this is our own site, when you click on the link it will load the post using your single.php template.
Next, we grab the title that is returned, and then close the link tag, moving on to grabbing the publish date (when the item was published). Using human_time_diff, we calculate how long it has been since the item has been posted. That gives us the groovy human readable 21 days ago stamp.
After the block of RSS aggregation code, we just need to add these bits and we are done:
</div>
<?php get_footer(); ?>
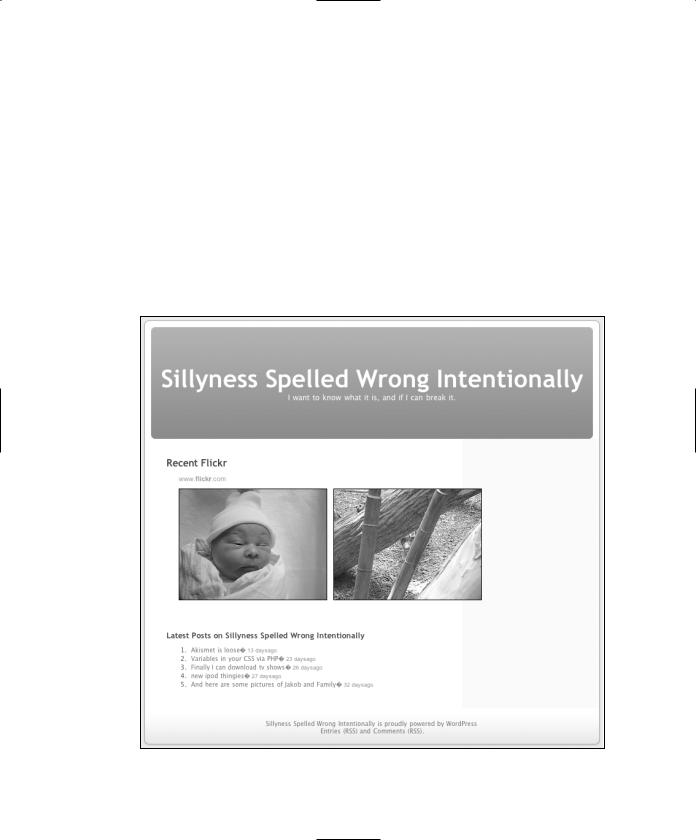
We save this file as home.php and place it in /wp-content/themes/default/. When we visit http://localhost/ we should see home.php loaded instead of the default index.php (remember that you can have http://localhost/wordpress/ as the root of the WordPress installation). Check out the results in Figure 5-7.
Figure 5-7. Your blog running with home.php
212

W O R D P R E S S
And there you have it . . . a letter opener
All MST3K jokes aside, that’s about it. You now see the potential that home.php has, freeing your site up to be just about whatever you want while retaining the flexibility and power that WordPress brings to the table. And again Michael and I want to stress that this is really only scratching the surface of the system. There are new, incredible features added to WordPress almost on a daily basis, not to mention all the great plug-ins and themes.
Summary
Congratulations! You should now be well on your way to mastering the theme system in WordPress. We sincerely hope that by now you are starting to see the power and flexibility available to you. With a little (or a lot of) CSS know-how you can make some spectacu-
lar designs. But remember this is just the tip of the iceberg. When you feel comfortable 5 with the lessons learned in this chapter, hit up the Codex: http://codex.wordpress.org/ WordPress_Lessons#Designing_Your_WordPress_Site and stop by the WordPress IRC
channel on irc.freenode.net, #wordpress. For instructions on how to use IRC, check out IRC Beginner: www.ircbeginner.com/.
Remember that personal publishing is about freedom—freedom to say what you want for the world to hear. Get to designing and join the global conversation.
213

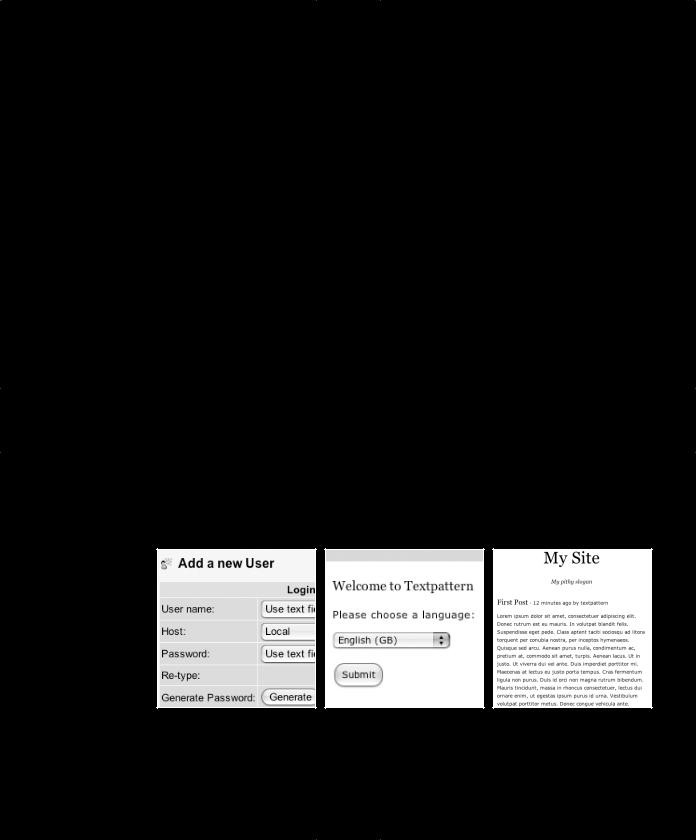
6 T E X T PAT T E R N
by John Oxton