

Manage Data
This chapter is about the various ways to take care of your data and what you can do with them.
SqLite vs. Sql Server
When you create a new project you can decide whether you want to have to project using SQLite (an open source database) or SQL Server (Express).
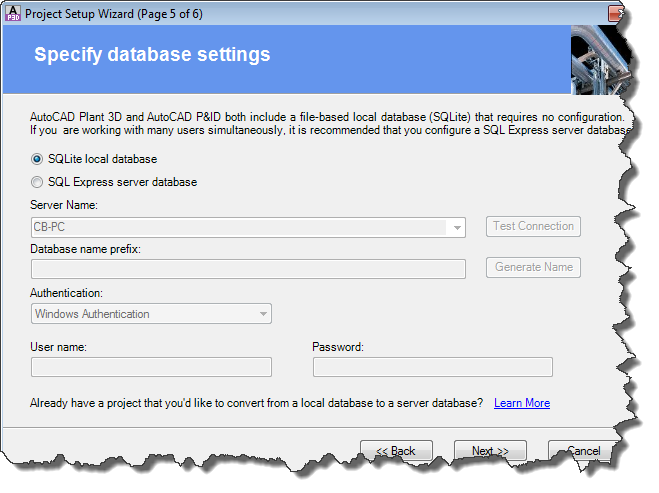
If you start your Project with SQLite you later can migrate your Project to SQL Server. Look for PnPProjectMaintenance.exe in your AutoCAD® P&ID/Plant 3D program folder. The following dialog opens up:
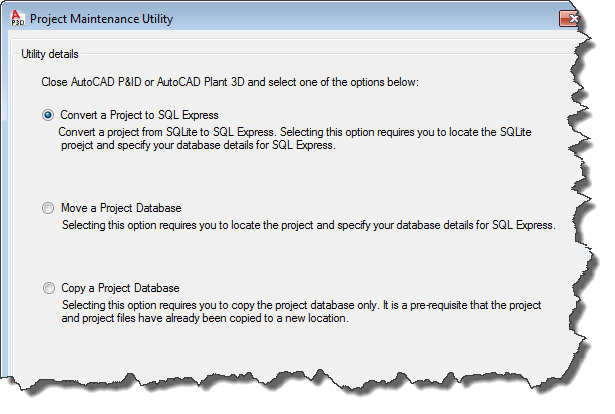
As you can see from the options once you migrated to SQL Server, there is no way back.
When using SQLite the databases are conveniently located in your Project folder
So copying a Project is no big deal. Just copy the whole Project folder. With SQL Server it is trickier. This is why Autodesk has developed the Project Maintenance Utility.
SQL Server is recommended if you are running a project with more than just 1 or 2 person and the size of your Project is more than just a few pieces of equipment and piping.
Setting up Reports with AutoCad® Plant Report Creator
The Report Creator is very powerful. You can create all kinds of list from AutoCAD® P&ID or AutoCAD® Plant 3D, but data sheets as well.
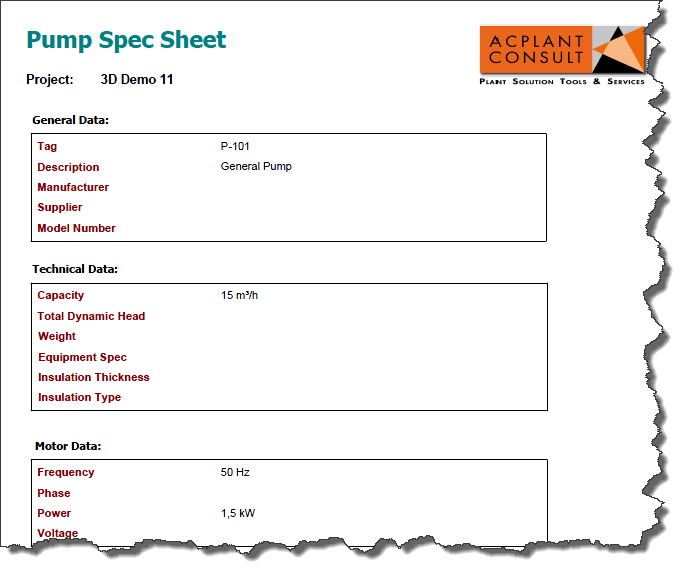
Here you see an example of a BOM from AutoCAD® Plant 3D grouped by Pipe Line Number and then grouped by type. Valves however will be listed additionally with their Tags.
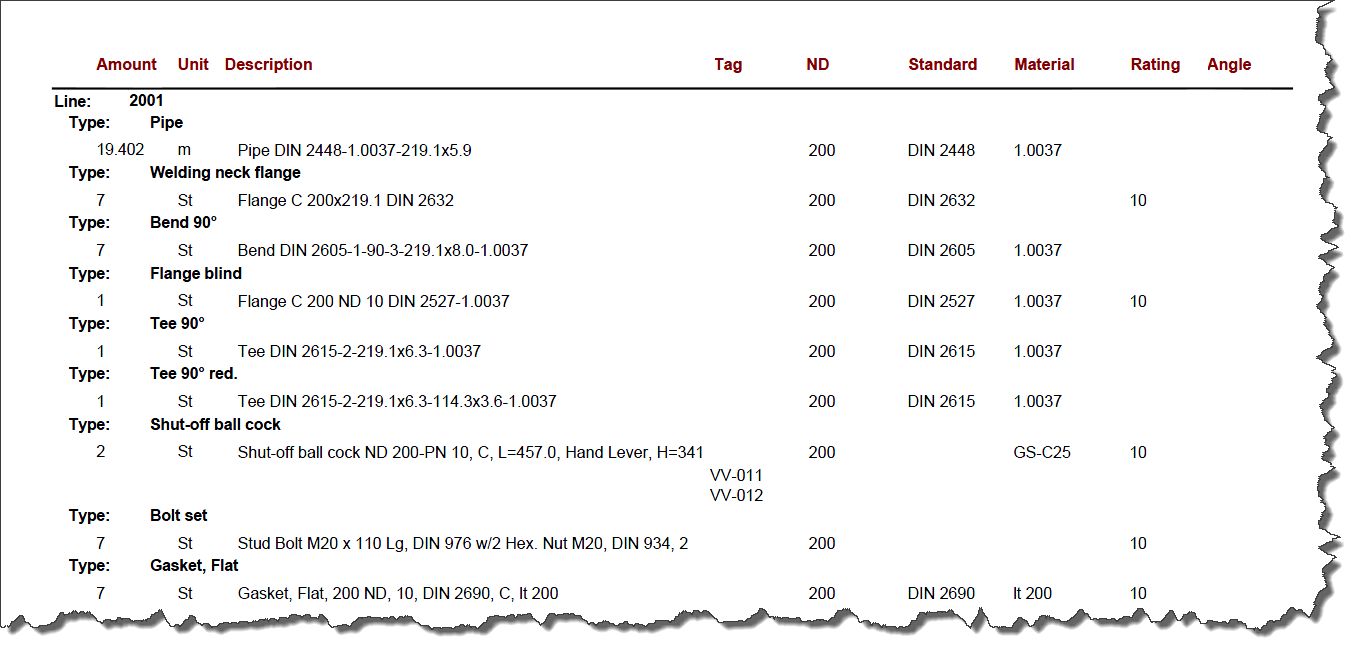
There is just no end on what you can do. Of course you can create various file formats.
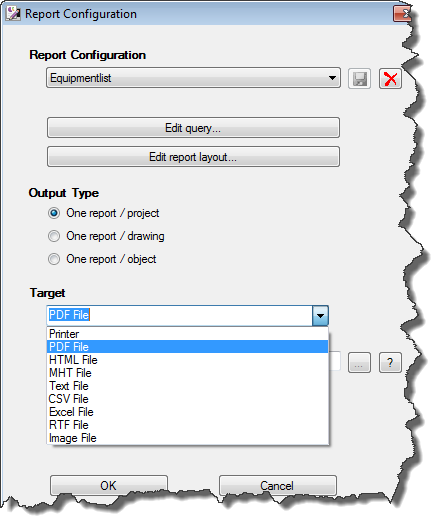
Report Creator is documented in the AutoCAD® P&ID/Plant 3D Help
http://docs.autodesk.com/PNID/2013/ENU/index.html?url=filesPRUD/GUID-72CFE4B9-2803-4441-840F-D826F0174CA3.htm,topicNumber=PRUDd30e1128
As mentioned below there is an additional documentation about XtraReports (the layout part of Report Creator) under:
http://docs.autodesk.com/PLNT3D/2013/ENU/report_designer.pdf
Export and Import settings
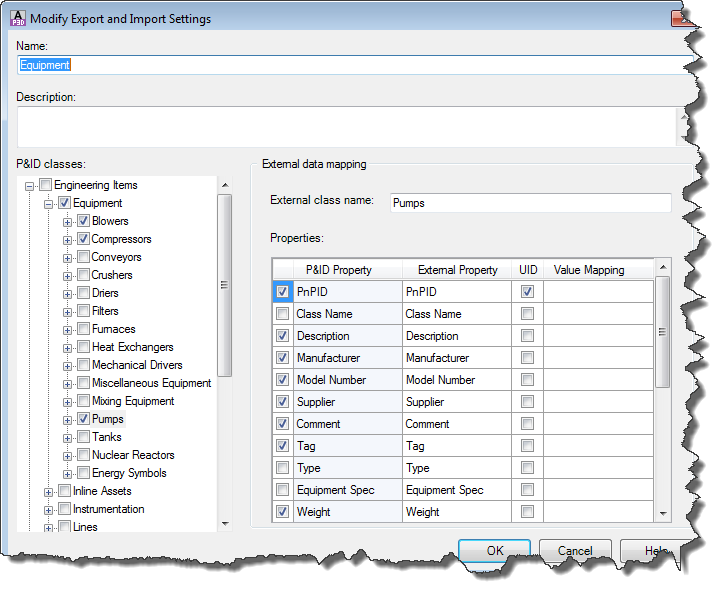
Ex-/Import settings allow you to define which Classes and which Properties you want to have ex-/imported when using Data Manager.
As you can see in the next dialog you select the Classes you want to export and you can define the Properties for each of the classes.
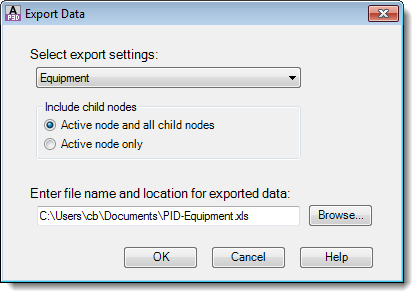
When you export to Excel you now you select the Export Settings you defined.
BTW: Under “Value Mapping” you can define a kind of translation mapping. For example if you export valves you could map like this:
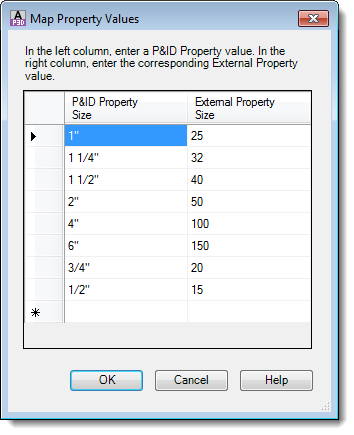
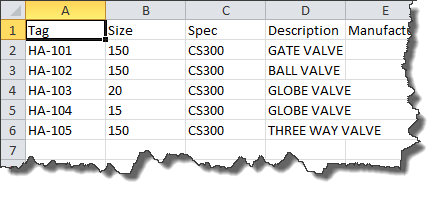
In your export the valves now the values for size look like this:
Ex./Import settings can be defined for P&ID and Plant 3D separately.
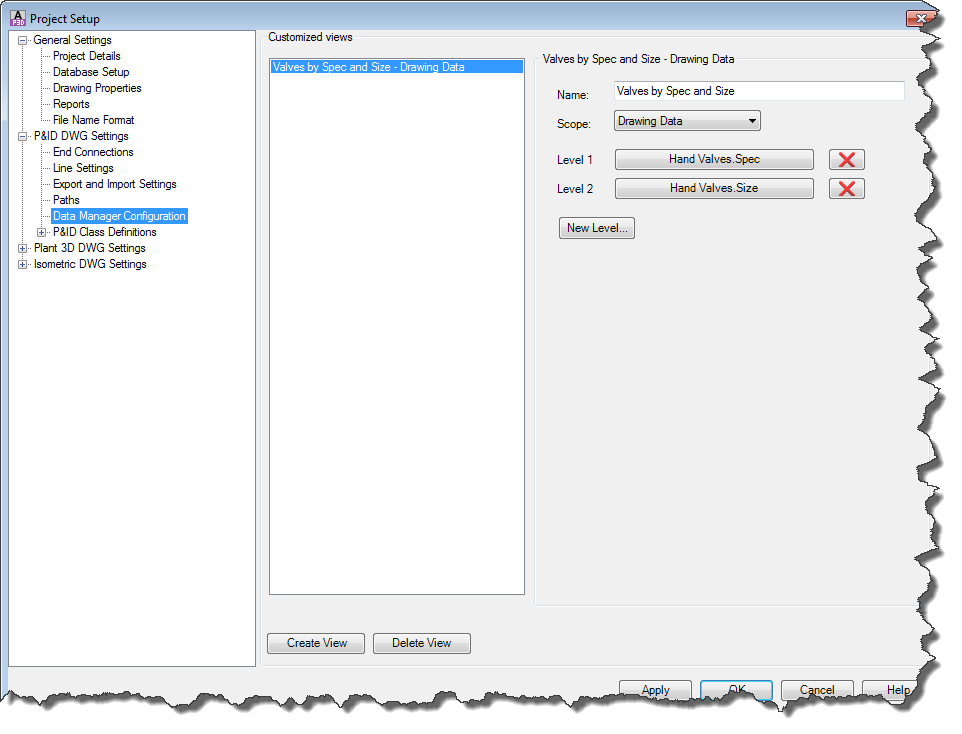
Using views in Data Manager
Views allow you to show a different structure in Data Manager. In the following example you see the definition of valves structured by Spec and then by Size.
The result in Data Manager is:
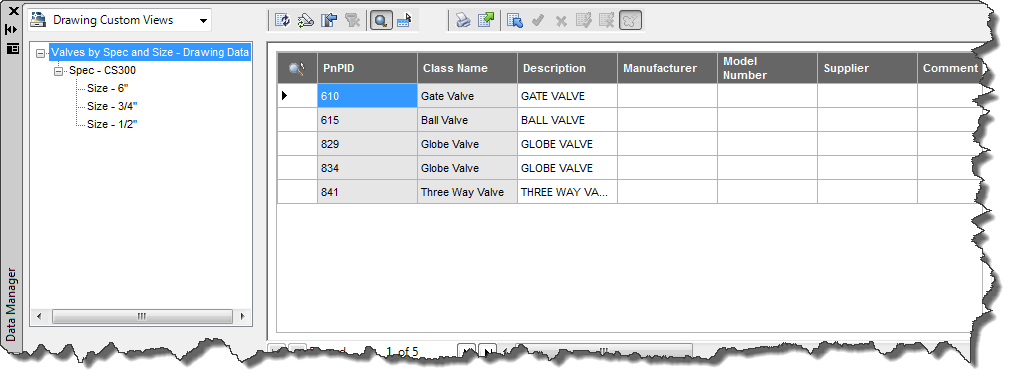
If you select the 6”, you see the 6” valves only.
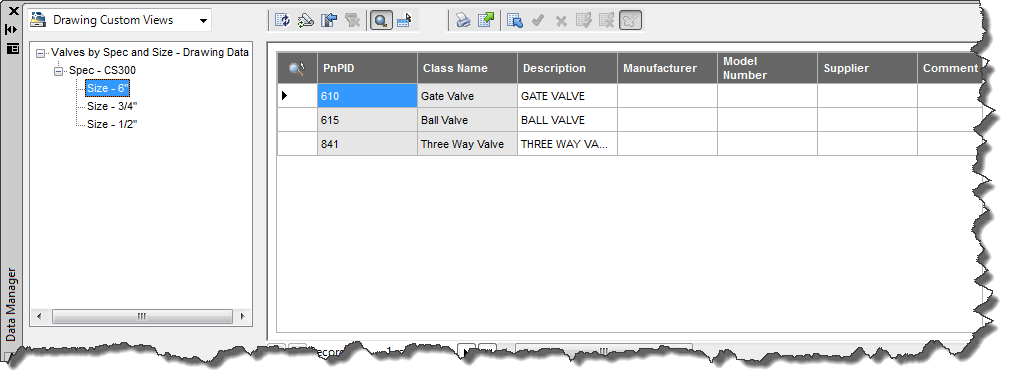
So for different requirements you can define how you want to see your Project/Drawing data.
Make use of Advanced Features Create a second Tag
For a class you can set just one Tag Format. But sometimes you need a second Tag. For example you want a second customer specific Tag. Or maybe you just need to combine a property from several other properties (concat).
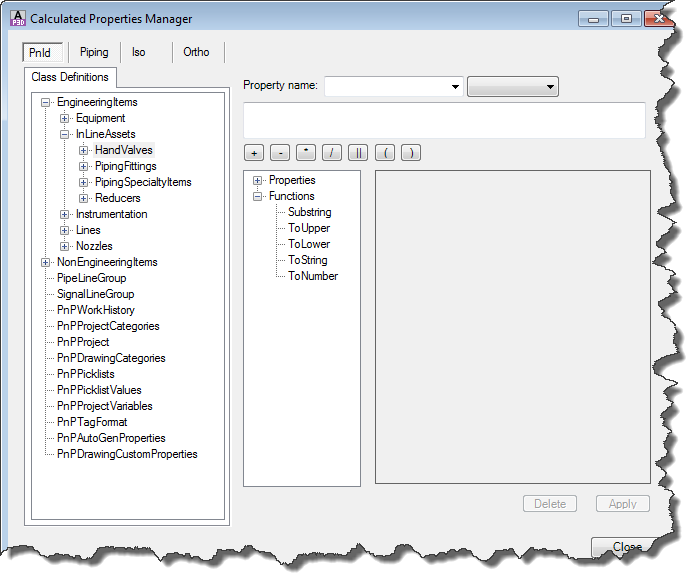
For that you can use the command PLANTDEFINECALCPROPERTIES.
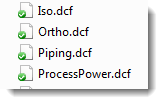
You can create new properties fir P&ID, Piping, Isos and Orthos.
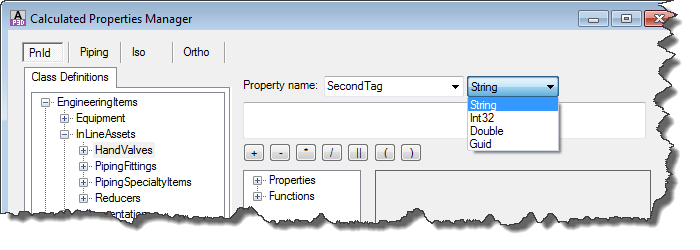
First you select the class then type in a Property name and select a Property type. Mostly you will select “String”.
By making a double click on a Property the Property will be selected and put in the textbox. The double | sign will put the Properties together (concat). The ‘-‘ text is just a delimiter between the Properties.
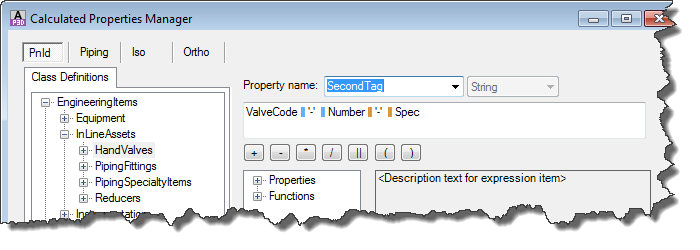
If you are done setting up your Tag you need to click on “Apply” to have you Tag Definition stored in your project.
The result in Data Manager looks like this.
