-
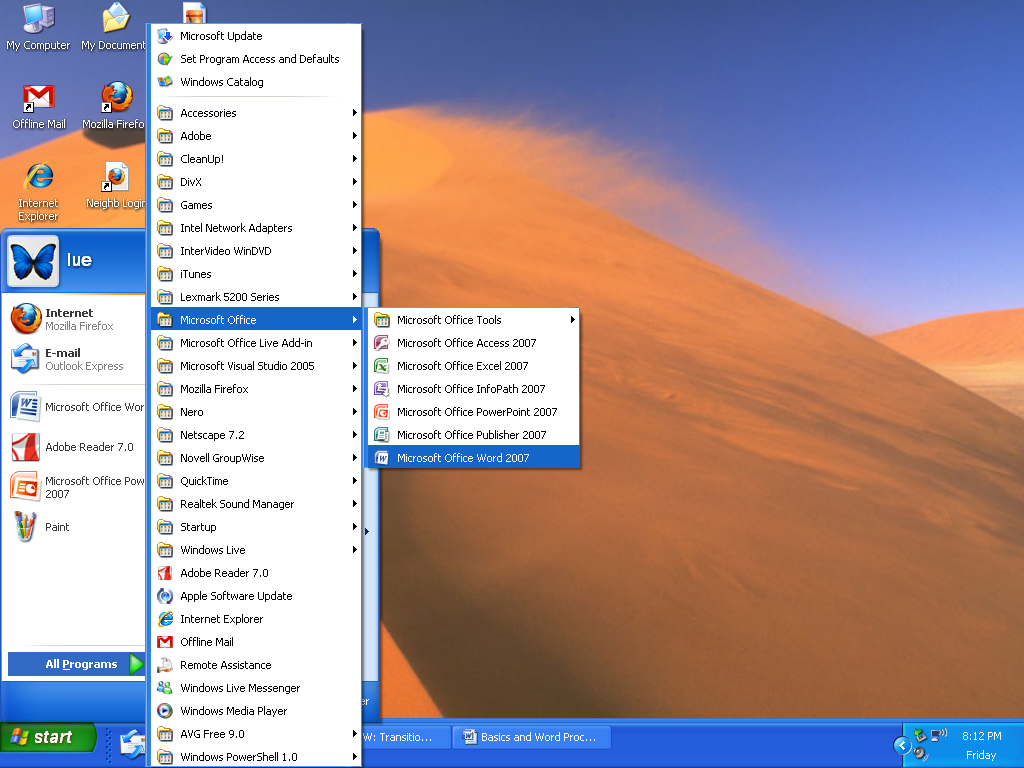
  Click
on the START menu. Click
on the START menu.
-
  Click
on PROGRAMS
or ALL PROGRAMS. Click
on PROGRAMS
or ALL PROGRAMS.
-
Click on MICROSOFT
OFFICE
-
Click
on MICROSOFT OFFICE WORD 2007.
Option 2:

Sometimes the program you want is already in
the START menu.
|

|
-
 Click
on the START
menu. Click
on the START
menu.
|
|
-
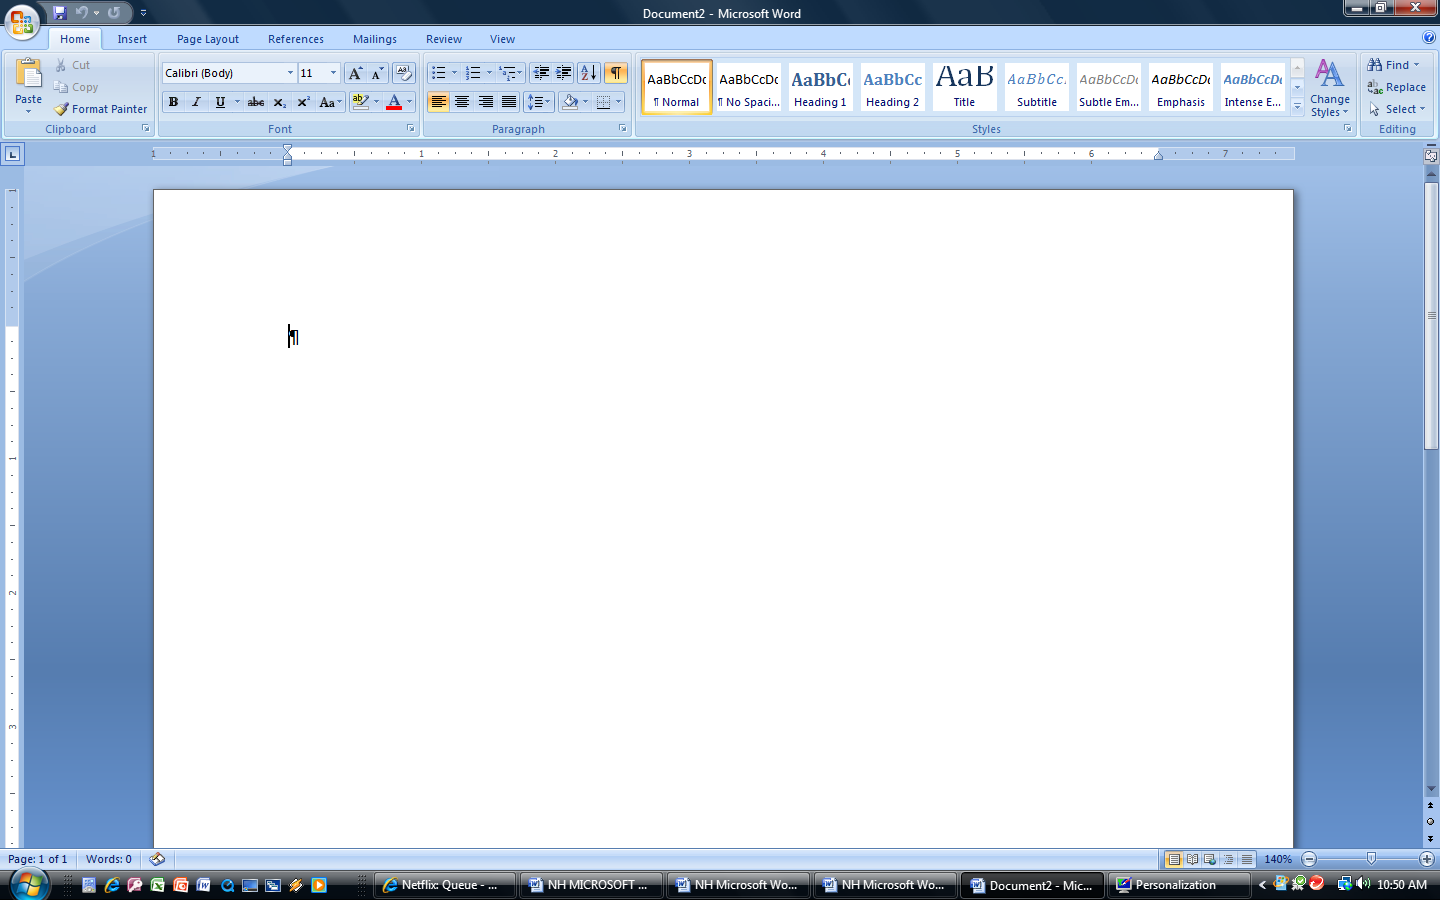
 Now
the program, Microsoft Word, is open. Look at the screen.
Are the words Microsoft Word at the top of the screen? Now
the program, Microsoft Word, is open. Look at the screen.
Are the words Microsoft Word at the top of the screen?
|
-
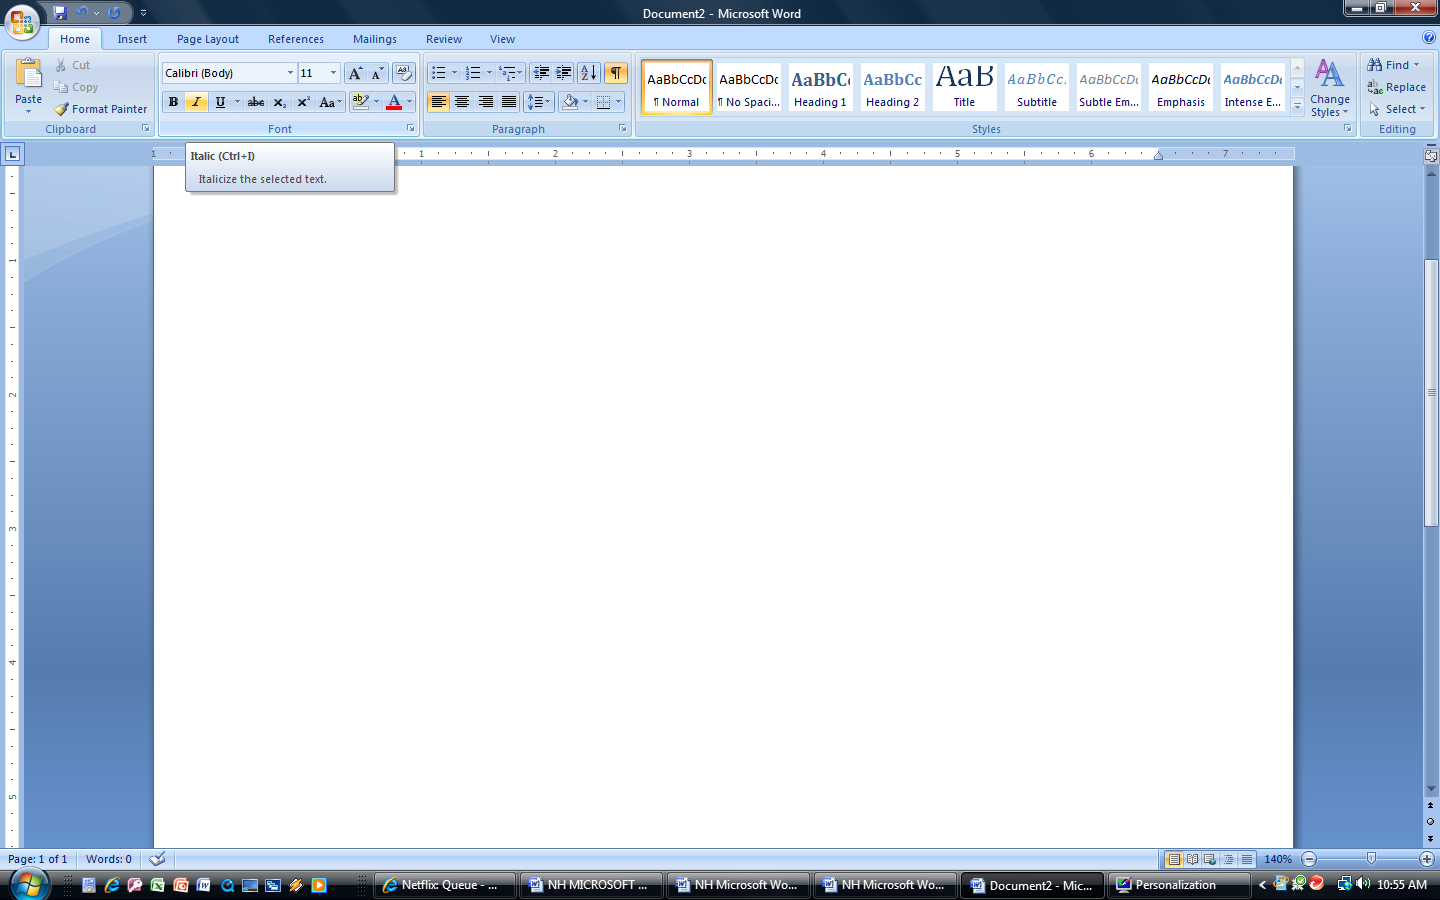
  Slowly
Move the Cursor across the Ribbon icons. It
looks like the picture below. Don’t Click on any of
them. When you point to a picture you will see the name for that
picture or button. Slowly
Move the Cursor across the Ribbon icons. It
looks like the picture below. Don’t Click on any of
them. When you point to a picture you will see the name for that
picture or button.
|
|
-
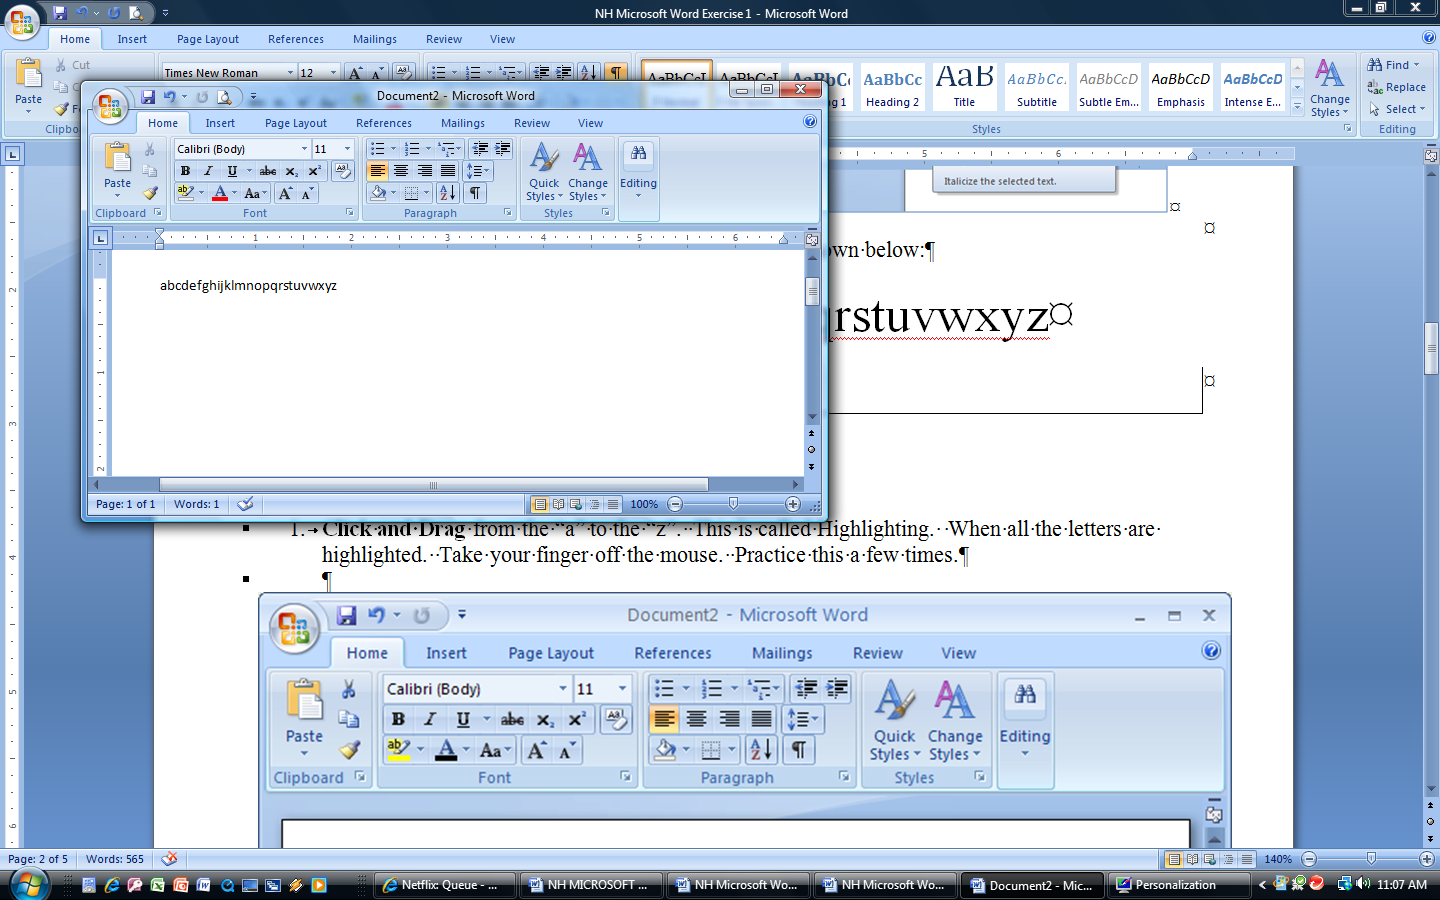
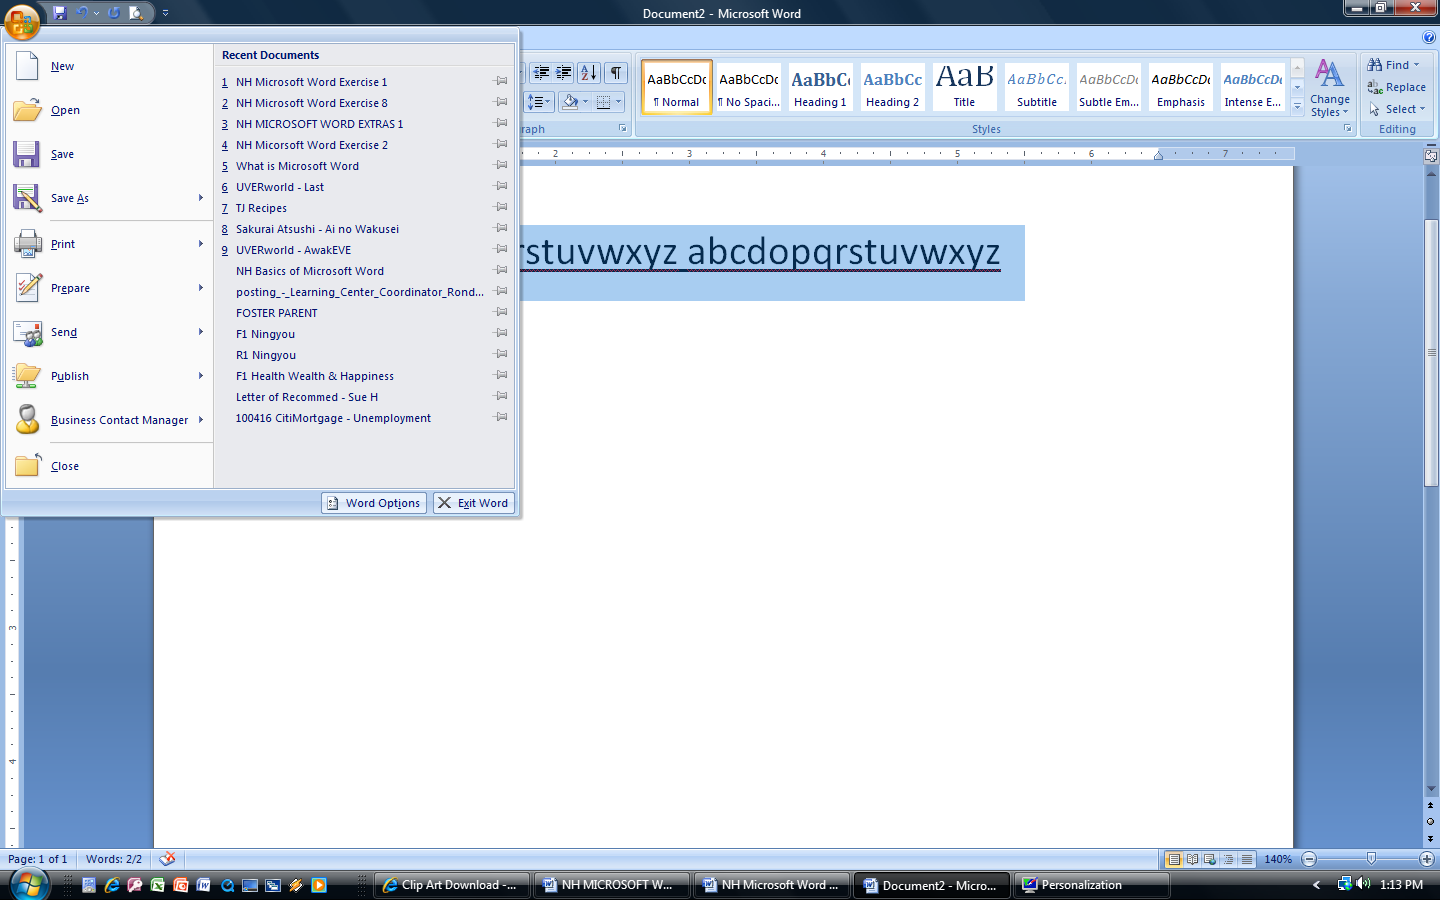
Type
the alphabet in lower
case letters, no
spaces, as shown below:
abcdefghijklmnopqrstuvwxyz
|
-
The
letters look so small, they are hard to read. Rather than change
the size of the print, let’s change the size of the document on
the screen. This will make the document easier to work with, but
not change the finished product if the document were to be
printed.
|
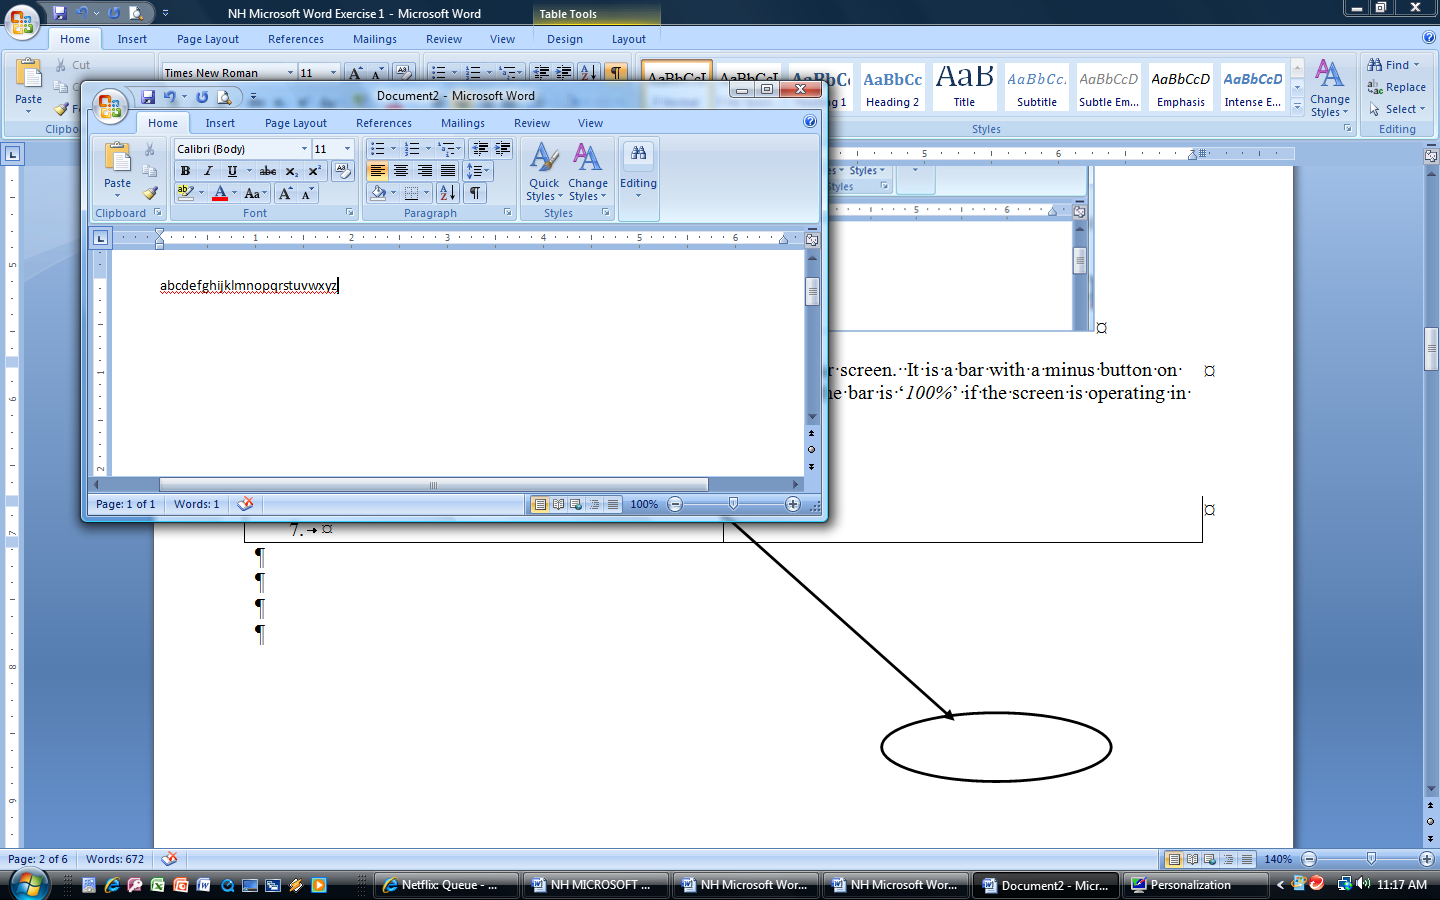
-
 The
Zoom feature is located in the lower right corner
of your screen. It is a bar with a minus button on
the left side and a plus button on the right. To
the far left of the bar is ‘100%’ if the screen is
operating in ‘normal’ or ‘default’
mode. The
Zoom feature is located in the lower right corner
of your screen. It is a bar with a minus button on
the left side and a plus button on the right. To
the far left of the bar is ‘100%’ if the screen is
operating in ‘normal’ or ‘default’
mode.
|
-
The
Zoom Feature can be used two ways: 1) Click the
Plus or the Minus buttons until you reach the
desired size. The document will increase or decrease in degrees
of 10. 2) Move the arrow in the middle of the bar with
the mouse: Click on the arrow and drag it left or
right. This option is good for practicing mouse control. (Note:
Try to keep the final zoom between 120% and 150%)
|
-
The document has
been zoomed to what percentage? _______________________?
|
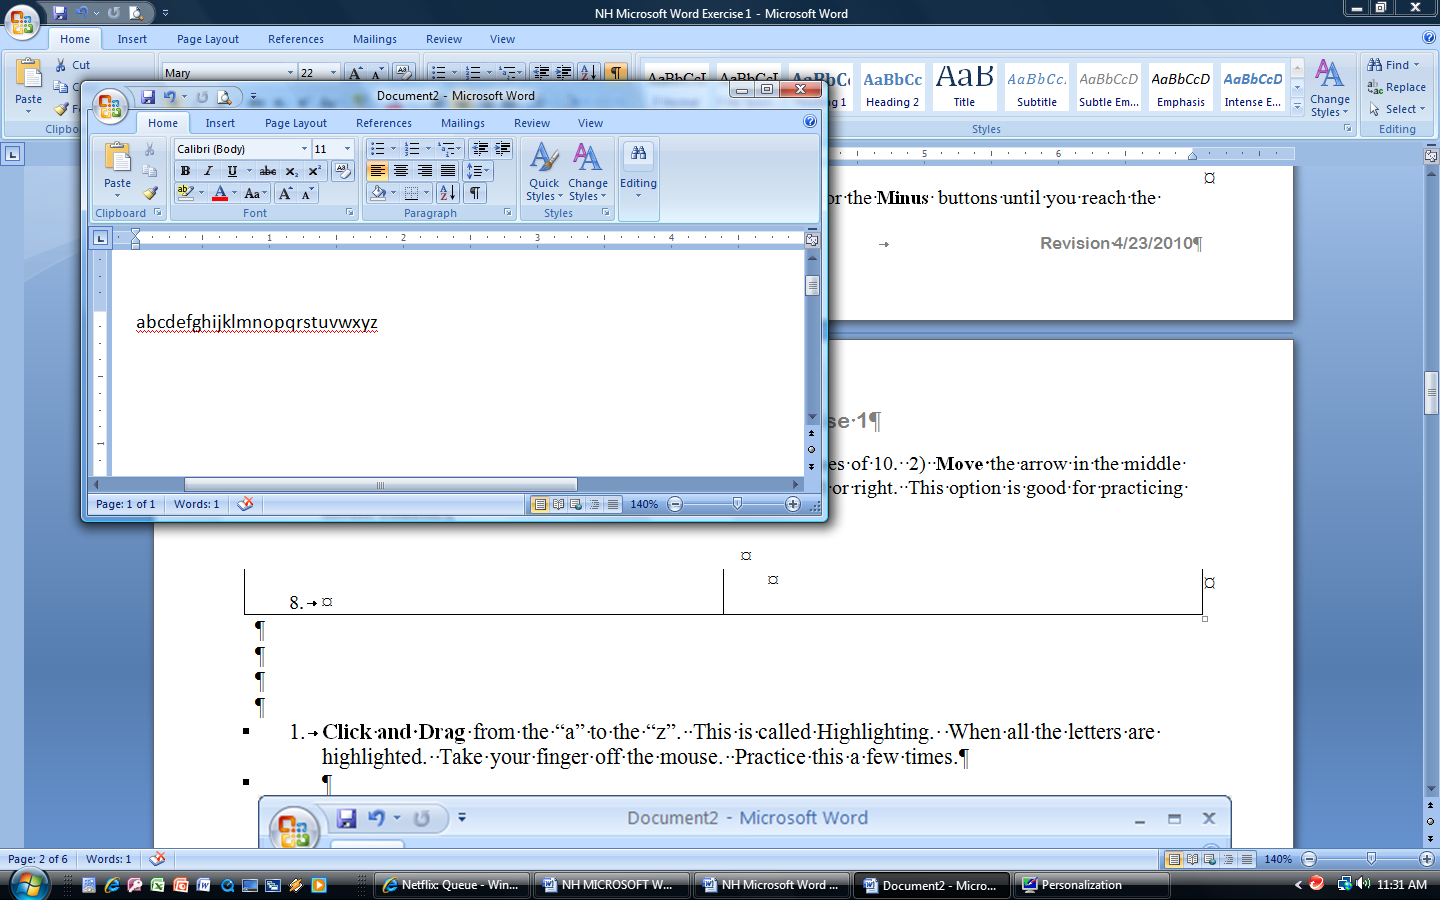
-
Click
and Drag from the “a” to the
“z”. this is called Highlighting.
When all the letters are highlighted. Take your finger off the
mouse. Practice this a few times.
|
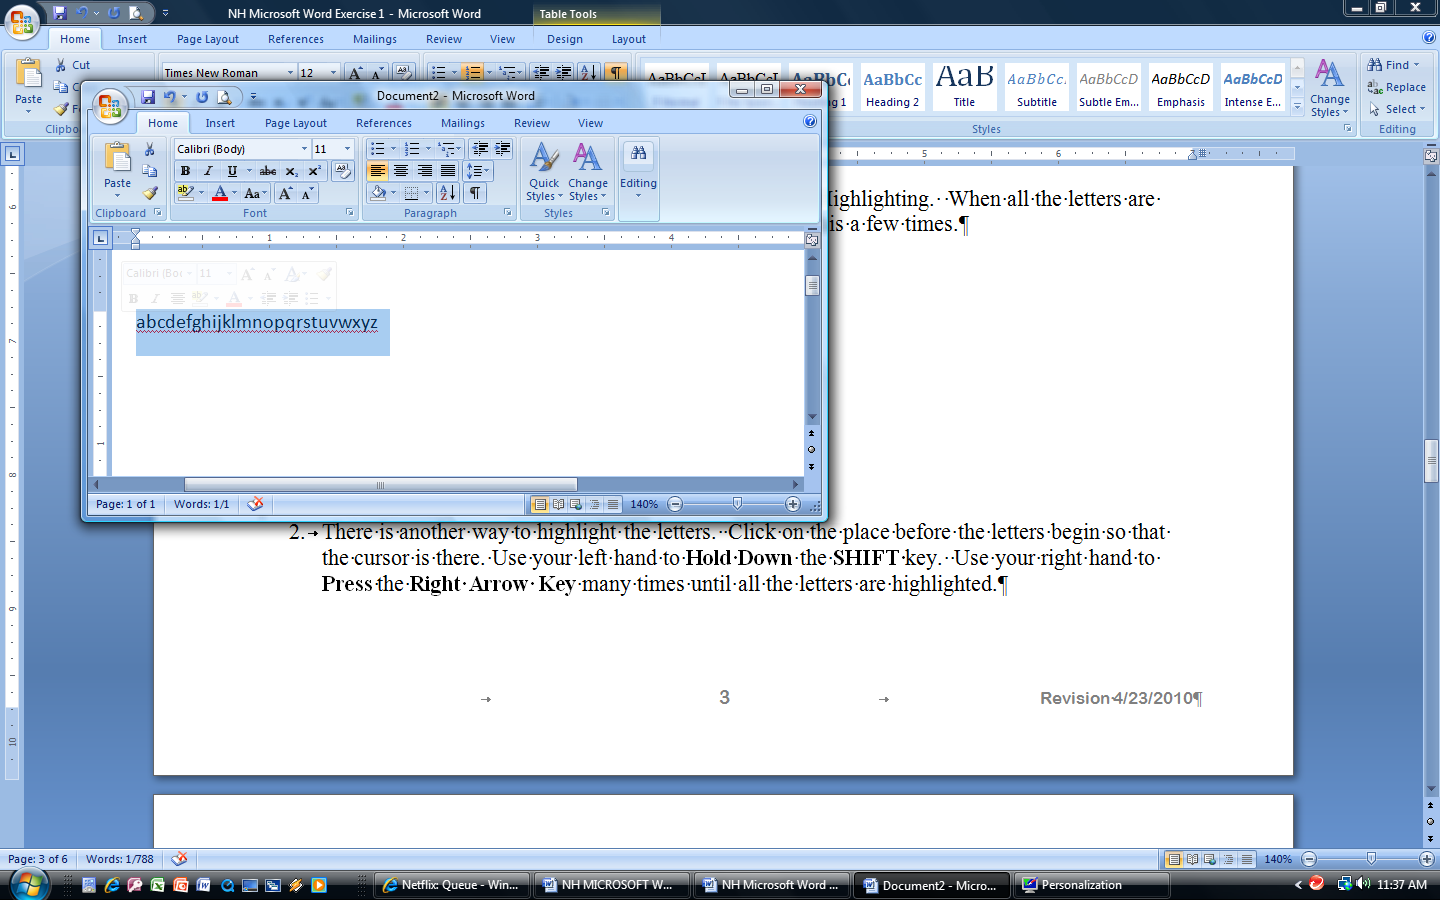
-
Another
way to highlight the letters is to Click
on the place before the letters begins so that the cursor is
there. Use your left hand to Hold
Down the SHIFT
key. Use your right hand to Press
the Right
Arrow key as many times as
needed until all the letters are highlighted.
    
|
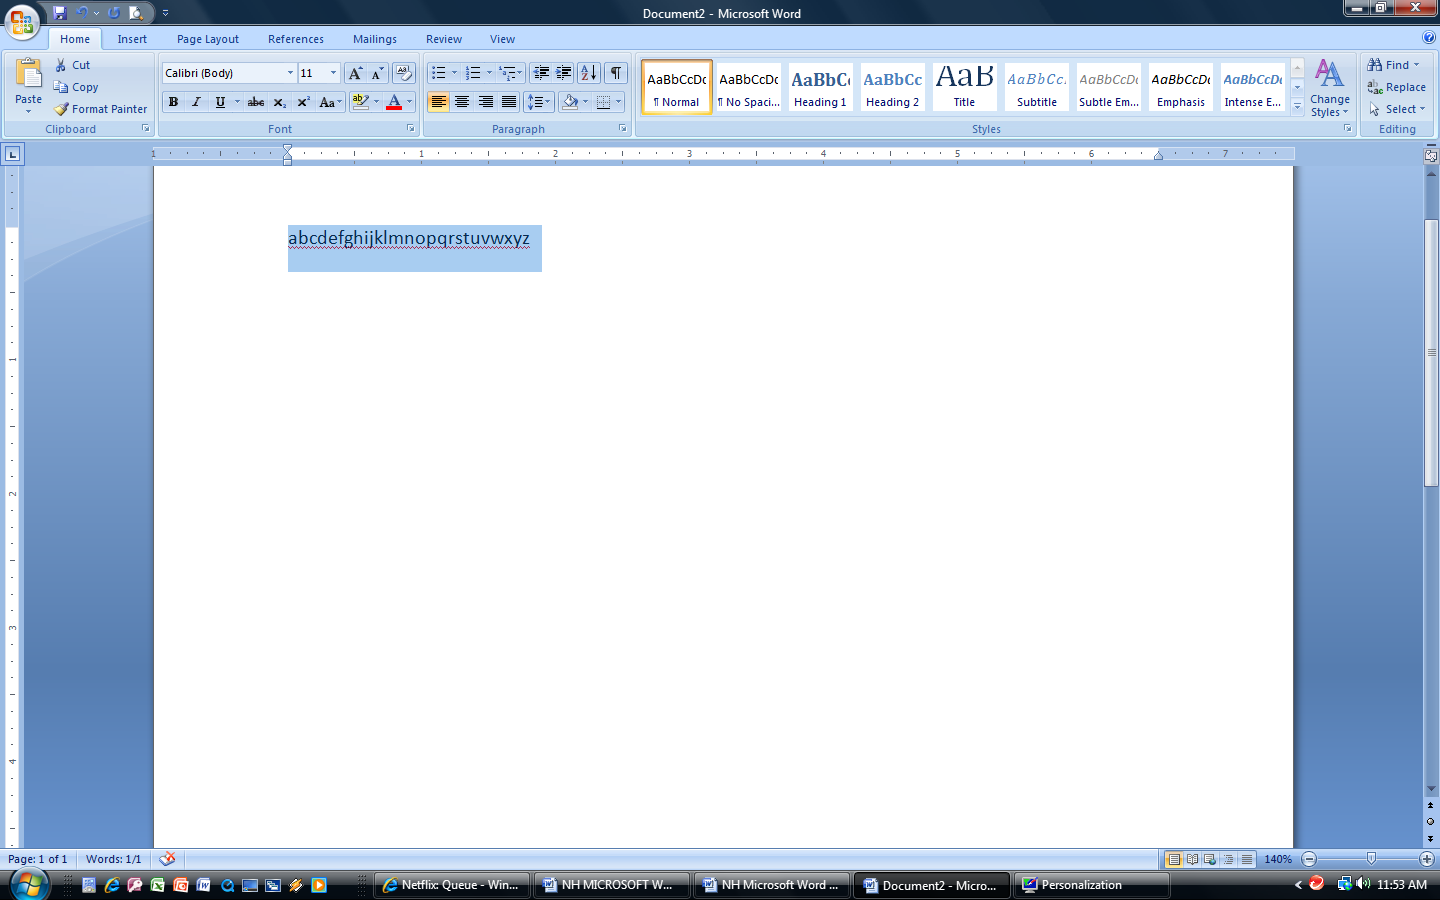
-
A
third way is called Highlighting a
Row or a line of text. Do not use
this for a single word. Move
the mouse arrow into the left margin
next to the row to be highlighted and Click.
Margin

 
|
-
  Now
Click
the COPY
button under the Home
tab, in the Clipboard
toolbox. The computer will remember and temporarily store the
text that is highlighted. Now
Click
the COPY
button under the Home
tab, in the Clipboard
toolbox. The computer will remember and temporarily store the
text that is highlighted.
-
Click
after the ‘z’ to place the cursor there.
-
Now Click
the upper part of the PASTE
button. Look
at what happened.You should now have two alphabets.
|
|
-
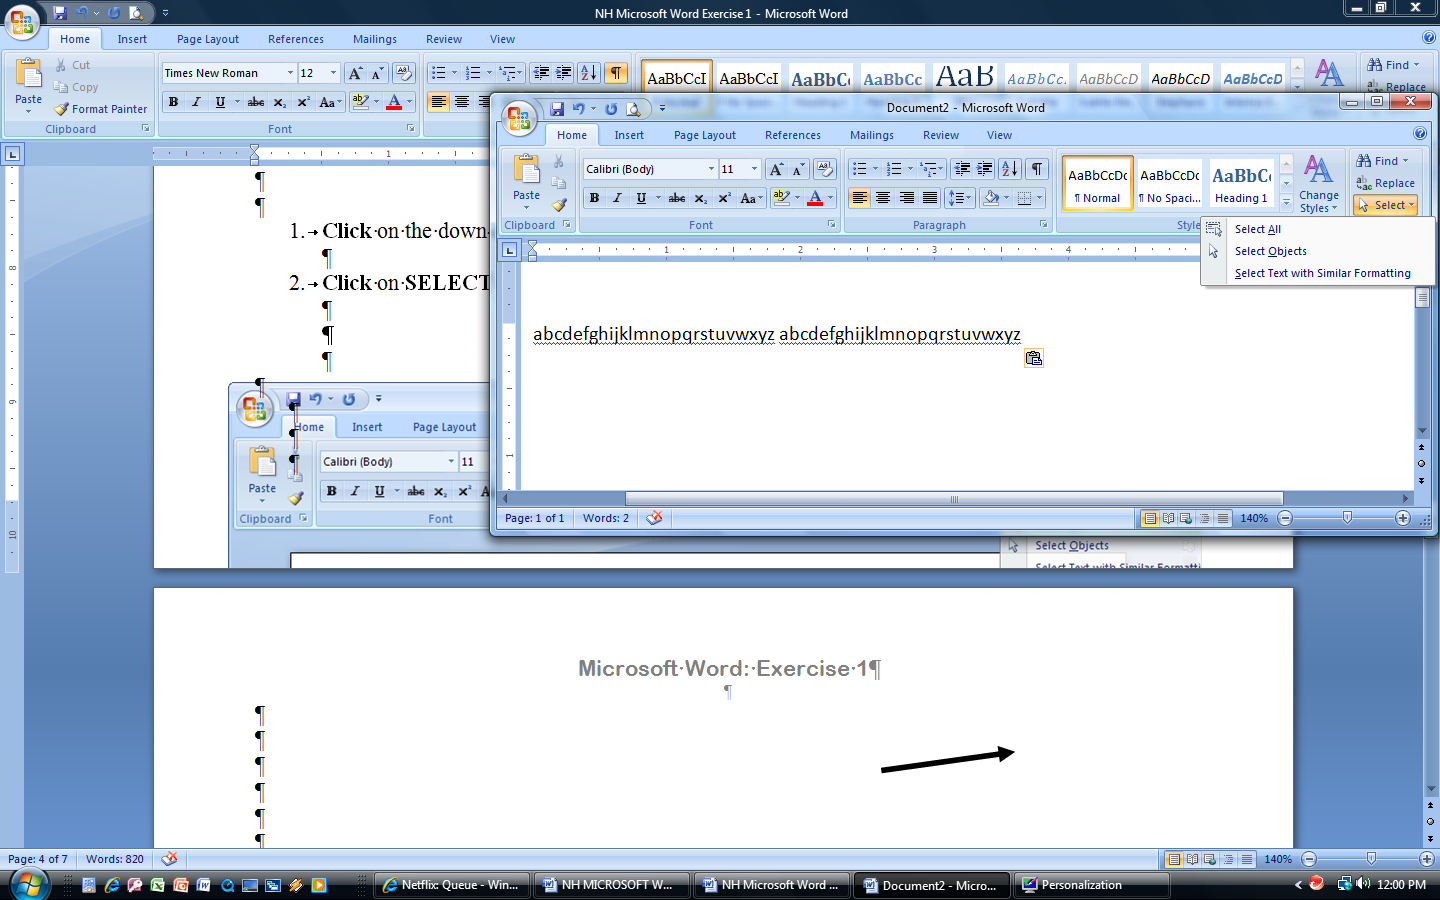
 Click
on the down arrow
next to SELECT
in the Editing
toolbox to view the drop down menu. Click
on the down arrow
next to SELECT
in the Editing
toolbox to view the drop down menu.
|
-
Click
on SELECT ALL.
This is a way to highlight all
the words on the page.
|
-
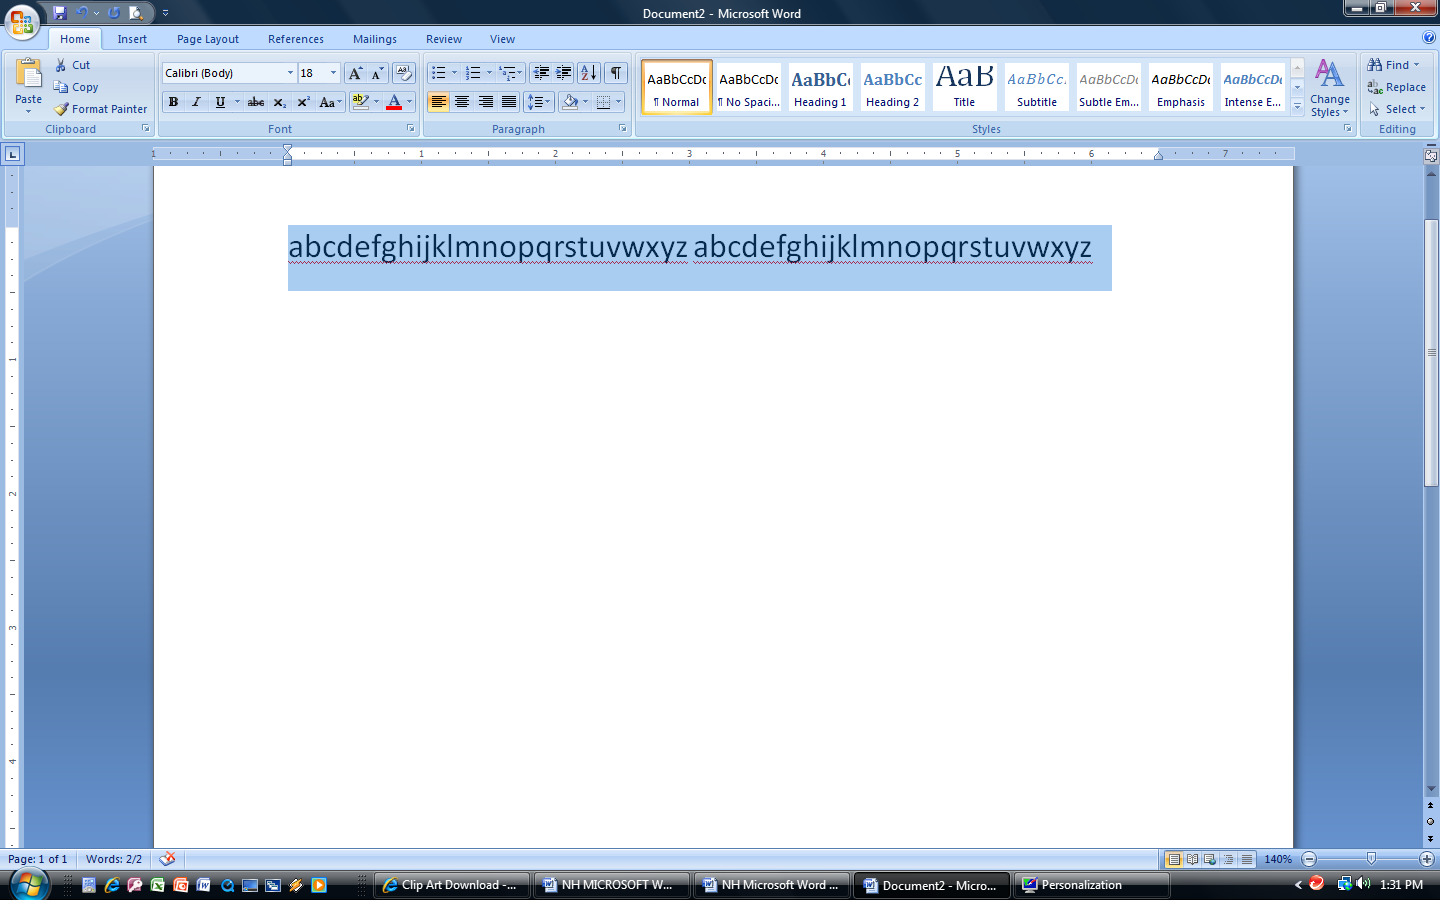
Some will get something that will look like the illustration
below.
|
-
Some will get something that looks like the following. Why?
|
-
To find
out Look
on the Home
tab on the Paragraph
toolbox. The answer can be found by turning on the Paragraph
marks. Click the button that looks like a Paragraph
Mark.
|

|
|
-
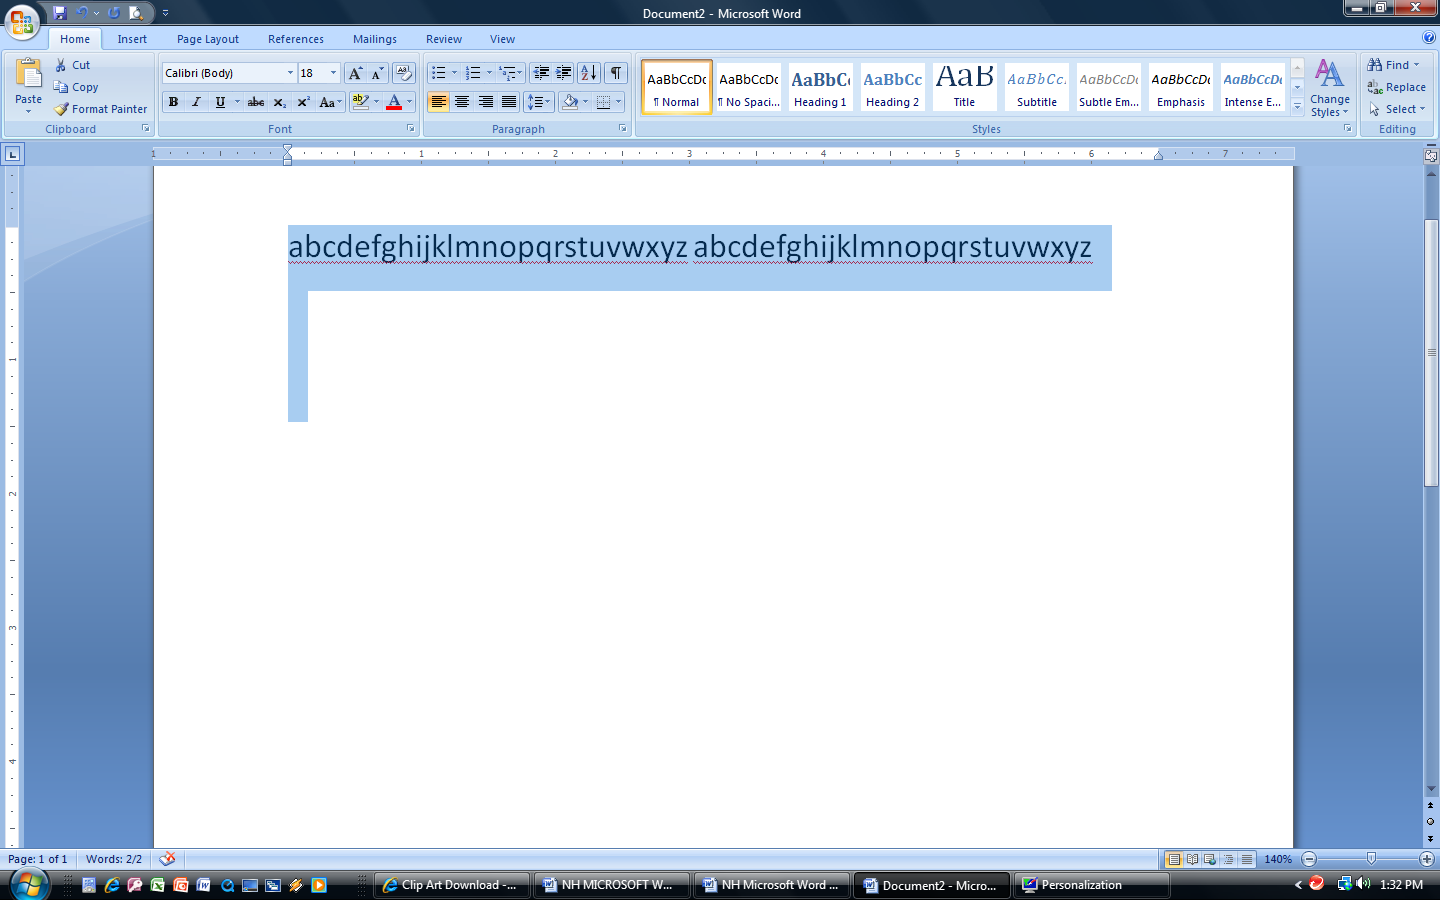
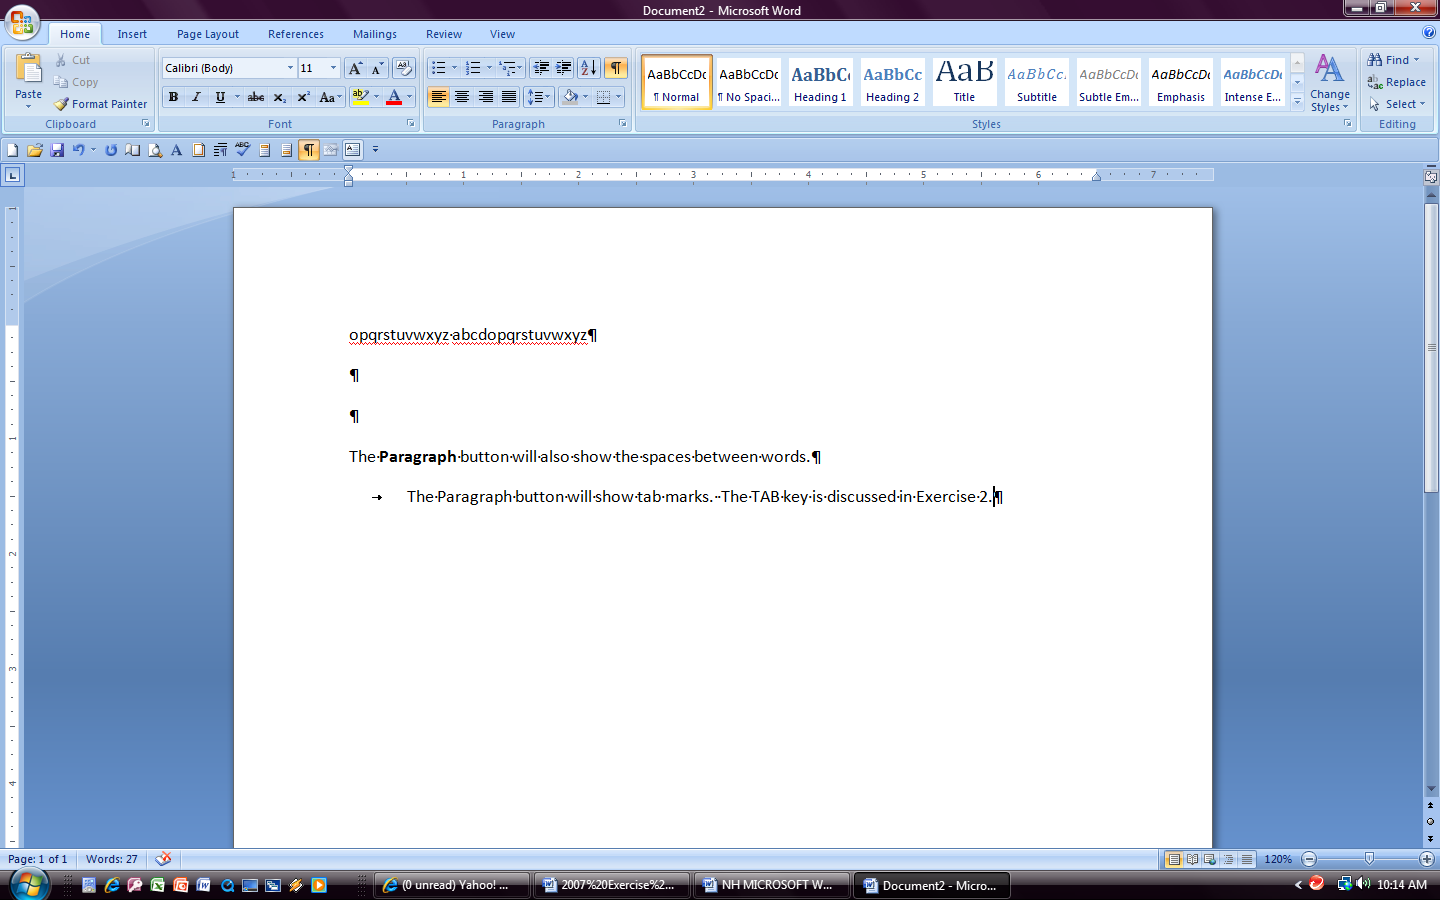
The document should now look something like the illustration
below.

|
-
This feature will show you more than where the paragraphs are.
|
-
How are spaces illustrated? ___________________________
-
How many spaces are between sentences? ___________________
-
Tab marks
are illustrated by the little arrow. As a default, a single tab
equals 5 spaces. The illustartion looks like more, because it
has been blown up, increased in size.
|
-
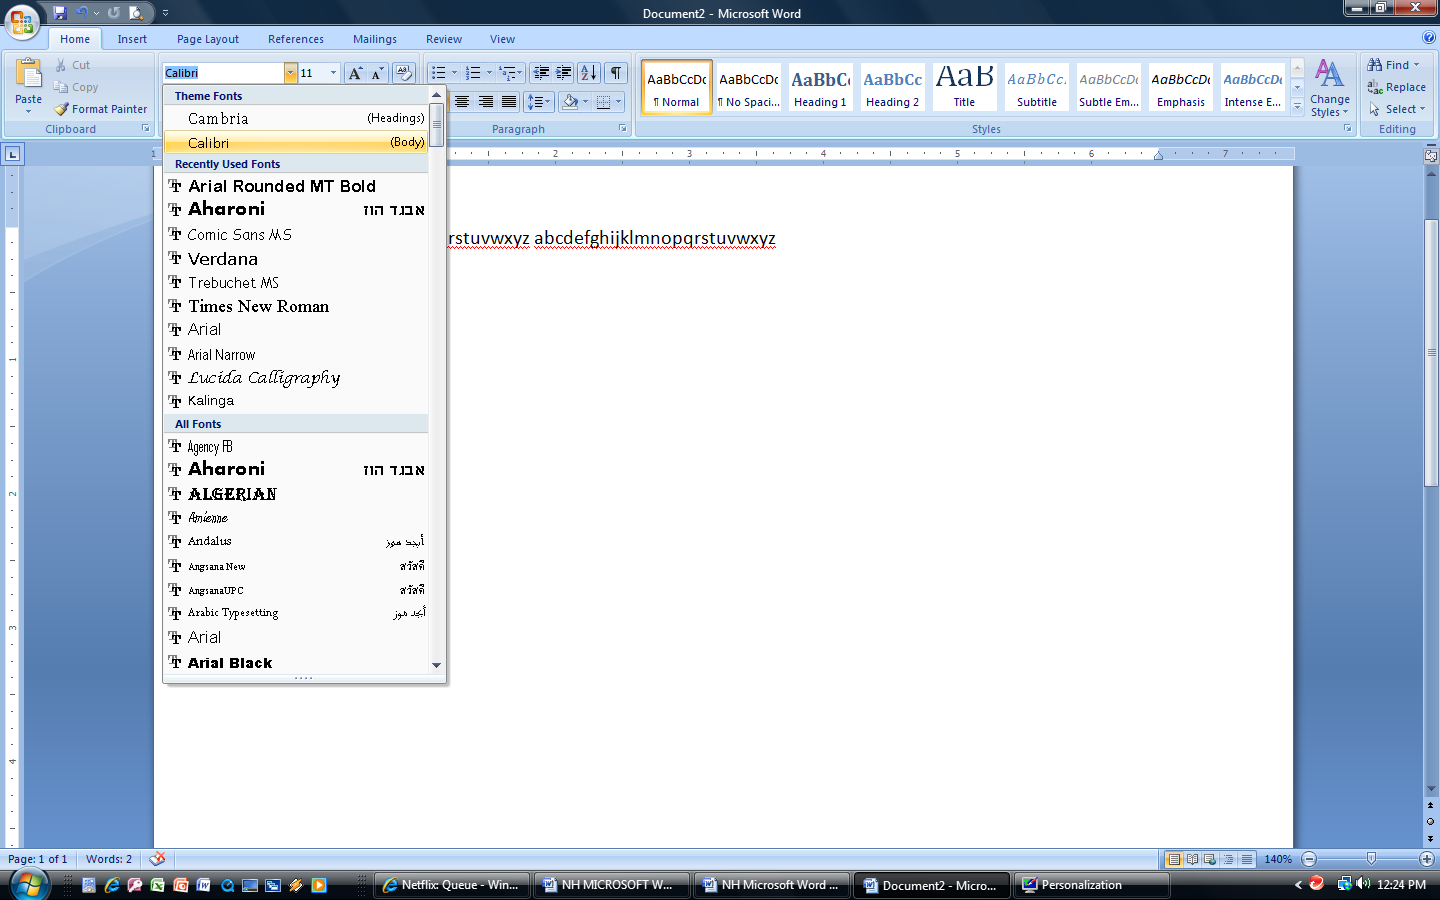
 Look
at the Home
tab and the Font
toolbox. (This step will not work if the words are not
highlighted.) Click
on the little arrow next to “Calibri” to look at the drop
down menu. Look
at the Home
tab and the Font
toolbox. (This step will not work if the words are not
highlighted.) Click
on the little arrow next to “Calibri” to look at the drop
down menu.
-
Click
on another
Font Name to change
the way the letters look.
-
Use the
Scroll Bar to view the entire list
of options.
|
|
-
Change
the font 3 times
for practice.
-
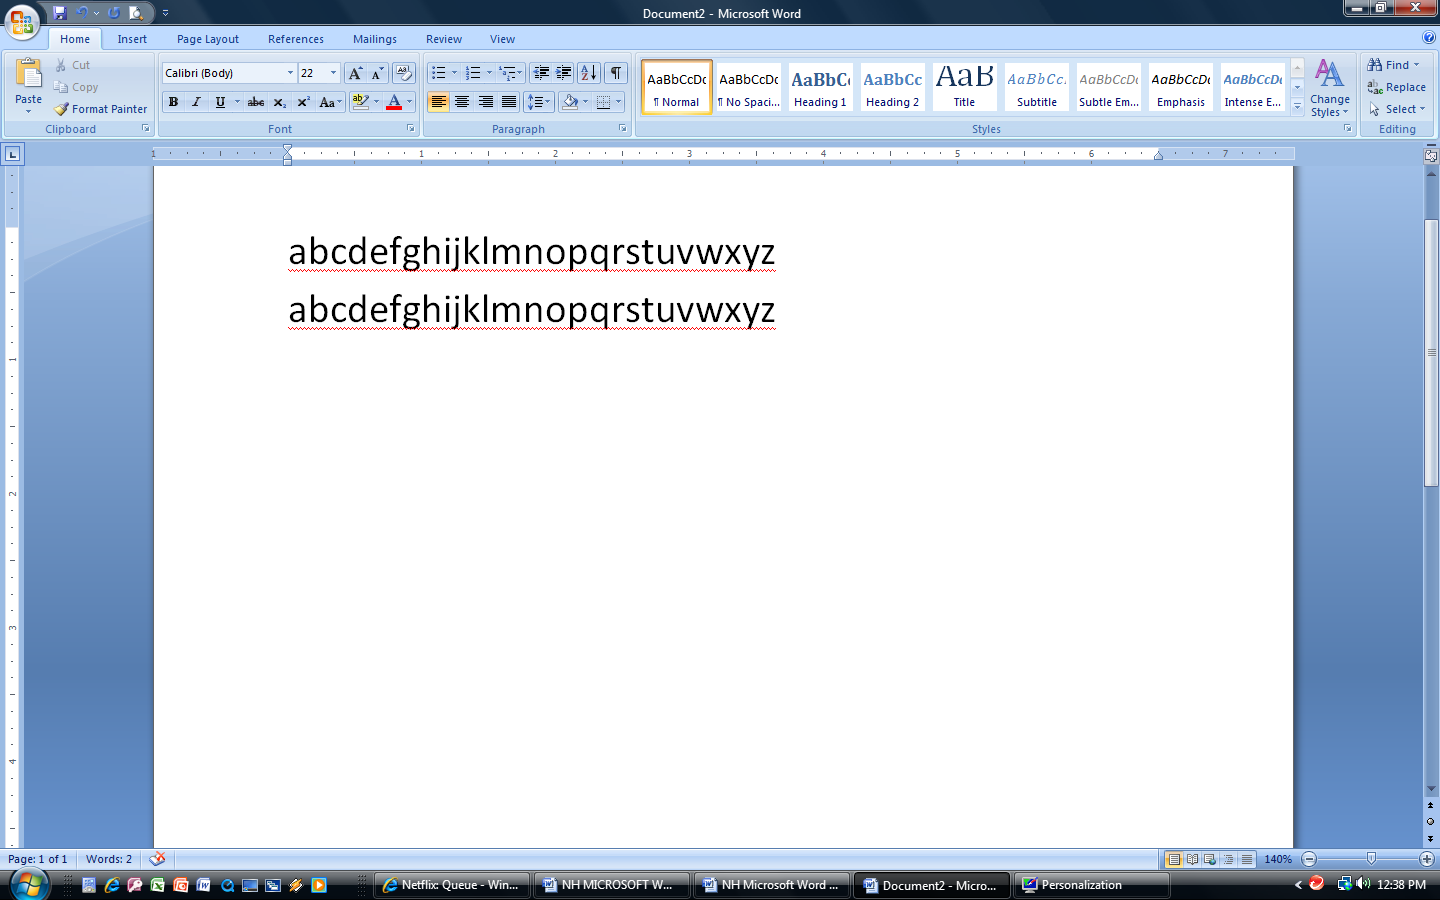
Now
Click
on the drop down arrow next to the number 11 to change
the Font Size.
-
Click
on a larger number.
|

|
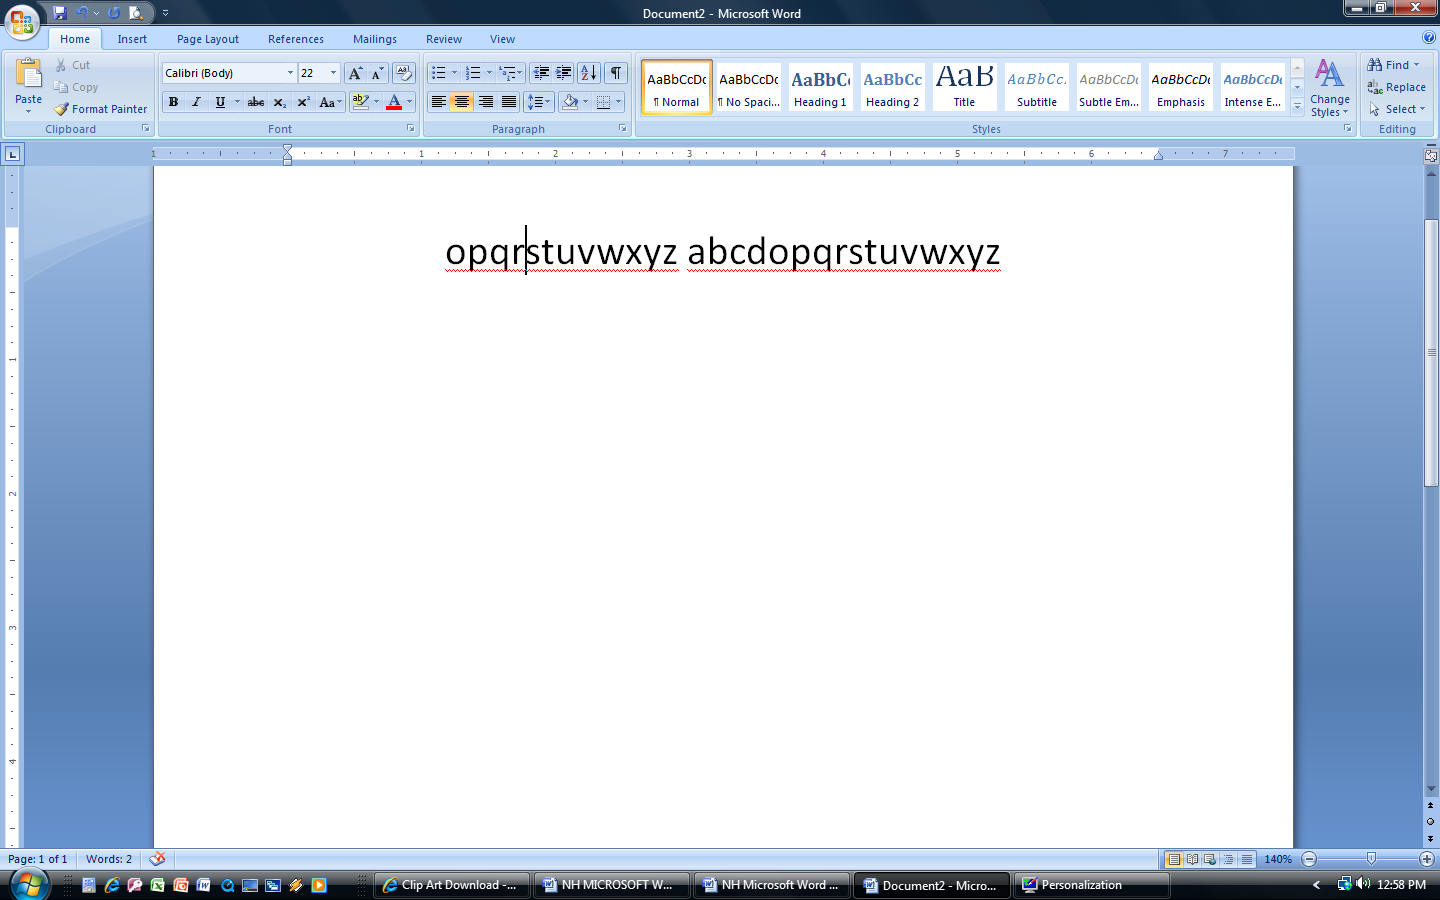
-
 Click
between the “n” and the “o” in the first alphabet to
place the cursor there. Click
between the “n” and the “o” in the first alphabet to
place the cursor there.
|
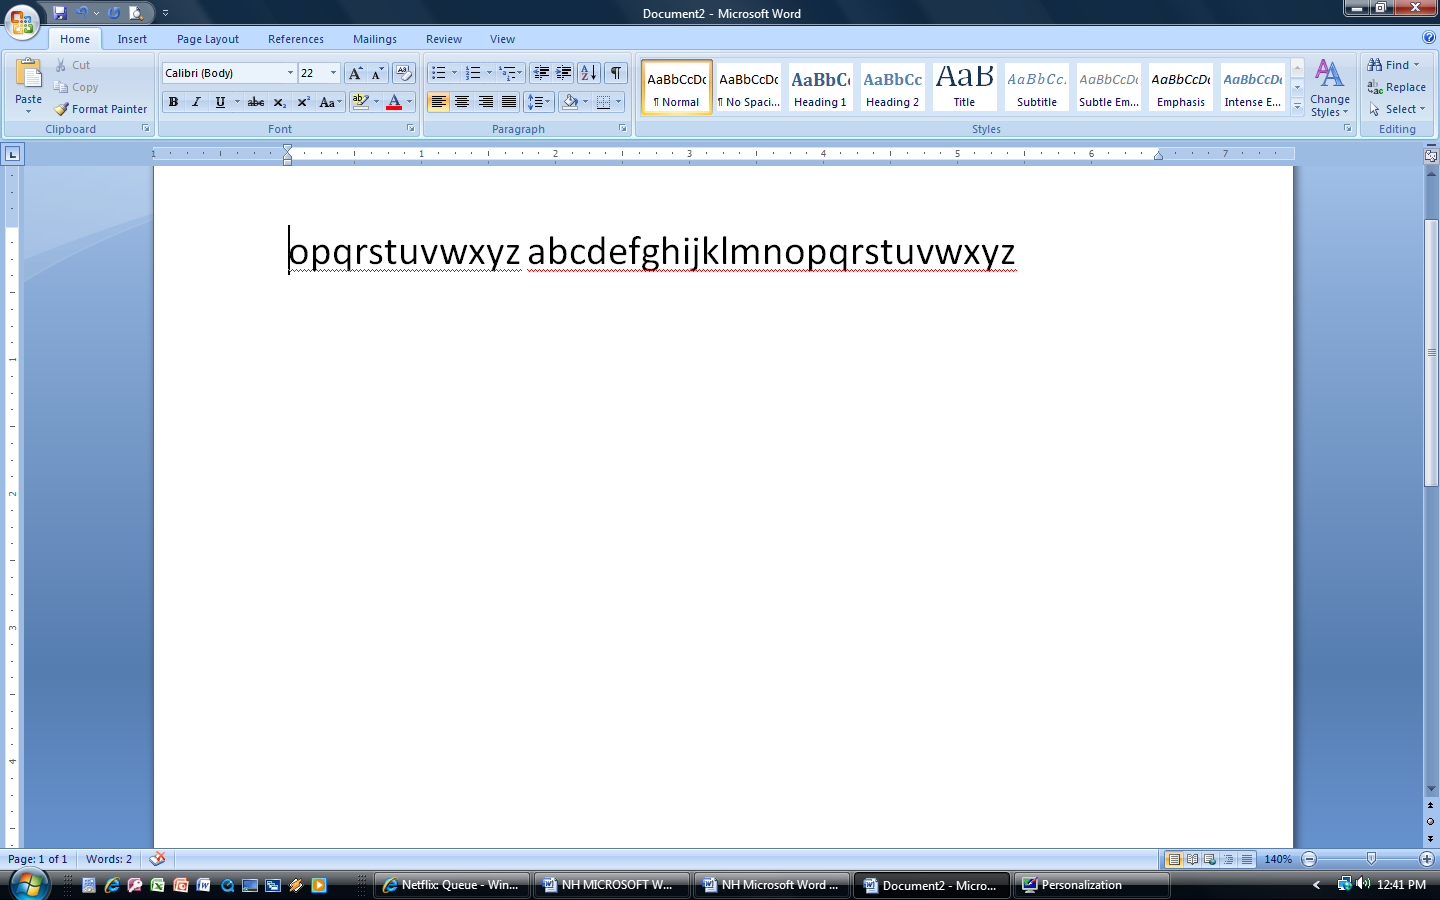
-
 On
the keyboard Press
the BACKSPACE
key several times to erase
everything before “o”. On
the keyboard Press
the BACKSPACE
key several times to erase
everything before “o”.
 
|
-
 Next
Click
just after the “d” in the second alphabet to place the cursor
there. Next
Click
just after the “d” in the second alphabet to place the cursor
there.
|
-
 On
the keyboard Press
the DELETE
key several times to erase everything between the “d” and the
“o”. On the Laptop it is in the far upper right hand corner. On
the keyboard Press
the DELETE
key several times to erase everything between the “d” and the
“o”. On the Laptop it is in the far upper right hand corner.
 
|
-
Highlight
all of the text using any one of the ways practiced earlier.
|
-
On the
Home
tab under the Paragraph
toolbox, Click
on the CENTER
button.
|
|
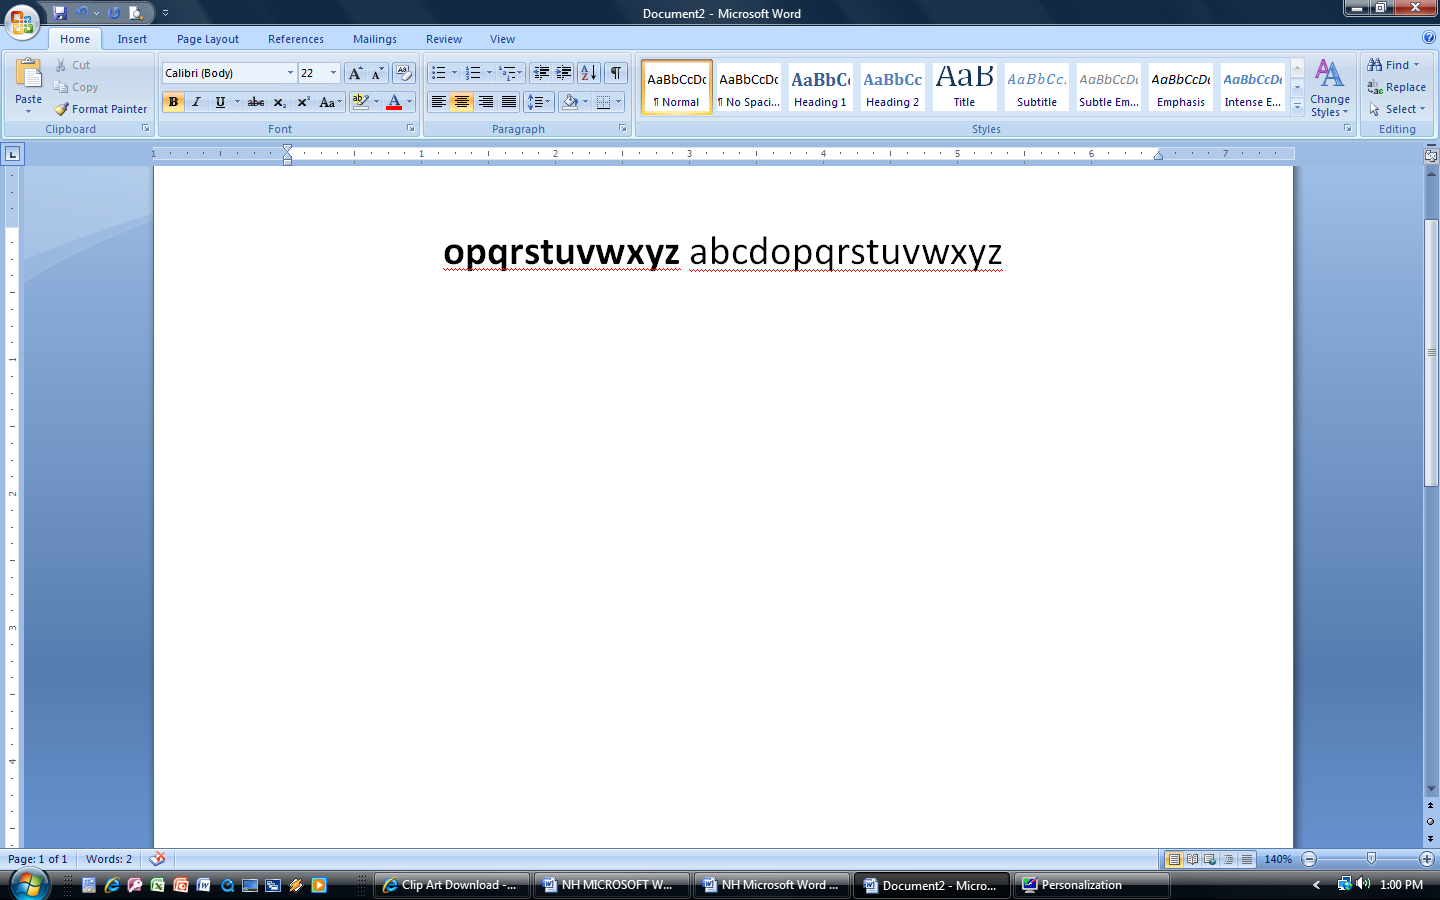
-
The text
should still be highlighted. On the Home
tab under the Font
toolbox, Click
on the B
button to make the text Bold.
|
|
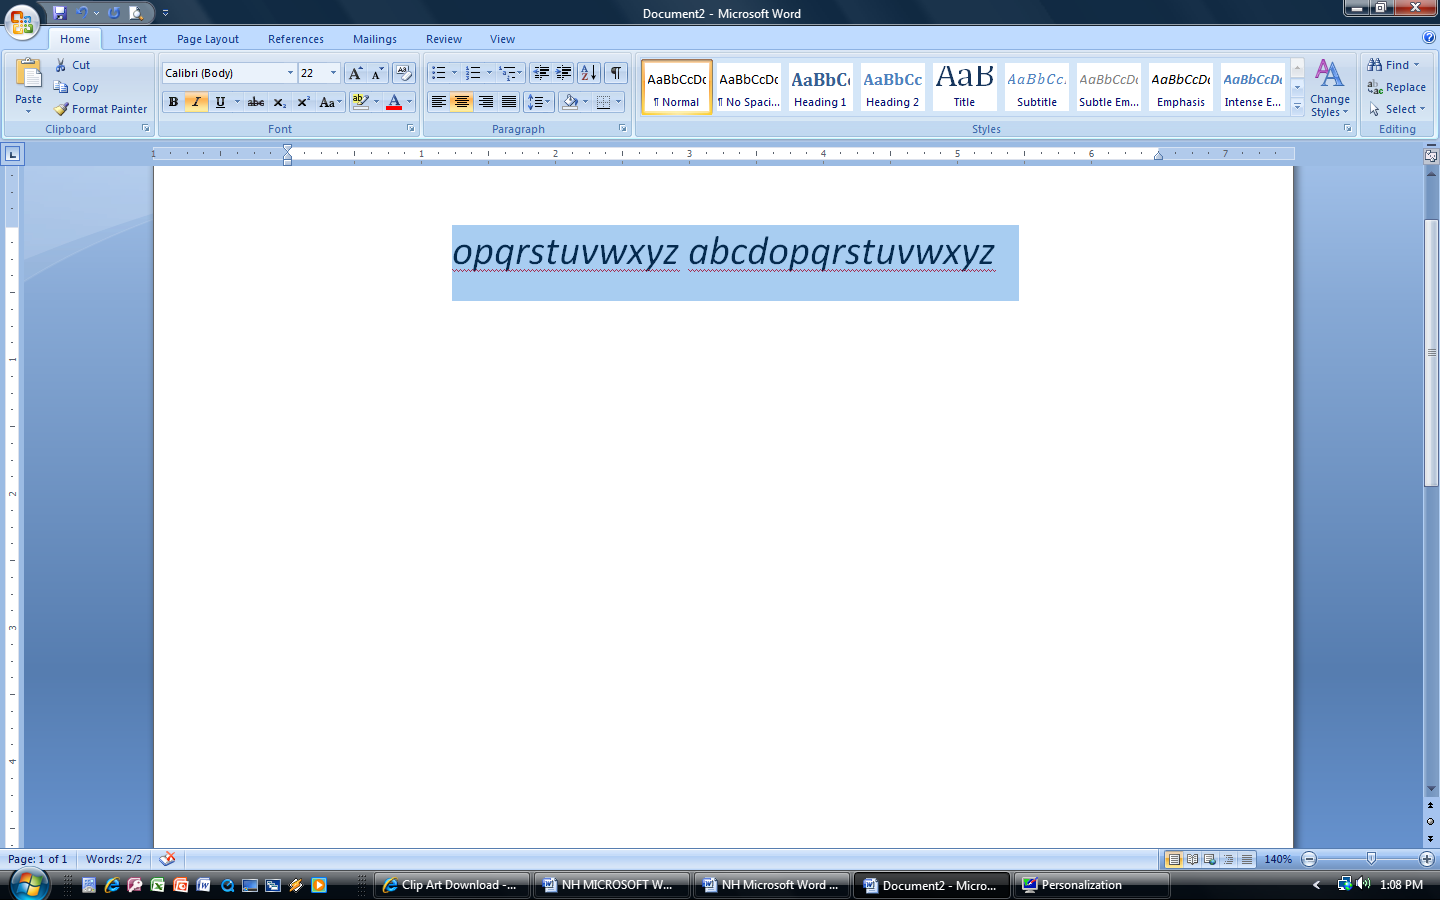
-
Click
on the I
button in the Font
toolbox to make the text Italicized.
|
|
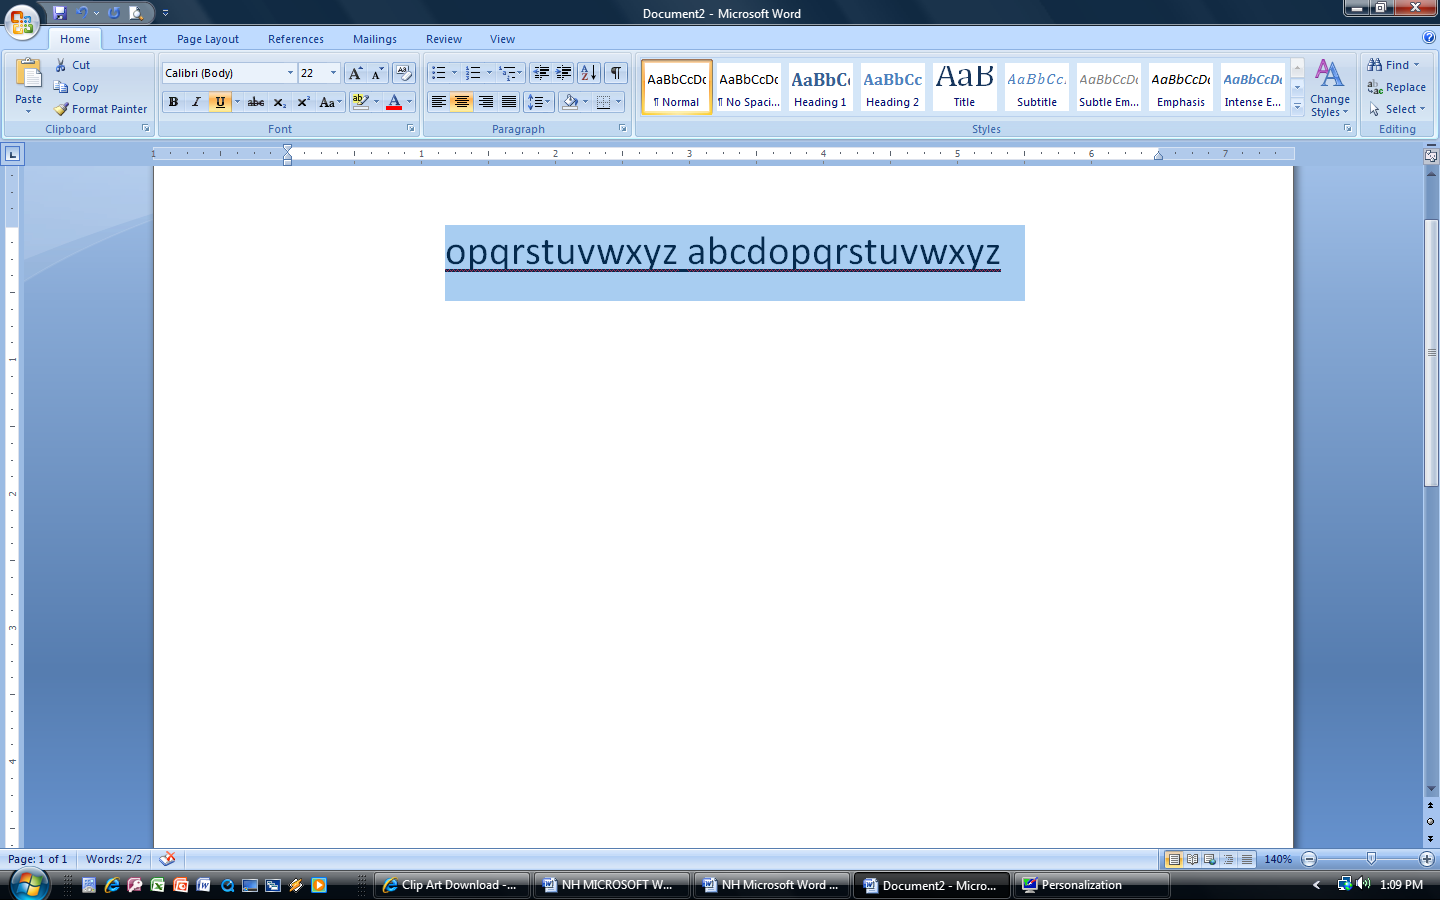
-
Click
on the U
button in the Font
toolbox to make the text Underlined.
|
|
-
Exercise
1 almost complete.
Ask a teacher to check your work.
The teacher will sign
in the box.
|
|
|
|
|
-
 Click
on the Microsoft
Office button. Click
on the Microsoft
Office button.
-
 Click
on
CLOSE. Do not save. Click
on
CLOSE. Do not save.
|
|
|
Cite
|
To mention something as an example or proof of
something else: The mayor cited the
latest crime of figures as proof of the need for more police.
THESAURUS: mention, refer to, note, raise, allude to,
bring up
|
|
Default
|
The standard way in which things are arranged
on a computer screen or in a program unless they are changed by
the user
|
|
Definition
|
A phrase or sentence that says exactly what a
word or phrase, or idea means: What’s the definition
of “Deformation?” | a dictionary
definition.
|
|
Feature
|
An important, interesting, or typical part of
something: Anti-virus software is a standard feature
in all our computers. | One of the best features
of this camera is its size. THESAURUS: characteristic,
quality, trait, attribute, property, aspect.
|
|
Font
|
A set of printed letters that is a particular
size and shape.
|
|
Function
|
The usual purpose of a thing, or the job that
someone usually odes: What’s the exact function
of this program? | A manager has to perform many
different functions.
|
|
Italics
|
A type of printed letters that lean to the
right: This example is printed in italics.
|
|
Thesaurus
|
A book in which words are put into groups with
other words that have a similar meaning.
|


 opy
and Paste functions
opy
and Paste functions