

Шпаргалки / sborka_4x4
.pdfStart it!
If the arrows near the figures are straight, then we must look the front side of the cube. 
If the arrows are curved, then we must look the upper side. 
If you need more help click here!
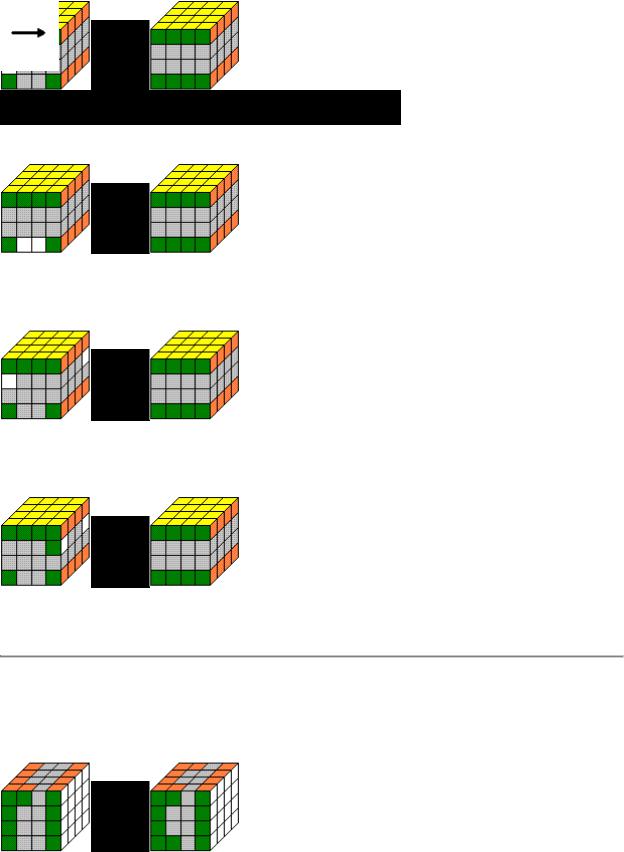
1st step: Solving the white centers
Now we will solve the whole white center. This is like solving the upper side of the 2x2x2 cube, but now we will move only the two inner layers.
We start here and the result will be this:
If you have problems take a look at here to learn how to solve the upper side of the 2x2x2 cube.
2nd step: Solving the yellow centers
Now we will solve the whole yellow center, but the white centers mustn't move away!
It is not so difficult. Try to place a yellow center next another yellow center on the 2 middle layers. After this move it to the place of the yellow side and then move the white centers back! Putting in the second pair is a bit more difficult: Move it under the previous pair, move the other layer down, place the pair into this layer (F2) and move it back.
And now we are wondering: the yellow center is ready and we didn't mess up the white centers! (If not, you didn't do it well!)
We start here and the result will be this:

3rd step: Solving the white corners
Very simple: This is the same as the solution of the white corners of the 2x2x2 or the 3x3x3 cube.
As such I don't write it down again. We start here and the result will be this:
4th step: Solving the yellow corners
This is the same as solving the bottom corners of the 2x2x2 or the 3x3x3 cube. So I won't go into details.
We start here and the result will be this:
5th step: Solving the white edges (Except one)
This step is so monotone and boring.
Now we will solve almost all of the white edges. But (because of the next step) we have to leave out one of the edge pairs.
We start here and the result will be this:
5.1 step: If the white edge is on one of the middle layers:
5.2 step: If the white edge is on the lower layer:

5.3 step: If the white edge is on the bottom side (yellow side):
Now we will take out the edge from the bottom side, and do step 5.1.
6th step: Solving the yellow edges
The movements we'll use are similar to the movements of solving the white edges. Move the "hole" on the white side under the place of the yellow edge which you are going to put in. We start here and the result will be this:
7th step: Place the two remaining white edges
Now we really have to learn some algorithms.
We start here and the result will be this:
7.1 step: If the white edges are in two different layers, on the right:
7.2 step: If the white edges are in two different layers, on the left:
It is the same as the 7.1 just it's inversed.
7.3 step: If the white edges are in two different layers on the lower layer:
7.1 +  + 7.2
+ 7.2
7.4 step: If the white edges are in the same layer:
7.2 + 7.2 +  + 7.1
+ 7.1
7.5 step: If the white edges are in the same layer, next to each other:
7.1 + 7.1 + 
 + 7.1
+ 7.1
8th step: Solving the remaining edges
We start here and the result will be this:
8.1 step: Put in the second edge of the first layer:

8.2step: Put in the third edge of the first layer:
8.3step: Put in the last edge of the first layer:
8.4step: Swap the edges of the second layer:
Using this movement you can solve all situations.
9th step: Solving the remaining centers
There are not many remaining things. (In fact, there're many things but it's enough to know only one algorithm.)
We start here and the result will be this:
Do it like this:
Before doing he algorithm you can rotate all sides so you can swap any of the centers. (But when you're ready don't forget to rotate them back!)

10th step: Be glad, the cube is solved!