

Beginning Visual Basic 2005 (2006)
.pdfChapter 10
One way would be to look at the Speed property. If this is zero, it can be assumed that the car has stopped. (On most cars the speed is not reported when the car is moving in reverse. So assume, for now, that you have only forward gears!) However, relying on the developers using the object to understand this relies on their having an understanding of whatever is being modeled. Common sense tells us that an object with a speed of “zero mph” is stationary, but should you assume anyone consuming the object shares your idea of common sense?
Instead, it’s good practice to create methods that deal with these eventualities. One way you can solve this problem is by creating an IsMoving method.
Try It Out |
Adding an IsMoving Method |
1.All the IsMoving method needs in order to work is a simple test to look at the speed of the car and make a True or False determination as to whether it’s moving. Add this code to the Car class after the NumberOfDoors property:
‘IsMoving - is the car moving? Public Function IsMoving() As Boolean
‘Is the car’s speed zero? If Speed = 0 Then
Return False
Else
Return True End If
End Function
2.To test this method, make these changes to the Main procedure in Module1 with this new code as indicated:
Sub Main()
‘Create a new car object Dim objCar As New Car
‘Accelerate the car to 25mph objCar.Accelerate(25)
‘Report whether or not the car is moving If objCar.IsMoving = True Then
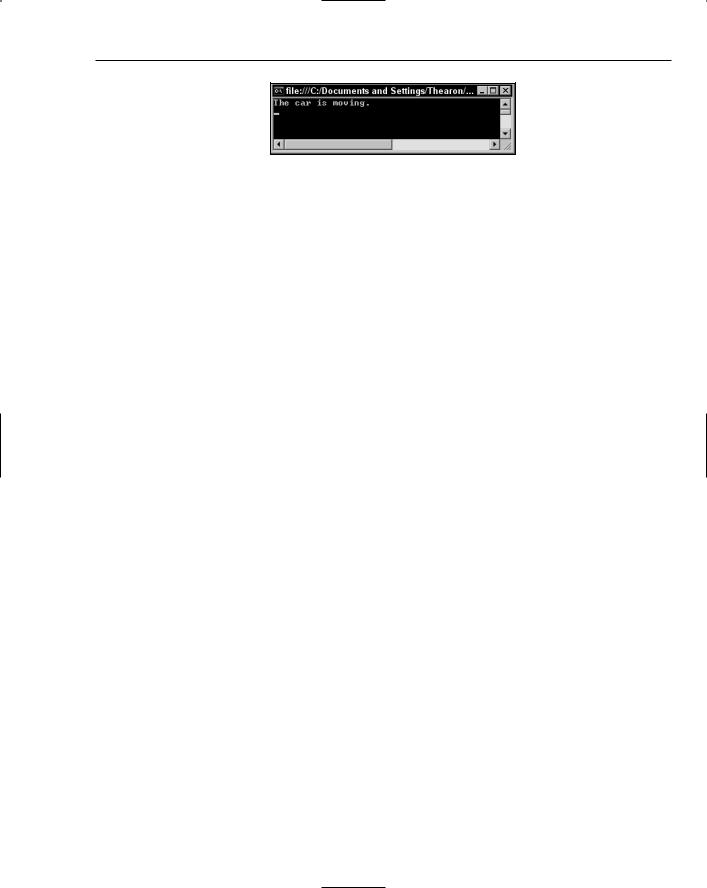
Console.WriteLine(“The car is moving.”)
Else
Console.WriteLine(“The car is stopped.”) End If
‘Wait for input from the user Console.ReadLine()
End Sub
3.Now try running the project. A new window will appear similar to Figure 10-4.
326
Building Objects
Figure 10-4
How It Works
You created a simple method that examines the value of the Speed property and returns True if the speed is not zero, False if it is.
‘IsMoving - is the car moving? Public Function IsMoving() As Boolean
‘Is the car’s speed zero? If Speed = 0 Then
Return False
Else
Return True End If
End Function
Although this method is simple, it removes the conceptual leap required on the part of the consumer to understand whether the object is moving. There’s no confusion as to whether the car is moving based on interpreting the value of one or more properties; one simple method returns a definitive answer.
Of course, before you go off building hundreds of methods for every eventuality, remember that ironically, the more methods and properties an object has, the harder it is to understand. Take care while designing the object and try to strike the right balance between too few and too many methods and properties.
You may be wondering why you used a method here when this is actually a property. All you are doing is reporting the object’s state without affecting its behavior. There is no reason for not using a property here. However, using a method does remind users of the object that this value is calculated and is not a simple report of an internal variable. It also adds a bit of variety to your examples and reminds you how easy it is to add a method!
Constr uctors
One of the most important aspects of object design is the concept of a constructor. As mentioned in Chapter 9, this is a piece of initialization code that runs whenever an object is instantiated. It’s extremely useful for occasions when you need the object to be set up in a particular way before you use it. For example, it can be used to set up default values, just as you did for the number of doors earlier.
Creating a Constructor
In this Try It Out, you take a look at a simple constructor.
327

Chapter 10
Try It Out |
Creating a Constructor |
1.For the sake of this discussion, you’re going to remove the default value of 5 from the _numberOfDoors member. Make this change to the Car class:
Public Color As String
Private _speed As Integer
Private _numberOfDoors As Integer
2.Now, add this method, which will form the constructor. Any code within this method will be executed whenever an object is created from the Car class:
‘Constructor Public Sub New()
‘Set the default values Color = “White”
_speed = 0 _numberOfDoors = 5
End Sub
Setting the _speed to 0 here is actually redundant, as it will have that value already (since all Integer variables are set to 0 when they are declared), but it’s included to make the example complete.
3.To test the action of the constructor, you’re going to create a separate procedure that displays the car’s details. Add the DisplayCarDetails procedure in Module1:
‘DisplayCarDetails - procedure that displays a car’s details Sub DisplayCarDetails(ByVal theCar As Car)
‘Display the details of the car Console.WriteLine(“Color: “ & theCar.Color)
Console.WriteLine(“Number of doors: “ & theCar.NumberOfDoors) Console.WriteLine(“Current speed: “ & theCar.Speed)
End Sub
4.Now modify the Main procedure in Module1 to call the DisplayCarDetails procedure:
Sub Main()
‘Create a new car object Dim objCar As New Car
‘Display the details of the car
DisplayCarDetails(objCar)
‘Wait for input from the user Console.ReadLine()
End Sub
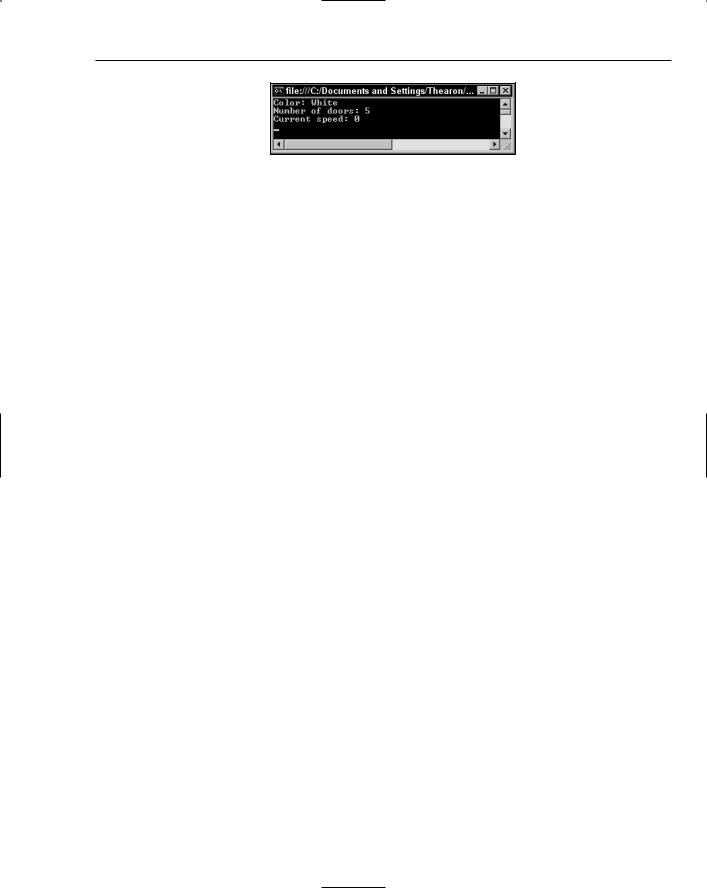
5.Now try running the project, and you should see an output similar to Figure 10-5.
328
Building Objects
Figure 10-5
How It Works
The code in the constructor is called whenever an object is created. This is where you take an opportunity to set the values for the members:
‘Constructor Public Sub New()
‘Set the default values Color = “White”
_speed = 0 _numberOfDoors = 5
End Sub
You see the results of the changes made to the properties when you run the project and see the details of the car displayed in the window. A constructor must always be a subroutine (defined with the Sub keyword) and must always be called New. This provides consistency in the .NET Framework for all class constructors and the framework will always execute this procedure when a class is instantiated.
When you test the object, you use a separate function called DisplayCarDetails in Module1. This is useful when you need to see the details of more than one Car object or want to see the details of the Car object multiple times in your code.
Inheritance
Although the subject of inheritance is quite an advanced object-oriented programming topic, it is really useful. In fact, the .NET Framework itself makes heavy use of it, and you have already created classes that inherit from another class — every Windows form that you write is a new class inherited from a simple blank form (the starting point when you create a form).
Inheritance is used to create objects that have “everything another object has, but also some of their own bits and pieces.” It’s used to extend the functionality of objects, but it doesn’t require you to have an understanding of how the internals of the object work. This is in line with your quest of building and using objects without having to understand how the original programmers put them together.
Inheritance enables you to, in effect, take another class and bolt on your own functionality, either by adding new methods and properties or by replacing existing methods and properties. For example, you can move from a general car class to more specific variations — for example, sports car, SUV, van, and so on.
329
Chapter 10
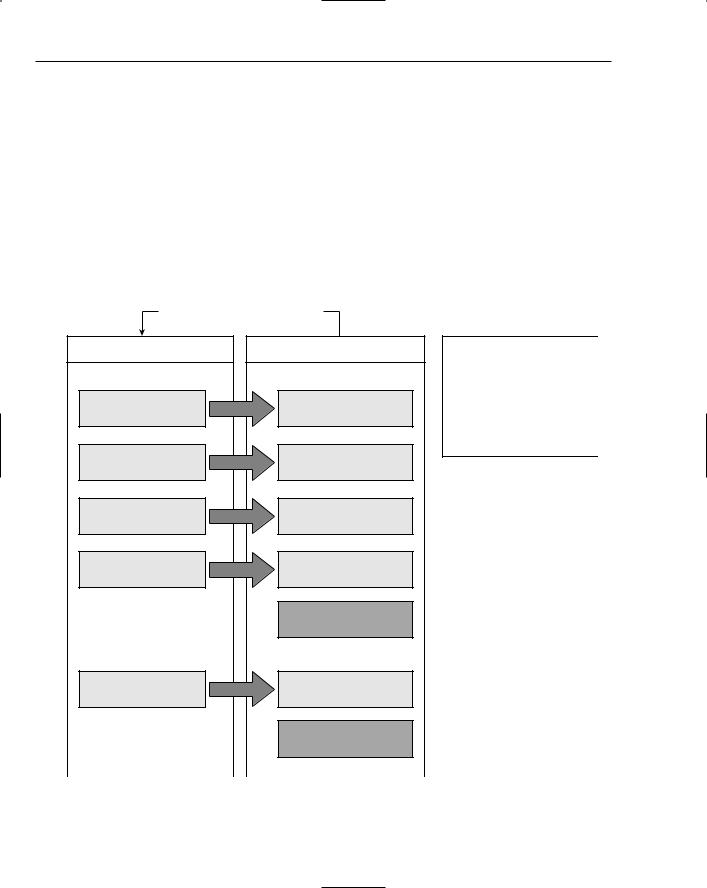
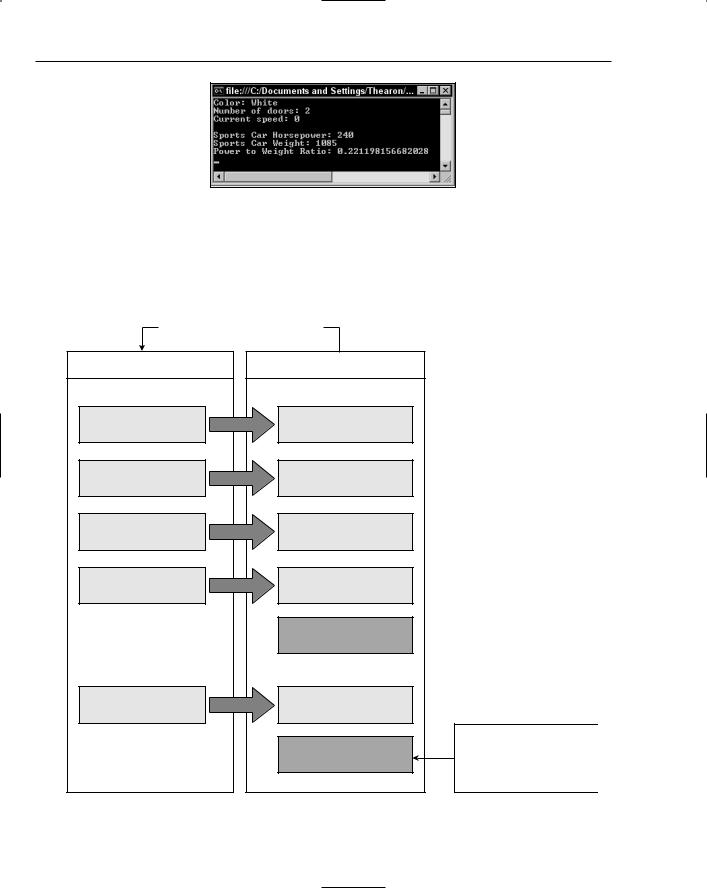
So, if you wanted to model a sports car, it is likely that you would want to have a default number of doors as 2 instead of 5, and you might also like to have properties and methods that help you understand the performance of the car, such as Weight and PowerToWeightRatio, as shown in Figure 10-6.
One thing that you need to understand about inheritance is the way that access to public and private members is controlled. Any public member, such as Color, is accessible to inheriting classes. However, private members such as _speed are not. This means that if SportsCar has to change the speed of the car, it has to do so through the properties and methods provided in the Car class itself.
In other commonly encountered terminology, the inheriting class is called a derived class, and the class it inherits from is its base class. Car is the base class from which SportsCar is derived. The terms subclass and superclass are also used. SportsCar is a subclass of Car; Car is the superclass of Sports Car. The “sub” and “super” prefixes mean the same as they do in speaking of subsets and supersets in mathematics.
SportsCar “inherits” from Car |
|
||
Car |
SportsCar |
All of the methods and |
|
|
|
properties implemented on |
|
Properties |
Properties |
Car are now available |
|
|
|
to consumers of SportsCar. |
|
Color |
Color |
Plus, SportsCar has the |
|
opportunity to add its own |
|||
|
|
||
|
|
methods and properties |
|
|
|
to suit its own needs. |
|
HorsePower |
HorsePower |
|
|
Speed |
Speed |
|
|
NumberOfDoors |
NumberOfDoors |
|
|
|
Weight |
|
|
Methods |
Methods |
|
|
Accelerate |
Accelerate |
|
|
|
GetPowerToWeightRatio |
|
|
Figure 10-6 |
|
|
|
330

Building Objects
Adding New Methods and Properties
To illustrate inheritance, in the next Try It Out you create a new class called SportsCar, which inherits from Car and enables you to see the power-to-weight ratio of your sports car.
Try It Out |
Inheriting from Car |
1.For the purpose of this demonstration, you need to add an additional public variable to the Car class that represents the horsepower of the car. Of course, if you want to make it really robust, you would use a property and ensure a sensible range of values. But here, simplicity and speed win out. Open the Car class and add this line of code as indicated:
Public Color As String
Public HorsePower As Integer
Private _speed As Integer
Private _numberOfDoors As Integer
2.Now, create a new class in the usual way by right-clicking the Objects project in the Solution Explorer and selecting Add Class. Enter the name of the class as SportsCar.vb and click Add.
3.To tell SportsCar that it inherits from Car, you need to use the Inherits keyword. Add this code to SportsCar:
Public Class SportsCar
Inherits Car
End Class
4.At this point, SportsCar has all the methods and properties that Car has. What you want to do now is add a new public variable called Weight to the SportsCar class:
Public Weight As Integer
5.To test the new class you need to add a new procedure to Module1. Add the following procedure:
‘DisplaySportsCarDetails - procedure that displays a sports car’s details Sub DisplaySportsCarDetails(ByVal theCar As SportsCar)
‘Display the details of the sports car Console.WriteLine()
Console.WriteLine(“Sports Car Horsepower: “ & theCar.HorsePower) Console.WriteLine(“Sports Car Weight: “ & theCar.Weight)
End Sub
6.Now you need to modify the Main procedure in Module1. Pay close attention to the fact that you need to create a SportsCar object, not a Car object, in order to get at the Weight property. Add the new code as indicated:
Sub Main()
‘Create a new sports car object
Dim objCar As New SportsCar
331
Chapter 10
‘Modify the number of doors objCar.NumberOfDoors = 2
‘Set the horsepower and weight(kg) objCar.HorsePower = 240 objCar.Weight = 1085
‘Display the details of the car DisplayCarDetails(objCar)
DisplaySportsCarDetails(objCar)
‘Wait for input from the user Console.ReadLine()
End Sub
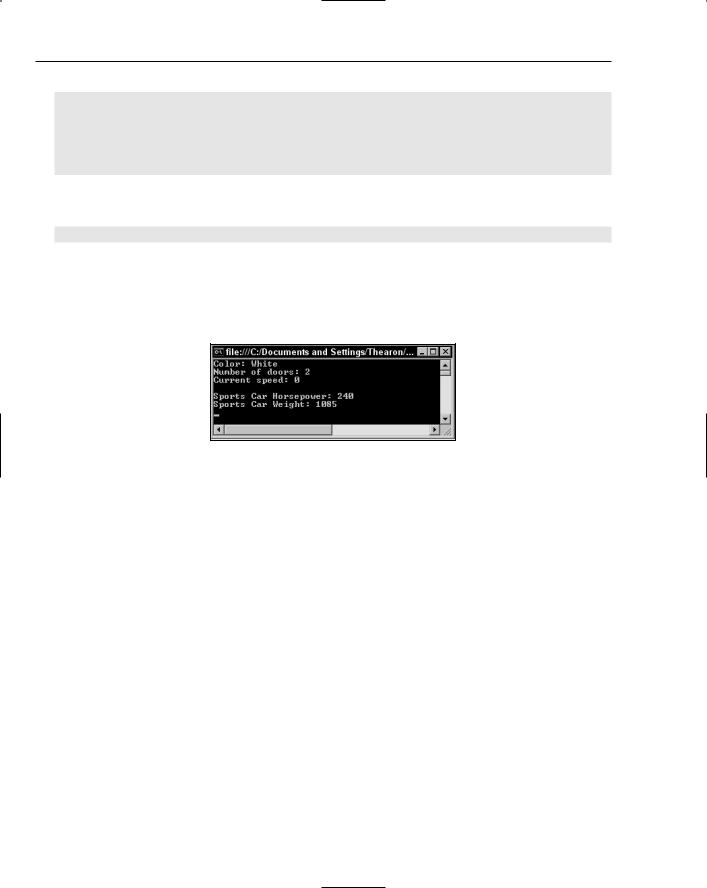
7.Try running the project and you’ll see an output similar to that shown in Figure 10-7.
Figure 10-7
How It Works
The directive to make SportsCar inherit from Car is done with the Inherits keyword:
Public Class SportsCar
Inherits Car
At this point, the new SportsCar class contains all the methods and properties in the Car class, but it cannot see or modify the private member variables. When you add your new property:
Public Weight As Integer
you now have a new property that’s available only when you create instances of SportsCar and not available to you if you are creating plain instances of Car. This is an important point to realize — if you don’t create an instance of SportsCar, you’ll get a compile error if you try to access the Weight property. Weight isn’t, and never has been, a property of Car (see Figure 10-6 for a clarification of this situation).
The new DisplaySportsCarDetails procedure displays the Horsepower property from the Car class and the Weight property from the SportsCar class. Remember that, since the SportsCar class inherits from the Car class, it contains all of the methods and properties in the Car class:
‘DisplaySportsCarDetails - procedure that displays a sports car’s details Sub DisplaySportsCarDetails(ByVal theCar As SportsCar)
332

Building Objects
‘Display the details of the sports car Console.WriteLine()
Console.WriteLine(“Sports Car Horsepower: “ & theCar.HorsePower) Console.WriteLine(“Sports Car Weight: “ & theCar.Weight)
End Sub
You instantiate a new SportsCar object in your Main procedure, and this allows you to get and set the value for the Weight property:
‘Create a new sports car object Dim objCar As New SportsCar
You are able to call the DisplayCarDetails procedure and pass it a SportsCar object, because
SportsCar is a subclass of Car — that is, every SportsCar is also a Car. The DisplayCarDetails procedure does not access any of the properties of the SportsCar class, so call this procedure passing it the SportsCar object that you created. You then call the DisplaySportsCarDetails procedure to display the properties of both the Car class and the SportsCar class:
‘Display the details of the car DisplayCarDetails(objCar) DisplaySportsCarDetails(objCar)
Adding a GetPowerToWeightRatio Method
A GetPowerToWeightRatio method could be implemented as a read-only property (in which case you would probably call it PowerToWeightRatio instead), but for this discussion you’ll add it as a method in the next Try It Out.
Try It Out |
Adding a GetPowerToWeightRatio Method |
1.For this method, all you need to do is divide the horsepower by the weight. Add this code to the
SportsCar class:
‘GetPowerToWeightRatio - work out the power to weight Public Function GetPowerToWeightRatio() As Double
‘Calculate the horsepower
Return CType(HorsePower, Double) / CType(Weight, Double) End Function
2.To see the results, add the highlighted code to the DisplaySportsCarDetails procedure in Module1:
‘DisplaySportsCarDetails - procedure that displays a sports car’s details Sub DisplaySportsCarDetails(ByVal theCar As SportsCar)
‘Display the details of the sports car Console.WriteLine()
Console.WriteLine(“Sports Car Horsepower: “ & theCar.HorsePower) Console.WriteLine(“Sports Car Weight: “ & theCar.Weight)
Console.WriteLine(“Power to Weight Ratio: “ & theCar.GetPowerToWeightRatio) End Sub
Run the project and you’ll see something similar to Figure 10-8.
333
Chapter 10
Figure 10-8
How It Works
Again, all you’ve done is add a new method to the new class called GetPowerToWeightRatio. This method then becomes available to anyone working with an instance of SportsCar as shown in Figure 10-9.
SportsCar “inherits” from Car |
|
|
Car |
SportsCar |
|
Properties |
Properties |
|
Color |
Color |
|
HorsePower |
HorsePower |
|
Speed |
Speed |
|
NumberOfDoors |
NumberOfDoors |
|
|
Weight |
|
Methods |
Methods |
|
Accelerate |
Accelerate |
|
|
|
A new method is added |
|
GetPowerToWeightRatio |
and is only available to |
|
|
consumers of SportsCar, |
|
|
not consumers of Car. |
Figure 10-9 |
|
|
334

Building Objects
The only thing you have to be careful of is that if you divide an integer by an integer you get an integer result, but what you actually want here is a floating-point number. You have to convert the integer HorsePower and Weight properties to Double values in order to see the results:
‘Calculate the horsepower
Return CType(HorsePower, Double) / CType(Weight, Double)
Changing Defaults
In addition to adding new properties and methods, you might want to change the way an existing method or property works from that of the base class. To do this, you need to create your own implementation of the method or property.
Think back to the discussion on constructors. These are methods that are called whenever the object is created and let you get the object into a state where it can be used by a developer. In this constructor you set the default _numberOfDoors value to be 5. However, in a sports car, this number should ideally be 2, which is what you set using the NumberOfDoors property. But wouldn’t it be nice to have this automatically done in the constructor of the SportsCar class?
If you are creating a derived class want to replace a method or property existing in the base class with your own, the process is called overriding. In this next Try It Out, you learn how to override the base class’s constructor.
Try It Out |
Overriding a Constructor |
1.To override the constructor in the base class, all you have to do is create your own constructor in the SportsCar class. Add this code to SportsCar:
‘Constructor Public Sub New()
‘Change the default values
Color = “Green”
NumberOfDoors = 2
End Sub
2.Remove the following code from the Main procedure in Module1.
‘Modify the number of doors
objCar.NumberOfDoors = 2
3.Run your project to test your constructor in the SportsCar class. You should see output similar to Figure 10-10.
Figure 10-10
335