Добавил:
Опубликованный материал нарушает ваши авторские права? Сообщите нам.
Вуз: Предмет: Файл:

Beginning ASP.NET 2

.0.pdf
Скачиваний:
23
Добавлен:
17.08.2013
Размер:
24.67 Mб
Скачать

VWD Database Explorer

Explore a Table’s Structure

In addition to the Database Diagram, you can look at tables through the Table node of the Database Explorer:

1.Starting in Database Explorer, expand the list of databases and then the database of interest. Expand the Tables node and select a table name (for example MatchReports). In the Properties window, shown in Figure D-15, you will see the approximate number of records.

Figure D-15

2.Double-click a table name to open a list of the columns (fields) and populate the Properties windows with data on the table as a whole, as shown in Figure D-16.

689

Appendix D

Figure D-16

These metadata can be changed in this view, assuming that you have the rights to make changes to the database structure.

Observe and Edit Data of Existing Tables

If you right-click a table name in the Tables node of Database Explorer, you’ll see an option to Show Table Data. This is a quick way to find out if your data-enabled web pages are actually carrying out their tasks. You can also add, modify, or delete records by hand to test results in data-reading pages.

Be extremely careful about changing data in the Show Table Data tool. For example, deletions or changes of customers may divorce them from their orders. In some databases, the addition of a record may require the addition of a partner record in another table. A simple correction to a spelling mistake may cause a failure to properly look up data that is based on the old spelling. If you thoroughly understand the schema and are changing independent data, you may avoid trouble. But in most cases it is better to make revisions based on the interface that ensconces proper validation, limits, and controls.

690

VWD Database Explorer

Create a New Database

It is rare that you will use VWD to create a database from scratch. Good databases require the kind of planning and implementation tools that are strongest in the tools that come with your database management system. However, in the case of a small and simple database, VWD does offer the necessary planning and implementation tools. You can add a new database in two ways: directly in the Database Explorer or by adding a SQL Database through the Add New Item menu in Solution Explorer.

1.In the Database Explorer, right-click Data Connections and select Create New SQL Server Database.

2.Select a server. If using SQL Server Express, use this exact syntax for the server name: (local)\ SQLExpress. Use Windows authentication unless you have created an authentication scheme internal to SQL Server Express. Type the name of the new database into the bottom text box.

3.Database Explorer will automatically add the database to its list and you are ready to create tables and add data.

You can also create a new database directly in the Solution Explorer. This technique is very similar to the preceding except for the first few steps:

1.Start in the Solution Explorer and right-click the root of the web site. Select Add New Item and select the template of type SQL Database.

2.When prompted, agree to add to the App_Data folder.

3.VWD will now roll you over to the Database Explorer where you will see the new database and folders for its objects (albeit empty). You can now create tables, add data, and perform other tasks.

Create a New Table and Add Data

Tables can be added and populated in the Database Explorer:

1.Expand the database, right-click the Tables node, and select Add New Table from the menu shown in Figure D-17.

Figure D-17

691

Appendix D

2.In the resulting list of columns, enter the names and data types. For example, as shown in Figure D-18, a new table that holds a schedule of reporter’s interviews with the players would start with a column (field) for InterviewID.

Figure D-18

Note that under Data Type you can scroll down to find the UniqueIdentifier type, which is similar to AutoNumber in Access.

3.In the panel below the columns list you will find additional properties for the current column such as default value and length.

4.Set the primary key by selecting a field and clicking the key tool in the table’s toolbar.

5.Finish by choosing Menu File Save Table.

Examine and Create Views

Views provide a set of data. Instead of returning information directly from a table, a view returns only certain fields or modified fields, or only certain records. In many databases the security rules will allow a web site to request a view but not directly request data from a table; this provides a level of control for

692

VWD Database Explorer

the database administrator. For example, a table of employees may hold a field for salary level. A view that is authorized for the accounting department would include that field, but other users only have access to views that do not include the salary data. Views are also useful for creating hybrid data, such as combining a NameFirst field and a NameLast field to show both names in a single field of a list box.

You can do a basic exercise where you create a view that would support a selection ListBox of Players. You want the view to create two fields; the first is the player’s ID and the second is a combination of the player’s last and first names, separated by a comma.

1.In Database Explorer, expand your database, right-click the Views node, and select Add a New View. This opens the designer for a new view in the background, and in the foreground the Add Table dialog (see Figure D-19) will open.

Figure D-19

2.In the Add Table dialog box, select Players and click Add. Close the dialog.

3.Before you go on, play with turning on and off the panels to display a view. From left to right, they are the Diagram, Query, SQL Statement, and Results. Because you are making a small view you can display all four. Figure D-20 shows the four panels. Topmost is the pane of tables, showing just the Players table with the single field of PlayerID selected. The next panel down is the query designer showing the single field selected. The next panel below shows the very simple SQL statement: SELECT PlayerID FROM dbo.Players. The bottom panel shows the results of choosing Query Designer Run to produce the results table.

693

Appendix D

Figure D-20

4.Click the checkbox next to the PlayerID field in the Player table of the Diagram View (the topmost panel) and note that the field is added to the Query and SQL Statement panels.

5.In the Query panel, go to the second row and type FullName into the alias cell. In the leftmost column, type in LastName + ‘, ‘ + FirstName.

6.Click the execute SQL tool (the red exclamation point) to see the results, displayed in Figure D-21.

7.To finish, order the players’ names by last name. SQL does not like to order on a created (or alias) field, so go to the third row of the Query panel and add the LastName field. Turn off its Output option. Set the Sort Order column to 1, meaning this is the first criterion for sorting. In the Sort Type VWD will automatically set the order to Ascending. These four changes are shown in figure D-22 below. This step tells SQL to sort according to the last name, but not to output the LastName as its own field. Execute the SQL.

694

VWD Database Explorer

Figure D-21

Figure D-22

695

Appendix D

8.Press Ctrl+S to save the view as PlayersForSelectionList. You now have a new view that can be used in a selection list of a web page; for example, PlayerDetails.aspx, for which the data controls follow. Note that in the DataSource1 (supporting the list box), you are not reading from the Players table. Rather, you read from the PlayerSelection view. That view includes your new field FullName, which you can set as the DataTextField in ListBox1:

<asp:ListBox ID=”ListBox1” runat=”server” DataSourceID=”SqlDataSource1”

DataTextField=”FullName”

DataValueField=”PlayerID”

AutoPostBack=true>

</asp:ListBox>

<asp:SqlDataSource ID=”SqlDataSource1” runat=”server” ConnectionString=”<%$ ConnectionStrings:WroxUnitedConnectionString1 %>” SelectCommand=”SELECT [PlayerID], [FullName] FROM [PlayerSelection]”> </asp:SqlDataSource>

<br />

<asp:DetailsView ID=”DetailsView1” runat=”server” DataSourceID=”SqlDataSource2”

...

</asp:DetailsView>

<asp:SqlDataSource ID=”SqlDataSource2” runat=”server” ConnectionString=”<%$ ConnectionStrings:WroxUnitedConnectionString1 %>” SelectCommand=”SELECT * FROM [Players] WHERE ([PlayerID] = @PlayerID)”>

<SelectParameters>

<asp:ControlParameter ControlID=”ListBox1” DefaultValue=”1”

Name=”PlayerID”

PropertyName=”SelectedValue” Type=”Int32” />

</SelectParameters>

</asp:SqlDataSource>

</asp:Content>

Examine a Stored Procedure (SPROC)

Like the other objects explored in this appendix, you can examine, edit, and create stored procedures, or SPROCs. SPROCs are a set of one or more SQL commands that, as a group, carry out a task. The Database Explorer offers a node for SPROCs, which can be expanded. A single click selects a SPROC and shows, in the Properties window, if it is encrypted. A double-click opens the SPROC, which can then be edited (assuming you have the rights to change the object).

The design of SPROCs is beyond the scope of this text, but you can take a quick look at one. For example, in the Database Explorer you can expand the WroxUnited database and then expand Stored Procedures. Then you can double-click usp_OrderAdd to open it and view the following code. In this simple SPROC, only one actual SQL statement gets executed.

696

VWD Database Explorer

ALTER PROCEDURE dbo.usp_OrderAdd

(

@MemberName varchar(5), @Name varchar(50), @Address varchar(255), @PostCode varchar(15), @County varchar(50), @country varchar(50), @SubTotal money, @Discount money,

@Total money

)

AS

INSERT INTO Orders(MemberName, OrderDate, Name, Address, County, PostCode, Country, SubTotal, Discount, Total)

VALUES (@MemberName, GETDATE(), @Name, @Address, @County, @PostCode, @Country, @SubTotal, @Discount, @Total)

RETURN SCOPE_IDENTITY()

This SPROC has three parts. The first and last lines establish the frame of the procedure and declare its name. The second section, within parentheses, names the parameters that will be used to carry out the procedure. The third part, the INSERT INTO statement following the AS command, describes the one SQL statement to actually execute.

In summary, VWD provides the Database Explorer for the creation, modification, and examination of databases. Generally, a web site will use an existing database, so the examination features are most useful. However, when testing a new site you can hop to the VWD Database Explorer to see if your pages are updating data correctly, or you can modify data to see how the pages handle the rendering. In addition to introducing the Database Explorer, this appendix discussed the following topics:

You can examine both data and metadata. The latter includes the list of fields in a table and details about how those fields are structured, including their exact spelling, data type, size, and other parameters that will be important when designing a page to use the fields.

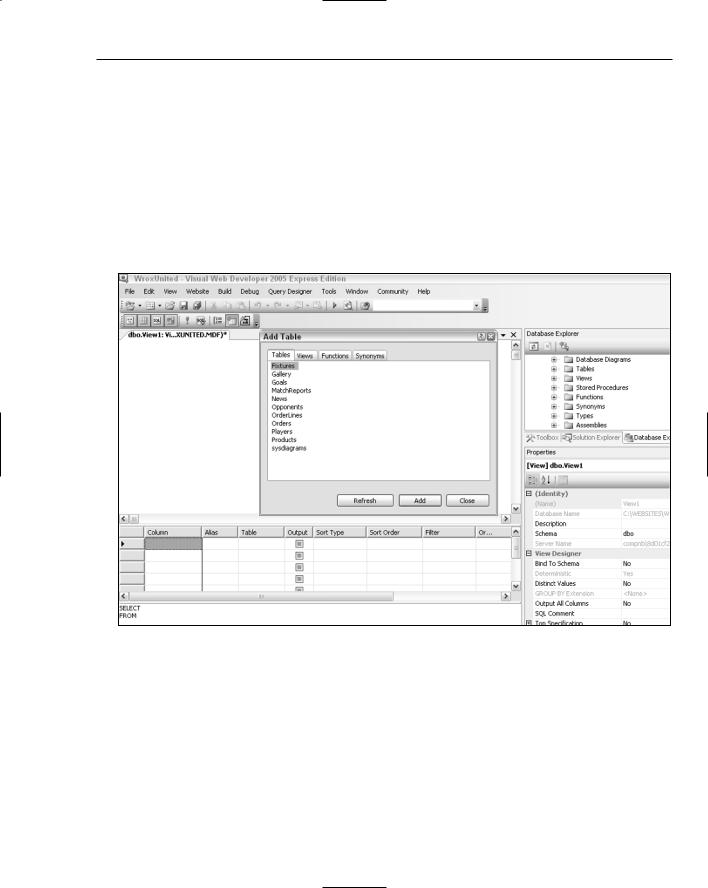
When creating a database, table or view, or SPROC, the Database Explorer will kick off a wizard to guide you through the process. Keep in mind that when referring to your SQL Server Express install, you must use the syntax of (local)\SQLExpress.

For two reasons, use particular caution when modifying data or metadata for existing databases. First, others may be expecting the database to be in its original state for their Web Forms or Windows forms. Second, you may not be aware of the constraints and relationships that can be ruined by incorrect changes in the data or structure.

697