

Beginning ASP.NET 2
.0.pdfE-Commerce
Figure 13-25
10.If you view the page WroxShoppingCartPage.aspx now, you will see what appears in Figure 13-26.
Figure 13-26
How It Works
For the first time you’re able to browse your shopping cart, although you only get to view the EmptyDataTemplate at the moment. Your code, though, provides all of the necessary functionality to be able to use the cart properly. The RowEditing method allows you to store the ID of the Product you are editing to the index:
CartGrid.EditIndex = e.NewEditIndex
BindGrid()
After this you bind to the grid. The RowCancelEdit sets it back to the default of -1:
CartGrid.EditIndex = -1
BindGrid()
This means that no row in the grid is currently selected. Once again you bind to the grid afterwards. Your delete method removes the index number from the cart stored in the profile and binds to the grid:
Profile.Cart.Items.RemoveAt(e.RowIndex)
BindGrid()
499

Chapter 13
The update first has to obtain the quantity figure from the text box, and then it converts it to an integer. If you’ve set the quantity to 0, then this acts the same as a delete, so you perform a RemoveAt to remove the CartItem object. Otherwise you simply re-adjust the quantity and reset the index to -1 and bind to the grid:
Dim QuantityTextBox As TextBox = _
CType(CartGrid.Rows(e.RowIndex).Cells(2).Controls(0), TextBox)
Dim Quantity As Integer = Convert.ToInt32(QuantityTextBox.Text)
If Quantity = 0 Then
Profile.Cart.Items.RemoveAt(e.RowIndex)
Else
Profile.Cart.Items(e.RowIndex).Quantity = Quantity
End If
CartGrid.EditIndex = -1
BindGrid()
You need to consider two final sections of code. The first is the BindGrid function, which performs your data binding for you and is called by each of the events:
CartGrid.DataSource = Profile.Cart.Items
DataBind()
TotalLabel.Text = String.Format(“Total:{0,19:C}”, Profile.Cart.Total)
It simply sets the GridView control’s DataSource property to point to the Items collection of your particular profile and then sets the total for your cart. The second one is the contents of the Page_Load event handler, which is fired whenever a page is started up:
If Profile.Cart Is Nothing Then
Return
End If
If Not Page.IsPostBack Then
BindGrid()
End If
If Profile.Cart.Items.Count = 0 Then
TotalLabel.Visible = False
End If
This basically says if the cart is empty, then do nothing. It then says if the page hasn’t been posted back, and is therefore the first time the user has seen the page, then you must bind the grid, and it goes on
to make the total label invisible if there is nothing in the cart and sets the format correctly for displaying the total as a currency. There is a distinction to be made here, between the first IF and third IF statement. The first IF statement will be triggered if the cart hasn’t been created. The third IF will be triggered if the cart has been created but is empty (in other words, someone has removed all the items from it). You have to be able to handle both scenarios when updating the cart in your profile.
The Add to Cart Facility
Your shopping cart is now fully functional in all but one respect. You can edit it and delete items from it, but you still can’t add any items to it. This is because the adding of items needs to be done from a different page entirely.
500

E-Commerce
The next part of your odyssey is to place an “add to cart” button, back on the previous Product Item page. In the following Try It Out, this will add the corresponding item to your cart every time a button is clicked. If you click it twice on two separate occasions, it will update the quantity for you.
Try It Out |
Adding the Add to Cart Button |
1.Open up WroxShopItem.aspx in Visual Web Developer, go to Design View, and add an ImageButton, above the Return to Shop link. Via the Properties window change its name to btnAddToCart, and change the ImageUrl property to “~/Images/AddToCart.gif”, as shown in Figure 13-27.
Figure 13-27
2.Double-click the button and add the following code:
Sub btnAddToCart_Click(ByVal sender As Object, ByVal e As _
System.Web.UI.ImageClickEventArgs)
Dim Price As Double = _
Double.Parse(CType(DataList1.Controls(0).FindControl(“PriceLabel”),Label).Text)
501

Chapter 13
Dim ProductName As String = _
CType(DataList1.Controls(0).FindControl(“NameLabel”),Label).Text
Dim PictureURL As String = _
CType(DataList1.Controls(0).FindControl(“PictureUrlLabel”),Label).Text
Dim ProductID As Integer = CInt(Request.QueryString(“ProductID”))
If Profile.Cart Is Nothing Then
Profile.Cart = New Wrox.Commerce.WroxShoppingCart()
End If
Profile.Cart.Insert(ProductID, Price, 1, ProductName, PictureURL)
Server.Transfer(“WroxShop.aspx”)
End Sub
3.Go back to WroxShopItem.aspx in Design View. Add a hyperlink button from the General section of the Toolbox. Right-click the link, select Properties, and change the following properties:
Property |
Value |
ID |
ShoppingCartLink |
NavigateURL |
~/WroxShoppingCartPage.aspx |
Text |
View Shopping Cart |
It will now look like Figure 13-28.
Figure 13-28
4.You’re now ready to give the shopping cart a test drive. Go to the WroxShop.aspx and select the scarf, as shown in Figure 13-29.
502
E-Commerce
Figure 13-29
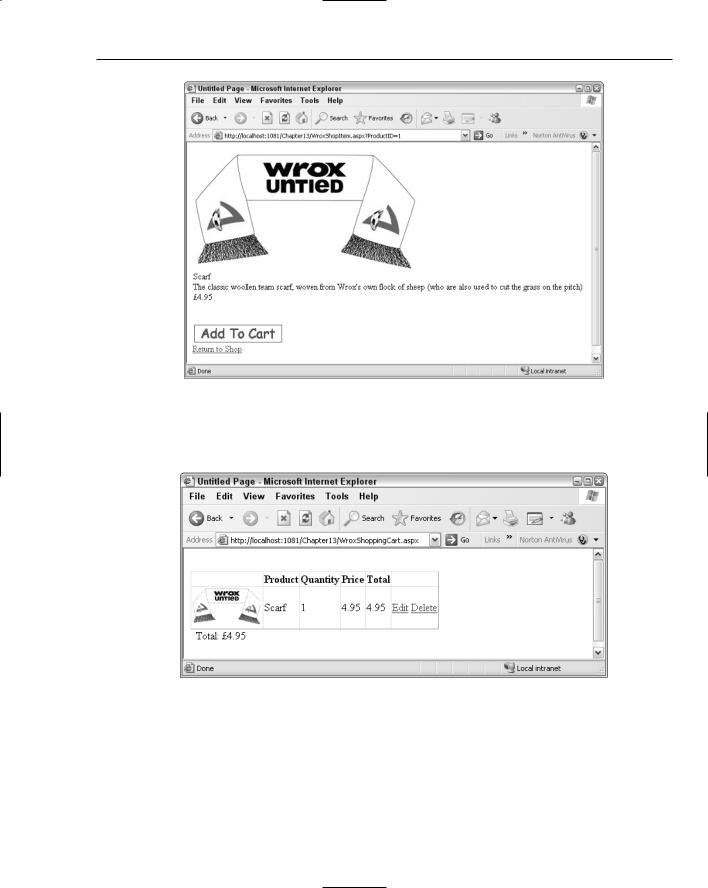
5.Click Add to Cart. This takes you back to the main shopping screen. Now click View Shopping Cart, and as you can see in Figure 13-30, your item has been added to the cart.
Figure 13-30
503

Chapter 13
6.Clicking Edit changes the Quantity box into a text box that you can edit (see Figure 13-31).
Figure 13-31
7.Type in 2 and click Update, and the totals are updated, as shown in Figure 13-32.
Figure 13-32
8.Last, you can click Delete and the item is removed from your cart.
How It Works
By adding two bits to the application in this Try It Out, you enabled the whole functionality of the shopping cart. You started by adding a button to the Product Item page and creating some code that ran when the button was clicked. The code handles the business of adding an item to your shopping cart. You start by getting the Price, ProductName, PictureUrl and ProductID:
Dim Price As Double = _
Double.Parse(CType(DataList1.Controls(0).FindControl(“PriceLabel”),Label).Text)
Dim ProductName As String = _
504

E-Commerce
CType(DataList1.Controls(0)FindControl(“NameLabel”),Label).Text
Dim PictureURL As String = _
CType(DataList1.Controls(0).FindControl(“PictureUrlLabel”),Label).Text
This information has already been cunningly stored in the page. You use the FindControl method of a control to locate a control. The DataList control contains an item template, so you have to move into the controls collection of the DataList control to get at the Label controls. The CType function allows you to cast the contents of the control to text. So each of the three lines works like this. You declare a variable in which to store your item. You search the DataList control for your Label control using FindControl, and supply it with the name of the control you want to find. You pass this to the CType function, along with the type to which you want to convert the type. So for the Price, you search for the PriceLabel control’s contents and you convert it to text. There is actually another level of conversion required here. You want the price as a Double data type so you convert the text item you receive into a double and store it in the Double data type. The PictureUrlLabel is the one you didn’t delete in the second Try It Out of this chapter because I said you’d need it later. This is where you need it. Having stored the Price, ProductName, and PictureURL, you still need the ProductID. This can be located in the query string passed to the page:
Dim ProductID As Integer = CInt(Request.QueryString(“ProductID”))
You check to see if a cart exists for this profile:
If Profile.Cart Is Nothing Then
Profile.Cart = New Wrox.Commerce.WroxShoppingCart()
End If
If it doesn’t you create a new one. Then you need to insert a new item into your shopping cart along with the ProductID, Price, ProductName, PictureURL, and the quantity of 1:
Profile.Cart.Insert(ProductID, Price, 1, ProductName, PictureURL)
Last, you simply transfer the user back to the initial Product Catalog page:
Server.Transfer(“WroxShop.aspx”)
This stage can continue cyclically until the user either leaves the application or needs to check out.
Checkout
Checking out is perhaps the lengthiest stage of the whole process. The checkout process involves a number of considerations, not just the totalling up of the items and how much they cost, but also things like stock availability, getting the user’s address and delivery details, obtaining and verifying payment for the items, and some sort of rounding up of the whole process.
Checkout is, in itself, a mini set of stages. If you’re serious about implementing your own e-commerce process it’s worth checking some of the major e-commerce vendors (such as Amazon) and seeing what they do in their checkout process, and asking is it quick and intuitive to use? A lot of time and effort has gone into producing checkout processes that can be completed in the minimum number of steps, with the minimum number of clicks.
505

Chapter 13
In your design, consider checkout as being comprised of the following:
Order processing
Login
Enter or get the address and delivery details
Get the credit card details
Finish
This is one part of the process that is impossible to model completely, without actually building a real, live, working e-commerce site. However, some considerations about each step are worth talking about.
Order Processing
The first step of the checkout process is to check whether or not the item is in stock. With a large retailer such as Amazon, not all of the items they carry will be sourced by them. They have a range of suppliers and they often need to check with them first to see if a particular item is in stock. Hence you will find that some products will ship from Amazon within 24 hours, whereas others may take between four and six weeks. In reality there is often another pipeline (similar to Figure 13-33) going on here that has to be negotiated.
Inform Supplier |
|
|
Check Stock |
|
|
Order Ready/Charge Card |
|
|
Supplier Ships Goods |
|
|
Notification |
|
|
|
|
|
|
|
|
|||||
|
|
|
|
|
|
|
|
Of Shipping |
||||
|
|
|
|
|
|
|
|
|
|
|
|
|
|
|
|
|
|
|
|
|
|
|
|
|
|
Figure 13-33
With WroxUnited, once again you’re not going to delve into this level of detail. You are going to assume that all goods are stored in the Wrox United warehouse, and once you’ve checked the stock level and they are in stock, they are good to be released for shipping.
Login
We’ve already mentioned that the Wrox United application uses one of ASP.NET 2.0’s best features to keep track of the shopping cart, in that you don’t have to physically log in to keep track of your
shopping cart. However, when you come to checkout, you must log in, because you need to supply your address details and credit card information. You need to supply a login box and password to be able to authenticate your user’s details. You will use the standard ASP.NET 2.0 login control to do this.
Address/Delivery Details
The address details are fairly easy to sort as well. One of two scenarios could occur. Either you have already captured the user’s details and you can access the details that are stored with the profile, or if you don’t have them on record, you must request that the user enter them into a series of text boxes. You can either use the Profile that was created in Chapter 11 and that stores these details, or you can store the details supplied in the text boxes by the user.
506

E-Commerce
Credit Card Handling
Here you’re going to cop out and not handle credit cards at all, and just add a small dummy section. This gives the impression that it isn’t a major part of the e-commerce pipeline, but don’t be fooled for a moment; it is of course critical to the success of the pipeline. For obvious reasons you can’t set up an actual credit card handling facility; for starters you don’t have a physical product to sell. Fetching as the Wrox United kits undoubtedly would be, they only exist in cyberspace. So here we can’t provide any code, but instead can quickly consider what you need to take into account when setting up a credit card handling facility on your web site.
Credit card retailers first starting out needed a merchant ID, usually supplied via their bank, which gave some sort of guarantee that the business was genuine. Most Internet businesses require the same thing. In the U.S., there are two ways to do this. The first is to provide all the processing and handling of credit cards yourself, and the second is to get someone else to do it on your behalf.
In-House Credit Card Transactions
Setting up credit card processing in-house is the ideal way to keep an eye on all your transactions, but it can be quite a slow and unwieldy process. You require an e-commerce ID (also known as a merchant number or in the UK as an Internet Merchant Account [IMA]) from a third party who can actually process the credit card details for you, meaning the third party can decide whether or not a particular credit card number is genuine. You will have to apply for an account with the third party and provide a lot of details that help establish your authenticity.
Obtaining an E-Commerce ID, Merchant Number, or IMA
In the U.S. you can go to one of the following web sites:
Verisign/CyberCash: www.icverify.com
First Data/Card Service: www.cardservice.com
In the UK you can go to one of these web sites:
WorldPay: www.worldpay.co.uk
DataCash: www.datacash.com
For worldwide transaction processing you can try PayPal, which accepts credit cards once you have set up a business account with them:
PayPal: www.paypal.com
Payment Gateways
Once you have your e-commerce ID, merchant number, or IMA, you still actually need another link in the chain, a way of communicating from a payment gateway to a bank. You should be able to use the same company you obtained an e-commerce ID from to do this. You supply the e-commerce ID to the bank; they use it to track the money’s movements to the gateway service and back again. These services usually come at a hefty price. If all this sounds too complex, you might want to consider the alternative.
507

Chapter 13
Bureau Services
Because this is a beginner’s book, it’s probably safe to assume that the first site you start development on won’t be a major store; more likely you’ll be working on a small store (maybe your own), that perhaps won’t really want to cover the risks and costs associated with having a system handling credit cards themselves. In the early days of e-commerce on the Web, there were a series of high profile hacks, one notorious one where all customers of a then high-profile music store had their credit card details stolen, when the database containing them was compromised. Rather than having to worry about all the risks from encrypting card details to storing them in a way to ensure their complete safety, it’s easier to get someone else to do this for you. These are termed bureau services. When you get to the part of a site where you check out, instead of handling the details you link to the bureau service’s site, and they handle the whole process for you from then on.
Until relatively recently bureau services were expensive propositions that still required quite a large financial commitment on the part of the seller. Several years ago, I costed a small record label’s ability to do this, and the cheapest I could find to provide an online store would have meant they would have to have sold several hundred CDs a month to cover the gateway fees alone. The rise of eBay, though, has led to a massive rise in demand of people who want to handle their own sales instantly, so rather than having to wait for checks (which carry risk of both fraud and bouncing if the funds aren’t present), or doing money transfers via banks or a third party such as Western Union, they want to be able to handle credit card transactions. In addition to that, they might only ever want to handle as little as 10 or 20 sales.
Two popular solutions are as follows. You will find they even go one further than supplying this service, and can actually supply common components such as a shopping cart for you.
PayPal: www.paypal.com
BTClick&Buy: www.btclickandbuy.com
Obviously, other sites exist too. There are digital credit card services that specialize in micropayments when paying for small items such as single mp3s. It all depends on what you want to sell and how much you want to sell it for. If these two sites don’t provide a solution that suits you, then look around for something better! If you want further details about how to handle credit card transactions, we suggest you read the details given on the sites mentioned in these sections.
Summarizing the Transaction
Typically once you’ve completed your transaction, it would be good to receive a notification or receipt of what you’ve ordered. This is actually a relatively simple step of the process, but to e-mail somebody requires a working SMTP server, so for that reason alone, you aren’t going to implement this step.
How You Intend to Checkout
Once again you are governed by keeping things simple. What is the minimum you can boil down your checkout process to?
The five-stage process will be as follows:
Login
Delivery address
Payment
508