

Pro CSharp 2008 And The .NET 3.5 Platform [eng]
.pdf982 CHAPTER 27 ■ PROGRAMMING WITH WINDOWS FORMS
Displaying Dialog Boxes
When you wish to display a dialog box, you must first decide whether you wish to launch the dialog box in a modal or modaless fashion. As you may know, modal dialog boxes must be dismissed by the user before he or she is able to return to the window that launched the dialog box in the first place (for example, most About boxes are modal in nature). To show a modal dialog box, simply call ShowDialog() off your dialog box object. On the other hand, a modaless dialog box can be displayed by calling Show(), which allows the user to switch focus between the dialog box and the main window (for example, a Find/Replace dialog box).
For our example, update the Tools Order Automobile . . . menu handler of the MainWindow type to show the OrderAutoDialog object in a modal manner. Consider the following initial code:
private void orderAutomobileToolStripMenuItem_Click(object sender, EventArgs e)
{
//Create your dialog object.
OrderAutoDialog dlg = new OrderAutoDialog();
//Show as modal dialog box, and figure out which button
//was clicked using the DialogResult return value.
if (dlg.ShowDialog() == DialogResult.OK)
{
// They clicked OK, so do something...
}
}
■Note The ShowDialog() and Show() methods can optionally be called by specifying an object that represents the owner of the dialog box (which for the form loading the dialog box would be represented by this). Specifying the owner of a dialog box will establish the z-ordering of the form types and also ensure (in the case of a modaless dialog box) that when the main window is destroyed, all “owned windows” are also disposed.
Be aware that when you create an instance of a Form-derived type (OrderAutoDialog in this case), the dialog box is not visible on the screen, but simply allocated into memory. It is not until you call Show() or ShowDialog() that the form is indeed visible. Next, notice that ShowDialog() returns you the DialogResult value that has been assigned to the button (the Show() method simply returns void).
Once ShowDialog() returns, the form is no longer visible on the screen, but is still in memory. Therefore, we are able to extract the values in each TextBox. However, if you were to attempt to compile the following code:
private void orderAutomobileToolStripMenuItem_Click(object sender, EventArgs e)
{
//Create your dialog object.
OrderAutoDialog dlg = new OrderAutoDialog();
//Show as modal dialog box, and figure out which button
//was clicked using the DialogResult return value.
if (dlg.ShowDialog() == DialogResult.OK)
{
// Get values in each text box? Compiler errors!
string orderInfo = string.Format("Make: {0}, Color: {1}, Cost: {2}", dlg.txtMake.Text, dlg.txtColor.Text, dlg.txtPrice.Text);
MessageBox.Show(orderInfo, "Information about your order!");
}
}

CHAPTER 27 ■ PROGRAMMING WITH WINDOWS FORMS |
983 |
you will receive compiler errors. The reason is that Visual Studio 2008 declares the controls you add to the Forms designer as private member variables of the class! If you were to open the OrderAutoDialog.Designer.cs file, you could verify this very fact. While a prim-and-proper dialog box might preserve encapsulation by adding public properties to get and set the values within these text boxes, let’s take a shortcut and simply redefine them using the public keyword:
partial class OrderAutoDialog
{
...
// Form member variables are defined within the designer-maintained file. public System.Windows.Forms.TextBox txtMake;
public System.Windows.Forms.TextBox txtColor; public System.Windows.Forms.TextBox txtPrice;
}
At this point, you can compile and run your application. Once you launch your dialog box, you should be able to see the input data displayed within a message box (provided you click the OK button).
■Note Rather than directly editing the *.Designer.cs file to define the access modifier of a control, you can select the control you wish to tweak on the designer and use the Modifiers property of the Properties window to do so.
Understanding Form Inheritance
Up until this point in the chapter, each one of your custom windows/dialog boxes has derived directly from System.Windows.Forms.Form. However, one intriguing aspect of Windows Forms development is the fact that Form types can function as the base class to derived Forms. For example, assume you have created a .NET code library that contains each of your company’s core dialog boxes. Later, you decide that your About box is a bit on the bland side, and therefore wish to add a 3D image of your company logo. Rather than having to re-create the entire About box, you can simply extend the basic About box, thereby inheriting the core look and feel:
// ThreeDAboutBox "is-a" AboutBox public class ThreeDAboutBox : AboutBox
{
// Add code to render company logo...
}
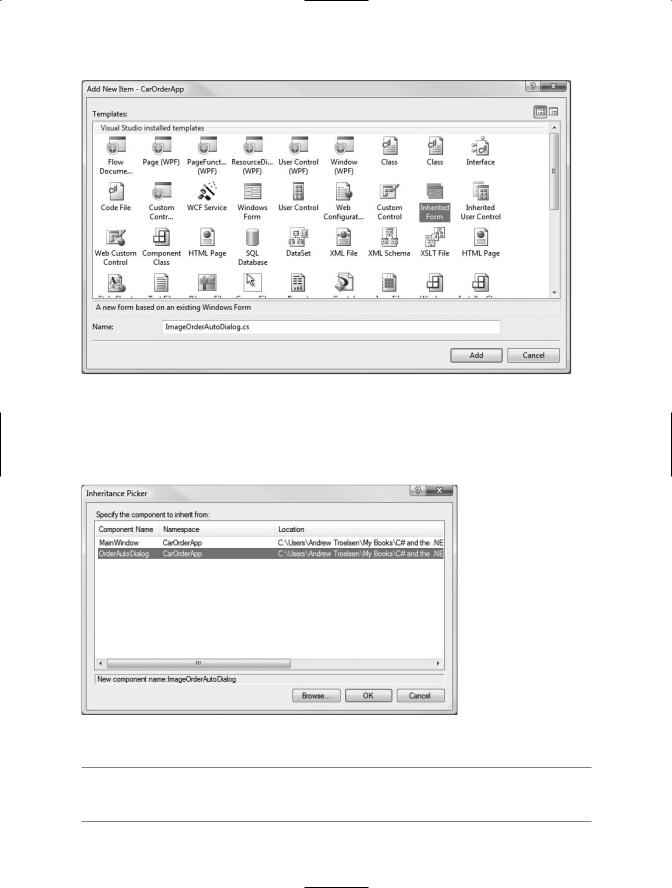
To see form inheritance in action, insert a new form into your project using the Project Add Form menu option. This time, however, pick the Inherited Form icon, and name your new form
ImageOrderAutoDialog.cs (see Figure 27-20).
984 CHAPTER 27 ■ PROGRAMMING WITH WINDOWS FORMS
Figure 27-20. Adding a derived form to your project
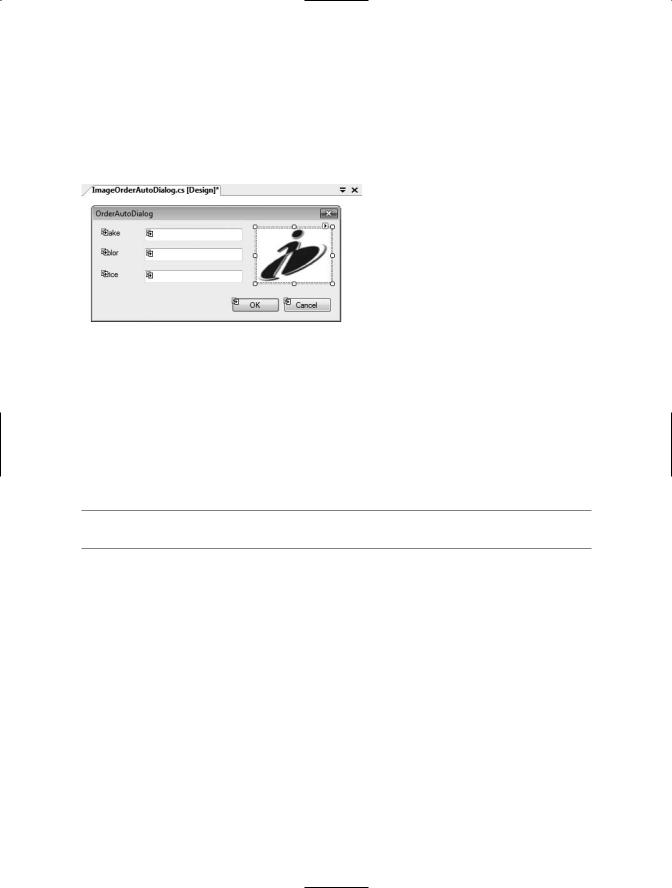
This option will bring up the Inheritance Picker dialog box, which will show you each of the forms in your current project. Notice that the Browse button allows you to pick a form in an external
.NET assembly. Here, simply pick your OrderAutoDialog type (see Figure 27-21).
Figure 27-21. The Inheritance Picker dialog box
■Note You must compile your project at least one time to see the forms of your project in the Inheritance Picker dialog box, as this tool is reading assembly metadata to show you your options.
CHAPTER 27 ■ PROGRAMMING WITH WINDOWS FORMS |
985 |
Once you click the OK button, you will find that the visual designer tools show each of the base controls on your parents, each of which has a small arrow icon mounted on the upper-left of the control (symbolizing inheritance). To complete our derived dialog box, locate the PictureBox control from the Common Controls section of the Toolbox, and add one to your derived form. Next, using the Image property, select an image file of your choosing. Figure 27-22 shows one possible UI, using the logo for the company I work with, Intertech Training.
Figure 27-22. The ImageOrderAutoDialog type
With this, you can now update the Tools Order Automobile . . . Click event handler to create an instance of your derived type, rather than the OrderAutoDialog base class:
private void orderAutomobileToolStripMenuItem_Click(object sender, EventArgs e)
{
// Create the derived dialog object.
ImageOrderAutoDialog dlg = new ImageOrderAutoDialog();
...
}
■Source Code The CarOrderApp project is included under the Chapter 27 subdirectory.
Rendering Graphical Data Using GDI+
Many GUI applications require the ability to dynamically generate graphical data for display on the surface of a window. For example, perhaps you have selected a set of records from a relational database and wish to render a pie chart (or bar chart) that visually shows items in stock. Or, perhaps you are interested in re-creating some old-school video game using the .NET platform. Regardless of your goal, when you need to graphically render data within a Windows Forms application, GDI+ is the API to do so. This technology is bundled within the System.Drawing.dll assembly, which defines a number of namespaces (see Figure 27-23).

986 CHAPTER 27 ■ PROGRAMMING WITH WINDOWS FORMS
Figure 27-23. The namespaces of System.Drawing.dll
Table 27-10 documents the role of each GDI+ namespace from a high level.
Table 27-10. Core GDI+ Namespaces
Namespace |
Meaning in Life |
System.Drawing |
This is the core GDI+ namespace that defines numerous types for |
|
basic rendering (fonts, pens, basic brushes, etc.) as well as the |
|
almighty Graphics type. |
System.Drawing.Drawing2D |
This namespace provides types used for more advanced 2D/vector |
|
graphics functionality (e.g., gradient brushes, pen caps, geometric |
|
transforms, etc.). |
System.Drawing.Imaging |
This namespace defines types that allow you to manipulate |
|
graphical images (e.g., change the palette, extract image metadata, |
|
manipulate metafiles, etc.). |
System.Drawing.Printing |
This namespace defines types that allow you to render images to the |
|
printed page, interact with the printer itself, and format the overall |
|
appearance of a given print job. |
System.Drawing.Text |
This namespace allows you to manipulate collections of fonts. |
|
|
The System.Drawing Namespace
The vast majority of the types you’ll use when programming GDI+ applications are found within the System.Drawing namespace. As you would expect, there are classes that represent images, brushes, pens, and fonts. Furthermore, System.Drawing defines a number of related utility types such as Color, Point, and Rectangle. Table 27-11 lists some (but not all) of the core types.
Table 27-11. Core Types of the System.Drawing Namespace
Type |
Meaning in Life |
Bitmap |
This type encapsulates image data (*.bmp or otherwise). |
Brush |
Brush objects are used to fill the interiors of graphical shapes such as |
Brushes |
rectangles, ellipses, and polygons. |
SolidBrush |
|
SystemBrushes |
|
TextureBrush |
|


988 CHAPTER 27 ■ PROGRAMMING WITH WINDOWS FORMS
Table 27-12. Continued
Method |
Meaning in Life |
DrawArc() |
These methods are used to render a given image or geometric pattern. |
DrawBeziers() |
All DrawXXX() methods require the use of GDI+ Pen objects. |
DrawCurve() |
|
DrawEllipse() |
|
DrawIcon() |
|
DrawLine() |
|
DrawLines() |
|
DrawPie() |
|
DrawPath() |
|
DrawRectangle() |
|
DrawRectangles() |
|
DrawString() |
|
FillEllipse() |
These methods are used to fill the interior of a given geometric shape. |
FillPie() |
All FillXXX() methods require the use of GDI+ Brush objects. |
FillPolygon() |
|
FillRectangle() |
|
FillPath() |
|
|
|
Now, despite what you may be assuming, the Graphics class is not directly creatable via the new keyword, as there are no publicly defined constructors. How, then, do you obtain a valid Graphics object? Glad you asked.
Obtaining a Graphics Object via the Paint Event
The most common way to obtain a Graphics object is to handle the Paint event on the window you are attempting to render upon using the Visual Studio 2008 Properties window. This event is defined in terms of the PaintEventHandler delegate, which can point to any method taking a System.Object as the first parameter and a PaintEventArgs as the second.
The PaintEventArgs parameter contains the Graphics object you require to render onto the Form’s surface. To illustrate, create a new Windows Application project named PaintEventApp. Using Solution Explorer, rename your initial Form.cs file to MainWindow.cs and then handle the Paint event using the Properties window. This will result in the following stub code:
public partial class MainWindow : Form
{
public MainWindow()
{
InitializeComponent();
}
private void MainWindow_Paint(object sender, PaintEventArgs e)
{
}
}
Now that you have handled the Paint event, you may wonder when it will fire. Whenever a window becomes “dirty,” the Paint event will fire. A window is considered “dirty” whenever it is resized, uncovered by another window (partially or completely), or minimized and then restored. In all these cases, the .NET platform ensures that when your Form needs to be redrawn, the Paint event handler is called automatically. Consider the following implementation of MainWindow_Paint():

CHAPTER 27 ■ PROGRAMMING WITH WINDOWS FORMS |
989 |
private void MainWindow_Paint(object sender, PaintEventArgs e)
{
//Get the graphics object for this Form.
Graphics g = e.Graphics;
//Draw a circle. g.FillEllipse(Brushes.Blue, 10, 20, 150, 80);
//Draw a string in a custom font.
g.DrawString("Hello GDI+", new Font("Times New Roman", 30), Brushes.Red, 200, 200);
// Draw a line with a custom pen.
using (Pen p = new Pen(Color.YellowGreen, 10))
{
g.DrawLine(p, 80, 4, 200, 200);
}
}
Once we obtain the Graphics object from the incoming PaintEventArgs parameter, we call FillEllipse(). Notice that this method (as well as any Fill-prefixed method) requires a Brush- derived type as the first parameter. While we could create any number of interesting brush objects from the System.Drawing.Drawing2D namespace (HatchBrush, LinearGradientBrush, etc.), the
Brushes utility class provides handy access to a variety of solid-colored brush types.
Next, we make a call to DrawString(), which requires a string to render as its first parameter. Given this, GDI+ provides the Font type, which represents not only the name of the font to use when rendering the textual data, but also related characteristics such as the point size (30 in this case). Also notice that DrawString() requires a Brush type as well, given that as far as GDI+ is concerned, “Hello GDI+” is simply a collection of geometric patterns to fill on the screen. Finally, DrawLine() is called to render a line using a custom Pen type, 10 pixels wide. Figure 27-24 shows the output of this rendering logic.
Figure 27-24. A simple GDI+ rendering operation
■Note Notice in the preceding code, we are explicitly disposing of the Pen object. As a rule, when you directly create a GDI+ type that implements IDisposable, call the Dispose() method as soon as you are done with the object. By doing so, you are able to release the underlying resources as soon as possible. If you do not do so, the resources will eventually be freed by the garbage collector in a nondeterministic manner.

990 CHAPTER 27 ■ PROGRAMMING WITH WINDOWS FORMS
Invalidating the Form’s Client Area
During the flow of a Windows Forms application, you may need to explicitly fire the Paint event in your code, rather than waiting for the window to become “naturally dirty” by the actions of the end user. For example, you may be building a program that allows the user to select from a number of predefined images using a custom dialog box. Once the dialog box is dismissed, you need to draw the newly selected image onto the form’s client area. Obviously, if you waited for the window to become “naturally dirty,” the user would not see the change take place until the window was resized or uncovered by another window. To force a window to repaint itself programmatically, simply call the inherited Invalidate() method:
public partial class MainForm: Form
{
...
private void MainForm_Paint(object sender, PaintEventArgs e)
{
Graphics g = e.Graphics;
// Render the correct image here.
}
private void GetImageFromDialog()
{
//Show dialog box and get new image.
//Repaint the entire client area.
Invalidate();
}
}
The Invalidate() method has been overloaded a number of times to allow you to specify a specific rectangular region to repaint, rather than repainting the entire client area (which is the default). If you wish to only update the extreme upper-left rectangle of the client area, you could write the following:
// Repaint a given rectangular area of the Form. private void UpdateUpperArea()
{
Rectangle myRect = new Rectangle(0, 0, 75, 150); Invalidate(myRect);
}
■Source Code The PaintEventApp project is included under the Chapter 27 subdirectory.
Building a Complete Windows Forms Application
To conclude our introductory look at the Windows Forms and GDI+ APIs, let’s wrap up this chapter by building a complete GUI application that illustrates several of the techniques discussed in this chapter working as a cohesive unit. The program we will create is a rudimentary painting program that allows users to select between two shape types (a circle or rectangle for simplicity) using the color of their choice, to render data to the form. Furthermore, we will allow end users to save their pictures to a local file on their hard drive for later use via object serialization services.

CHAPTER 27 ■ PROGRAMMING WITH WINDOWS FORMS |
991 |
Building the Main Menu System
Begin by creating a new Windows Forms application named MyPaintProgram and rename your initial Form1.cs file to MainWindow.cs. Now design a menu system on this initial window that supports a topmost File menu that provides Save . . ., Load . . ., and Exit submenus (see Figure 27-25).
Figure 27-25. The File menu system
Next, create a second topmost Tools menu that provides options to select a shape and color to use for rendering as well as an option to clear the form of all graphical data (see Figure 27-26).
Figure 27-26. The Tools menu system
Finally, handle the Click event for each one of these subitems. We will implement each handler as we progress through the example; however, we can finish up the File Exit menu handler simply by calling Application.Exit():
private void exitToolStripMenuItem_Click(object sender, EventArgs e)
{
Application.Exit();
}