

IT Essentials: PC Hardware and Software v4.1 Chapter 12 – Lab/Student
Лабораторна робота №6
Introduction
Print and complete this lab.
This lab is comprised of five parts. This lab is designed to be completed in multiple lab sessions.
Part 1: Managing Virtual Memory, Startup Options, and Windows Update in Windows 7
In this part of the lab, you will customize Virtual Memory settings. You will customize the Startup Folder and RunOnce Key in the Registry. You will change the default Windows Update option.
Recommended Equipment
A computer running Windows 7
Internet access
Step 1
Log on to Windows as an Administrator.
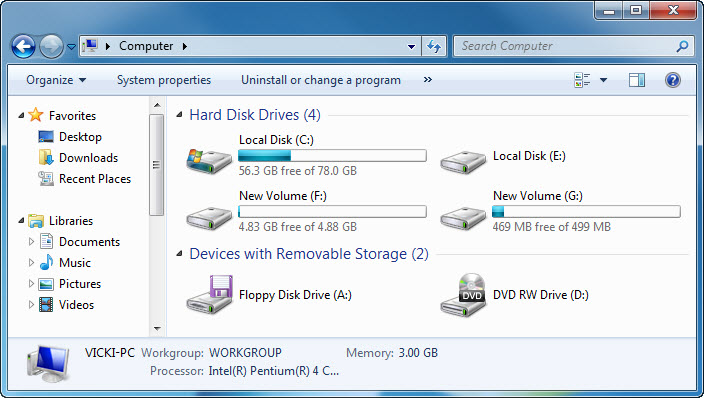
Click Start > Computer.
The “Computer” window appears.
Step 2
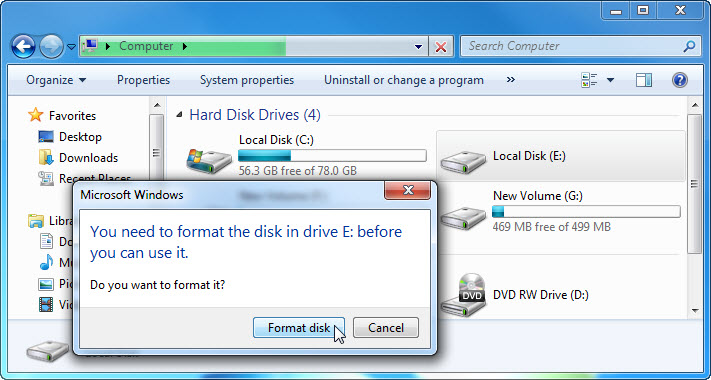
Double-click the Local Disk (E:) drive.
Click Format disk to confirm the drive E: is to be formatted.
Step 3
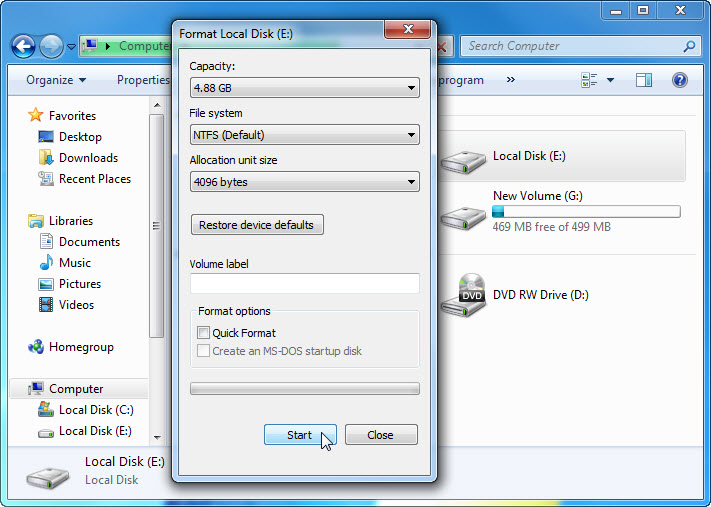
The “Format Local Disk (E:)” window appears.
Select NTFS in the File system drop-down menu.
Click Start.
A “Warning” window appears.
Click OK.

Windows formats the drive.
When the “Format Complete” message appears, click OK.

The “Format Local Disk (E:)” window re-appears.
Click Close.

Close all open windows.
Step 4
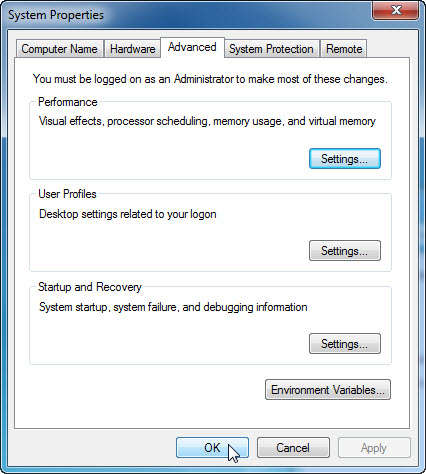
Click Start > Control Panel > System and Security > System > Advanced system settings.

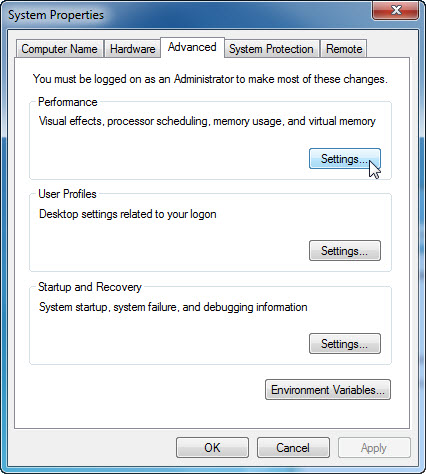
The “System Properties” window appears.
Select the Advanced tab and then click Settings in the “Performance” area.
Step 5
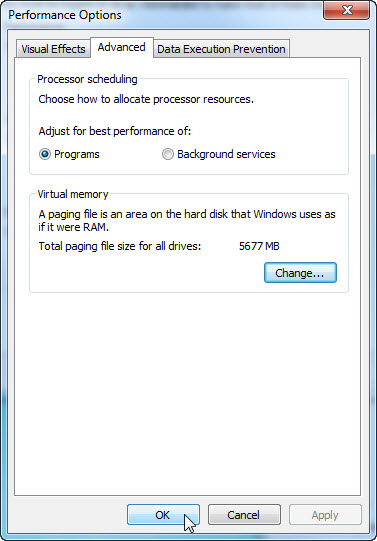
The “Performance Options” window appears.
Click the Advanced tab.
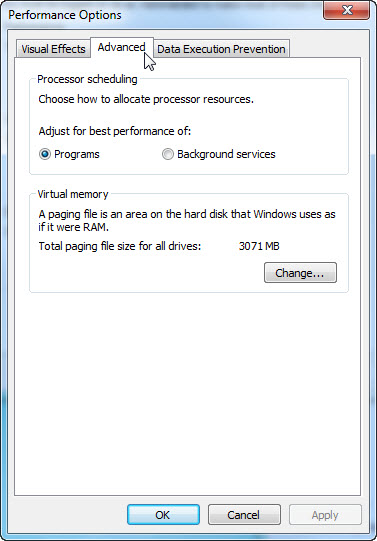
What is the current size of the Virtual Memory (paging file)?
Click Change in the “Virtual memory” area.

The “Virtual Memory” window appears.
Remove the check mark from Automatically manage paging file size for all drives.
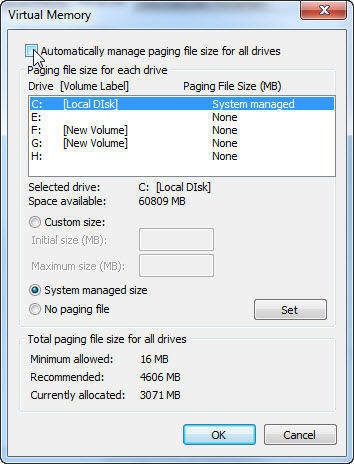
What Drive or [Volume Label] contains the paging file?
Choose the E: drive.
Click the Custom size radio button.

Look at the recommended size in the “Total paging file size for all drives” section of the “Virtual Memory” window.
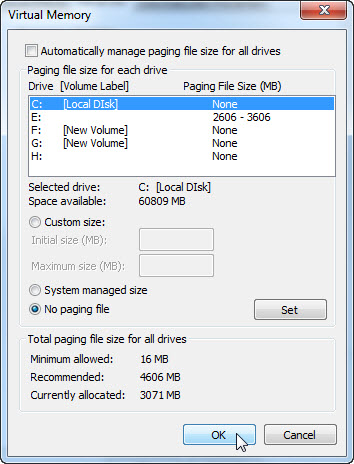
Type in a number smaller than the recommended file size in the Initial size (MB): field.
Type in a number that is larger than the Initial size but smaller than the recommended file size in the Maximum size (MB): field.
Click Set.

Select the C: drive.
Click the No paging file radio button, and then click Set.

The “System Properties” warning message appears.
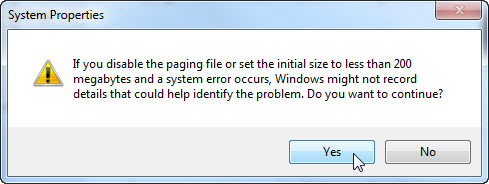
Click Yes.
Click OK to accept the new virtual memory settings.
The “Performance Options” window re-appears, click OK.
Click OK.
The “System Properties” message window appears.
Click OK.
Step 6
Navigate to and open the “Virtual Memory” window.
What Drive or [Volume Label] contains the paging file?

Reset the virtual memory back to the original settings.
Select drive C: [Local Disk] > System managed size > Set.
Next select drive E: > No paging file > Set.
Add the check mark to Automatically manage paging file size for all drives, and then click OK.

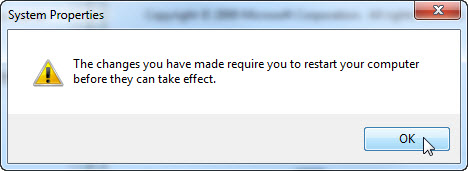
The “System Properties” restart warning message appears.
Click OK.
Click OK to close the following windows: Performance Options, and System Properties.
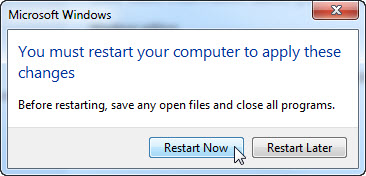
The “You must restart your computer to apply these changes” message appears, click Restart Now.
Step 7
Click Start > All Programs > Games > right-click FreeCell > Send To > Desktop (create shortcut).

Step 8
Click and drag the shortcut FreeCell icon to the Start button.
Do not release the shortcut icon.

The “Start menu” appears.
Drag the icon to All Programs.
The “All Programs” menu appears.
Drag the icon to the bottom of the Startup folder.
When a blue text Move to Startup appears next to the FreeCell shortcut icon, release the icon.

You should see the FreeCell icon listed below Startup.

Step 9
Log off Windows.
Log on to Windows as an Administrator.
What happens when you log in?
Close the FreeCell application.
